Privacy Mask Setting Tool
5-7
5
Admin Tools
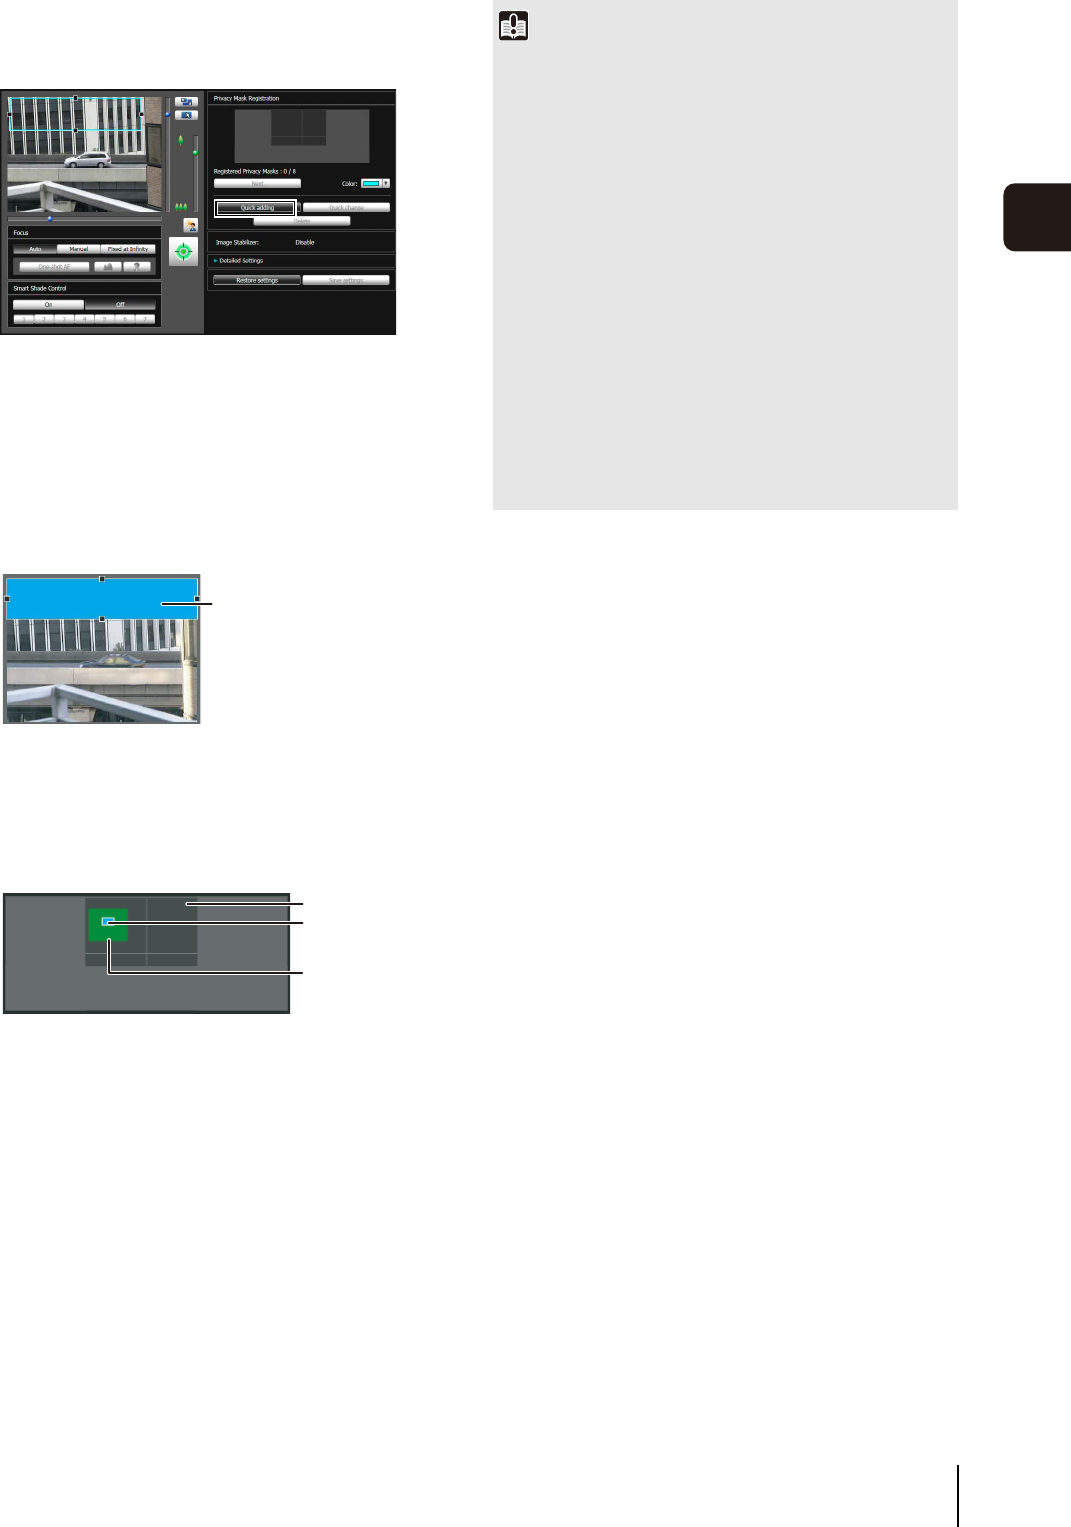
The set privacy mask area is saved in the camera.
You can set up to eight privacy masks. Repeat the
setting operations to set multiple privacy mask areas.
Saved privacy mask areas are shown in the image
display area and capture area.
Image Display Area
1Privacy Mask Area
Enabled privacy mask areas are shown filled with
color. Disabled privacy mask areas are just shown
in a frame.
Capture area
2View Restriction Area
This is the area set with the View Restriction Setting
Tool.
3Privacy Mask Area
Privacy masks for which the [Enable privacy mask]
checkbox is selected are shown filled with color.
Privacy masks that are not selected are shown in a
hatched frame.
4Maximum Wide-angle Area
This is the visible area when the camera is at
maximum wide angle. This area is only shown
when a privacy mask area is being dragged.
3
Click [Quick adding] to save the privacy mask area.
4
Confirm privacy mask areas.
1
2
3
4
Important
• Privacy mask areas cannot be set in digital zoom areas.
• Privacy masks set at a zoom position close to the tele end
may deviate slightly from the specified position.
• Set the privacy mask area to a somewhat larger size than the
area you want to hide. Also, be sure to confirm that after
setting a privacy mask, the area you want to hide does not
become visible when the camera direction is altered by pan,
tilt, or zoom operations.
• Intelligent functions will not detect set privacy mask areas.
• Privacy masks are applied to all images transmitted from the
camera (live video, uploaded images, recorded video).
• If the privacy mask settings were changed after a panorama
image was saved using the Panorama Creation Tool, the
panorama image must be recreated using the Panorama
Creation Tool.
• Reconfigure all privacy mask positions and sizes when
reconfiguring privacy mask settings after the image stabilizer
setting was changed.
