3-21
Cisco Video Surveillance 5010/5011 Indoor Fixed HD IP Dome Camera User Guide
OL-22669-02
Chapter 3 Operation
Imaging Tab
Setting Tone Map Options
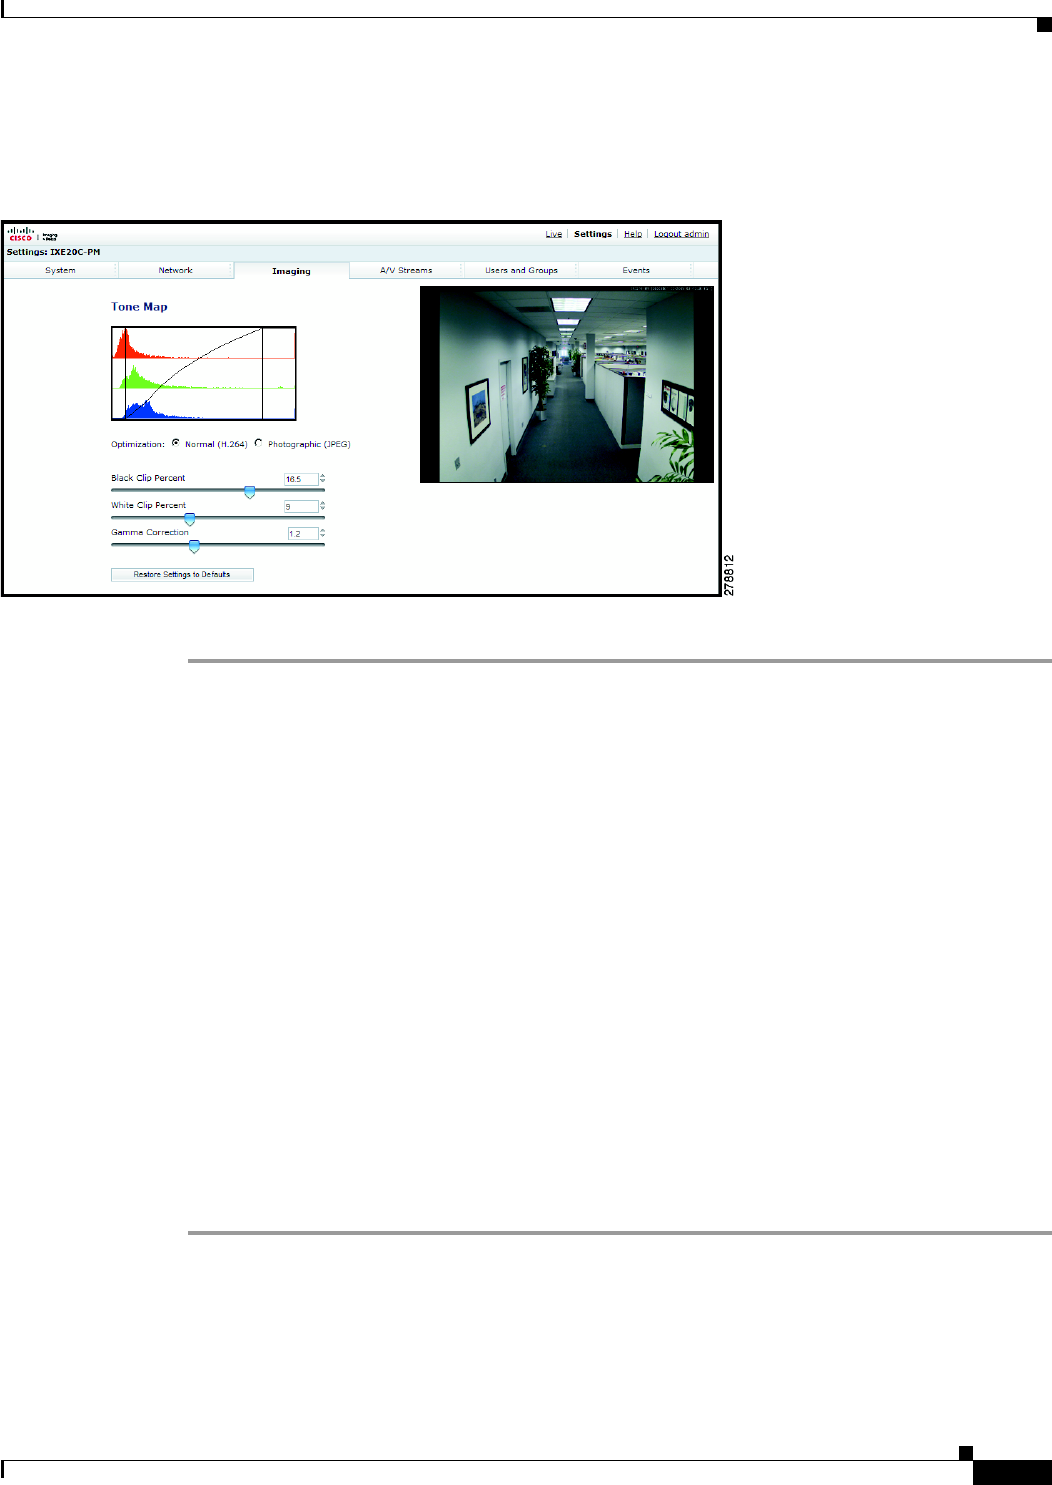
Figure 3-8 Tone Map Page
Step 1 Place your mouse pointer over the Imaging tab.
Step 2 Select Tone Map from the drop-down menu.
Step 3 Select the Optimization setting:
• Normal (H.264): If the compression standard for the primary stream is H.264, set Optimization to
Normal (H.264). This is the default setting.
• Photographic (JPEG): If the compression standard for the primary stream is JPEG, set
Optimization to Photographic (JPEG).
Step 4 Move the Tone Map sliders to adjust the following image settings:
• Black Clip Percent: Adjusts the percent of pixels set to black. Move the slider to the right to darken
the scene by increasing the number of pixels that are mapped to absolute black. The black clip
percent range is 0 to 25; the default setting is 0.5.
• White Clip Percent: Adjusts the percent of pixels set to white. Move the slider to the right to
lighten the scene by increasing the number of pixels that are mapped to absolute white. The white
clip range is 0 to 25; the default setting is 0.5.
• Gamma Correction: Adjusts the details in the light and dark areas of the scene. Move the slider to
the left to expose more detail in the light areas of the scene; move the slider to the right to expose
more detail in the dark areas of the scene. The gamma corrector range is 0.1
to 3.0; the default
setting is 2.2.
Step 5 If required, click the Factory Defaults button to reset the Tone Map to the factory default setting.
