32
HDR 24/96
HDR 24/96
LOC 2LOC 1
LOC 2LOC 1 STORE
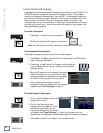
Locate Points and Looping
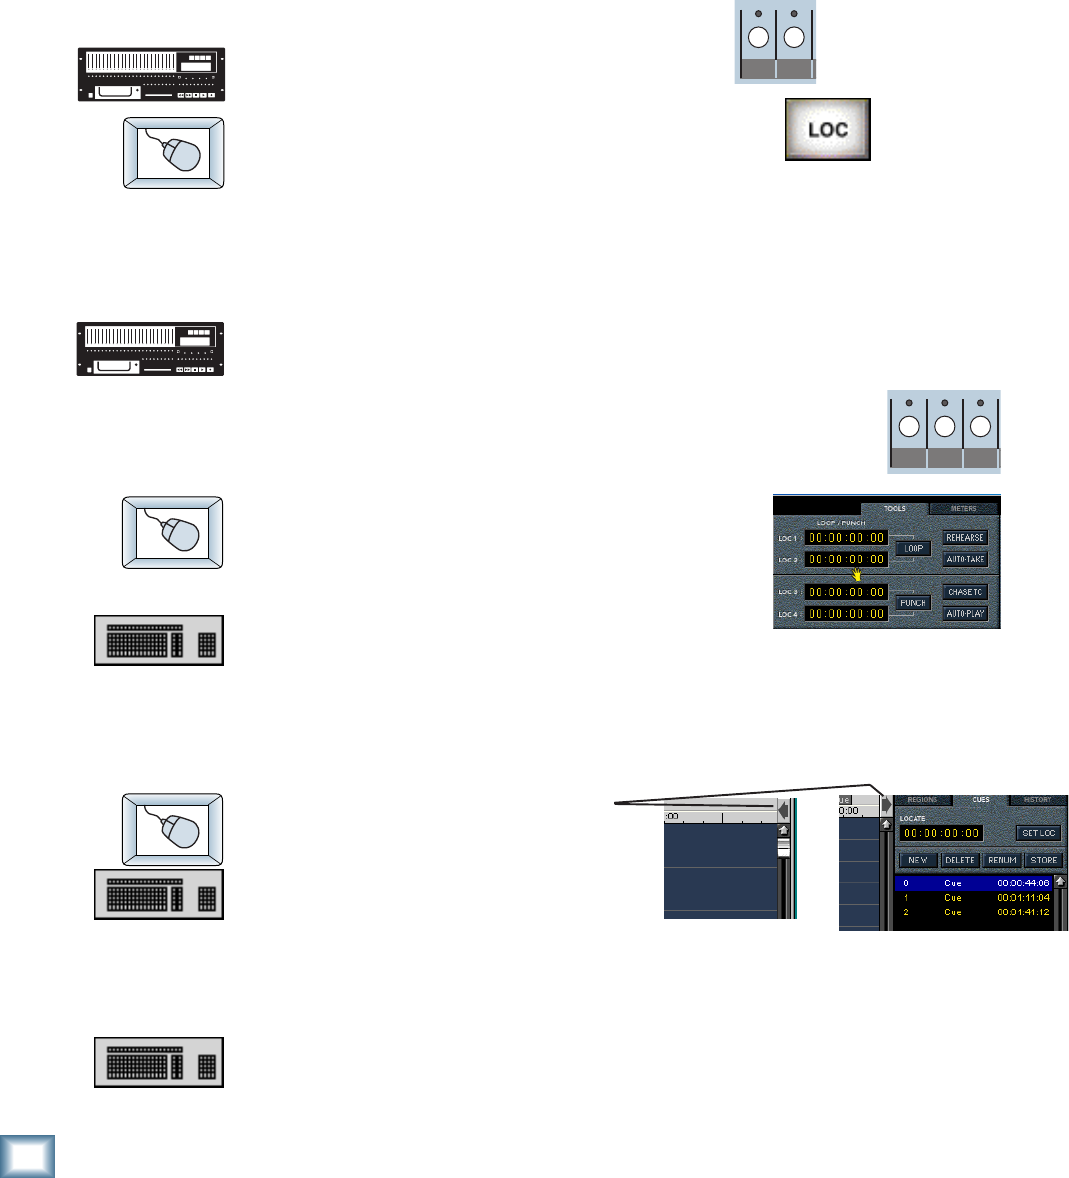
Locate points provide fast access to frequently used locations in your Project. The
HDR24/96 has four numbered Locates and a Transport Locate. The Transport
Locate is a single point accessible only from the GUI. The numbered Locates can
be set either from the front panel, Remote, or GUI, but can be recalled only from
the front panel or a Remote. Storing a Locate point saves the Current Time
(Transport position) to the Locate button. Recalling a Locate causes the Transport
to jump to the stored time. If you want to mark lots of points in your project, use
Cues (see Cues on page 34).
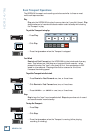
To recall a Locate point:
♦
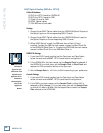
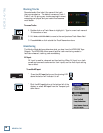
Press Loc 1 or Loc 2 to jump to that point.
♦
Click Loc to jump to the Transport Locate point.
Note: You can’t jump to the four numbered Locate points from the GUI.
To store numbered Locate points:
Locate points can be stored either on the fly or when stopped.
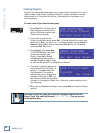
1. Press Store. The Store light will blink to indicate that the HDR24/96 is
ready to save a Locate point.
2. Press Loc1 or Loc 2 when the Transport is at the desired
time; the Store light will go out, indicating that the point
has been stored.
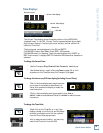
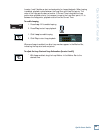
♦
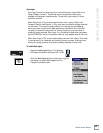
When the Transport is at the desired time, press
CTRL ( the cursor will turn into a hand). Click
anywhere inside the numbered Loc time display
to transfer the current time to the Loc point.
♦
Enter the desired time directly into the
numbered Locate time display with the mouse or
keyboard (see Time Displays on page 31).
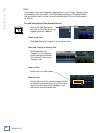
To set the Transport Locate point:
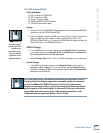
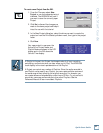
1. Click on the List View arrow to
expand the List View.
2. Click on the Cues tab (or use
keyboard shortcut CTRL+5). Enter
the desired time directly into the
Locate time display with the mouse
or keyboard (see Time Displays). Or, when the Transport is at the
desired time, click Set Loc, or CTRL+click inside the Locate time display.
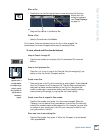
♦
Press CTRL+L when the Transport is at the desired time.


