48
HDR 24/96
HDR 24/96
DISK UTILITY MENU
Active Drive: Internal
Set Mount Format Verify
It is extremely important that you make backup copies of your projects at the end
of each session. While digital recording technology is highly reliable and hard disk
media is durable, sometimes stuff just happens. To reduce your risk of
catastrophic data loss (and the possible loss of $$ and clients), back up your
projects on two media before deleting them from your working drive(s).
There…..now you know better. So, don’t wait until disaster strikes to get backup
fever, and don’t complain to Mackie when your pet Rottweiler discovers that the
only copy of your client’s $20,000 project makes a superb chew toy and buries it in
the garden.
All media must be formatted before it can be used with the HDR24/96. Formatting
erases the media’s contents and prepares the file system for use with the HDR24/
96. Mackie Media M•90 drives come pre-formatted and ready to use, as do ORB
disks for the Mackie Media PROJECT drive (be sure to buy IBM formatted ORB
disks). Most off-the-shelf UDMA IDE drives do not come pre-formatted.
Although you can use almost any IDE drive for backup, not all UDMA IDE drives
are fast enough to be used for recording and playback. If you want to use your own
UDMA IDE drive for recording and playback, you must format it with the HDR,
then verify that it is fast enough to record and playback at the maximum data rate
(24 track, 24-bit, 48 kHz). If the drive passes the performance verification test, it
is “tagged” as a real-time drive. If it fails, then the drive can be used only for
backup. External drives that fail the record verification test will appear with an
asterisk (*) in the GUI and front panel menus and dialogs.
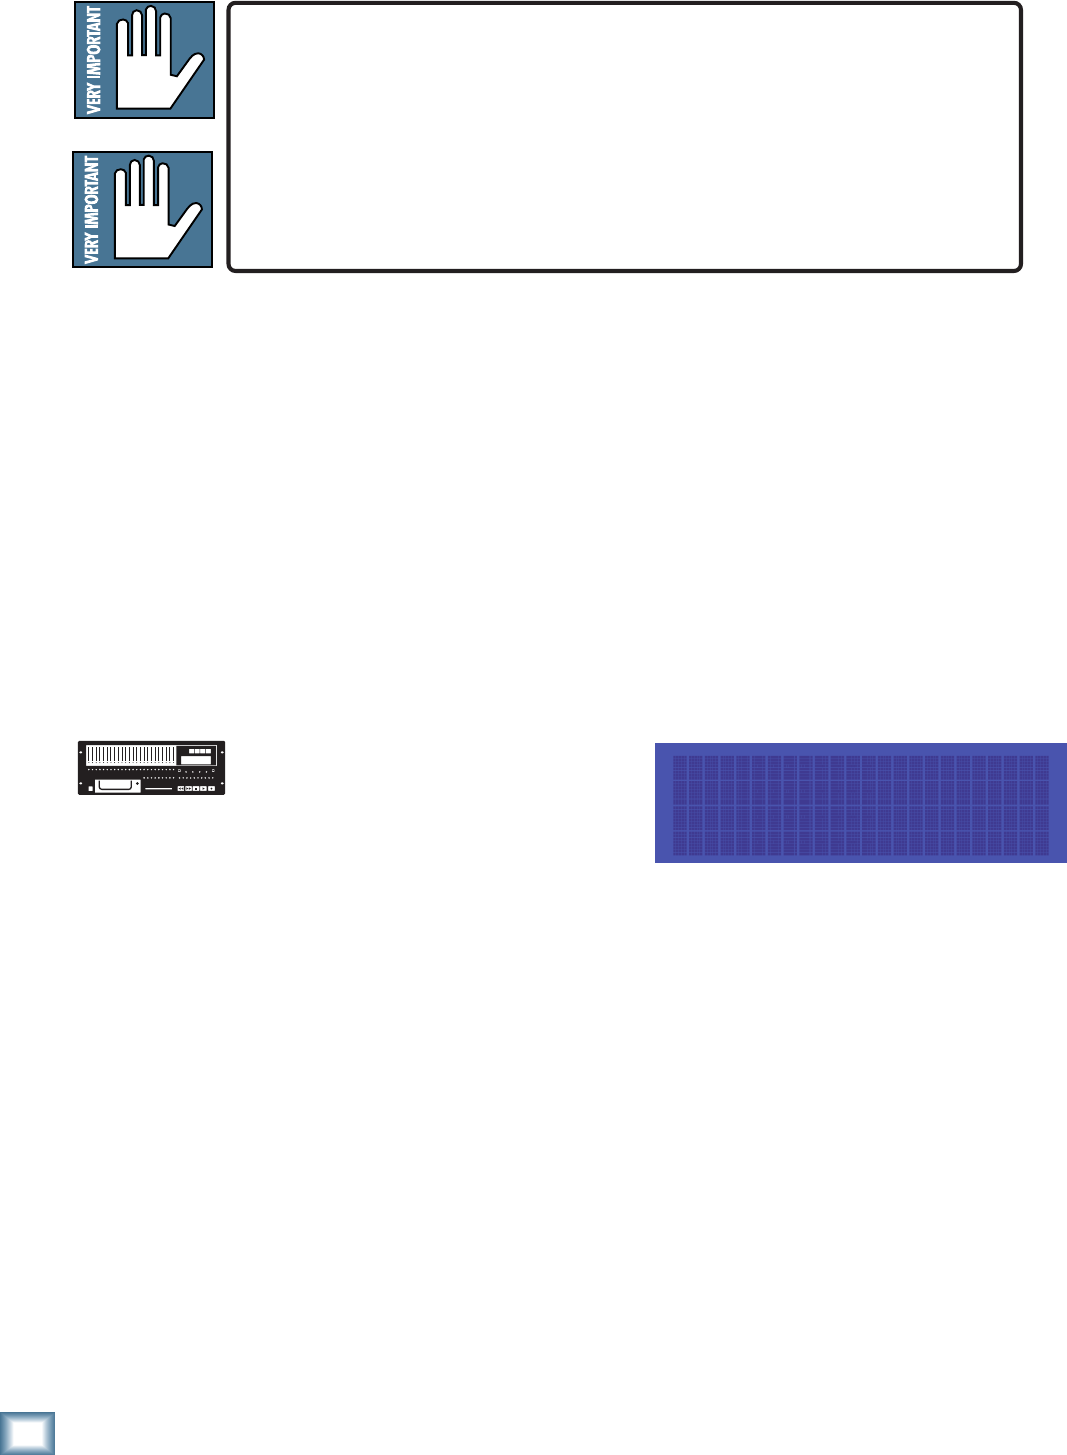
To format and verify media performance from the HDR24/96:
1. Press the Disk Util button. If the
Active drive is not the external
drive, then select Set.
2. In the Set Active Drive menu, use
either the – Dec / + Inc or << /
>> buttons and select External
(Mackie Media bay).
3. Select OK. Now select Format. The LCD screen will display a message
asking you to confirm the format operation.
4. Select OK. When the format operation has completed, another message
will appear asking you to verify the drive speed for recording and
playback.
5. If a UDMA drive is installed, select OK. After the performance verification
is completed, select Continue. If a Mackie Media PROJECT drive is
installed, select Cancel; they are too slow to be used for recording and
playback.
6. Press Disk Util to exit.