44
HDR 24/96
HDR 24/96
Autopunch
Autopunch allows you to automatically punch in and out between two predefined
points. This feature is very convenient when you need to nail really a tight punch
or need two hands to play your instrument. Numbered Locates 3 and 4 (available
on the GUI and the Remotes but not the front panel), double as the Autopunch
Punch In and Punch Out points.
To enable Autopunch:
♦
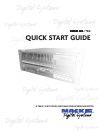
Click the Punch button.
When Punch is enabled, two red Punch
markers appear in the Marker Bar.
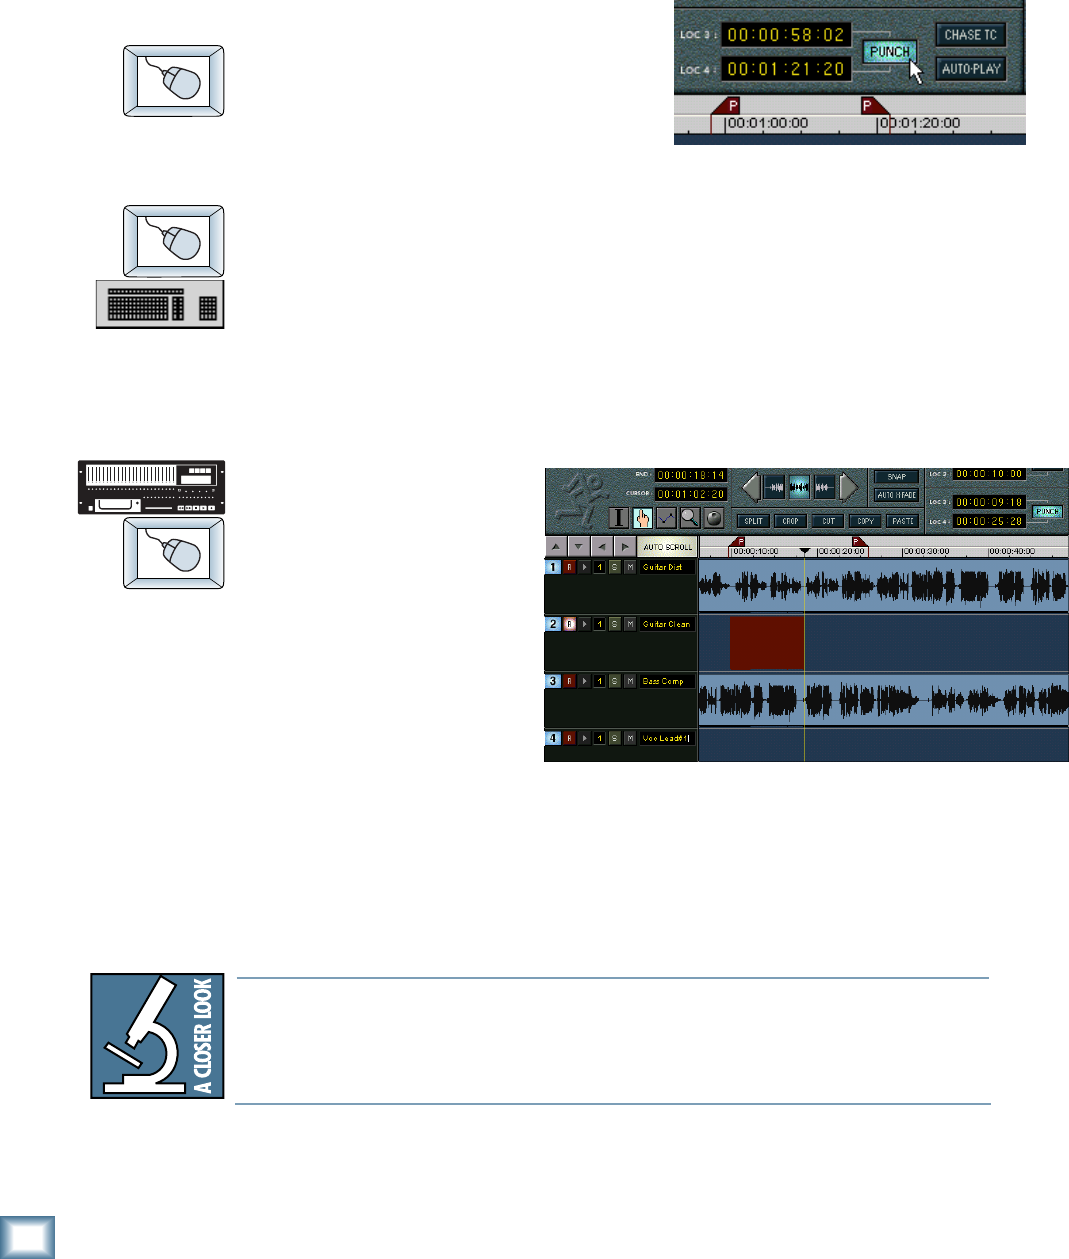
To adjust the Punch In and Punch Out markers (Locates 3 and 4):
♦
When the Transport is at the desired time, CTRL+click (the cursor will
turn into a hand) inside the numbered Locate time display. Or, when Punch
is enabled, drag the Punch Marker in the Marker Bar to the desired time.
or:
♦
Enter the desired time directly into the numbered Locate time display with
the mouse or keyboard (see Time Displays on page 31).
To perform Autopunch recording:
1. Arm one or more
Tracks, and park the
transport
comfortably before
the Punch In point.
You could use Loc
1, Loc 2, or the
Transport Locate
point to get there
quickly.
2. Press Play and
Record.
The Record LED blinks and the HDR24/96 plays. When Current Time reaches the
Punch In point, the HDR24/96 begins recording on all armed tracks and the
Record LED glows. When Current Time reaches the Punch Out point, the HDR24/
96 stops recording, the Record LED blinks, and the HDR24/96 continues playing.
The order of the Punch points does not matter; the punch in always happens at the
earlier point, and the punch out at the later point.
Use Loop and Autopunch together to do looped Autopunch recording. In this
mode, your punch-in point must be no closer than 3 seconds to the loop start
point. The loop end point must be at least 3 seconds later than the punch-out
point.