90
Image Adjustment
Page Layout
Choose from Select layout and Select picture size and adjust options as described
below.
Select layout: When this option is selected, you can choose the number of images that
will be printed from a drop-down menu.
Option
Page orientation
Portrait Landscape
1 Up One image printed in center of page One image printed in center of page
2 Up
Two pictures printed
one above the other
Two pictures printed side-by-side
2 × 2 Up
Four pictures printed in two rows of two
columns each
Four pictures printed in two rows of two
columns each
2 × 4 Up
Eight pictures printed in four rows of
two columns each
Eight pictures printed in two rows of
four columns each
4 × 4 Up
Sixteen pictures printed in four rows of
four columns each
Sixteen pictures printed in four rows of
four columns each
5 × 5 Up
Twenty-fi ve pictures printed in fi ve rows
of fi ve columns each
Twenty-fi ve pictures printed in fi ve rows
of fi ve columns each
5 × 8 Up
Forty pictures printed in eight rows of
fi ve columns each
Forty pictures printed in fi ve rows of
eight columns each
Image
information
list
Print page consisting solely of the following information for the selected images:
fi le name, camera make and model, exposure program, date and time of creation,
shutter speed, aperture, and white balance.
The size of the images is automatically adjusted according to the layout. Select Rotate
images to fi t to rotate images to print at the largest size that will fi t on the selected
paper size.
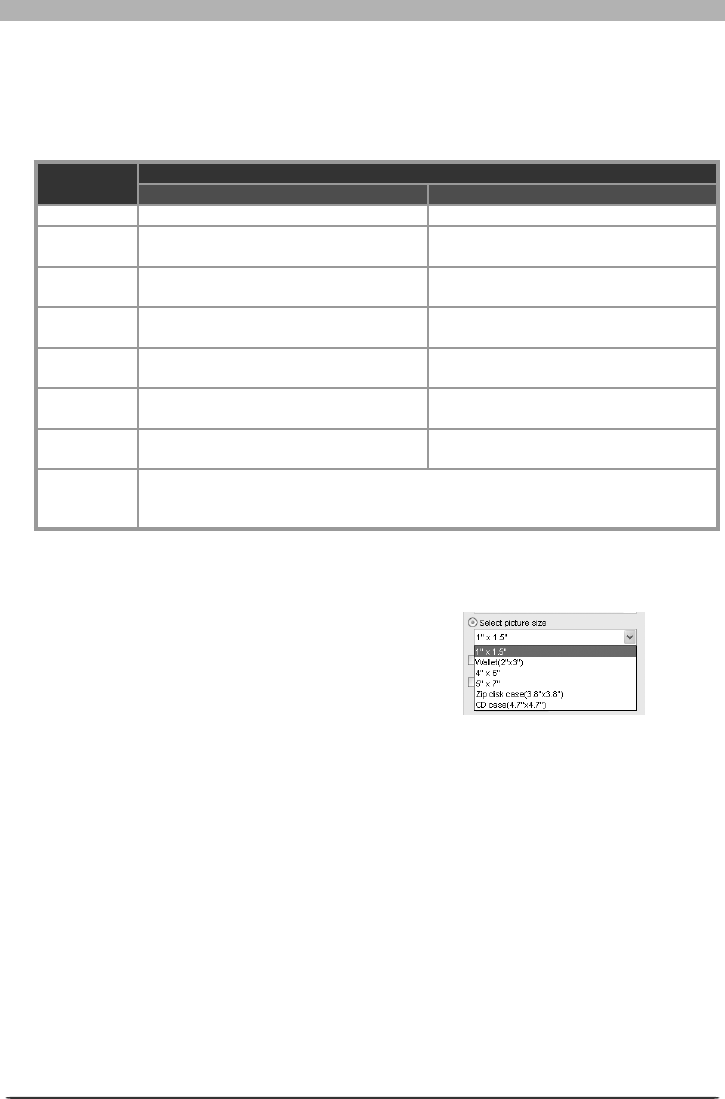
Select picture size: When this option is
selected, you can choose print size from a
drop-down list.
Rotate image(s) to fi t: Check this option to automatically rotate each image so as to
minimize the unused space inside each image frame.
Print a picture multiple times: To print multiple copies of each image, check this option
and select a num ber from be tween two and ten from the pull down menu. Select The
whole page to print enough copies of the image to fi ll the whole page at the selected
size.
Borderless print (Windows) / Eliminate white border (Macintosh): Check this option
to adjust the image size so that it fi ts exactly inside the red border, without leaving any
white space. If the as pect ratio of the box and the image differ, part of the image may
not be printed.
