


Preparation
29
VQT0W82
[BEEP]
Press [ ] to display the [SETUP] menu
and select the item to set. (P27)
Set the volume of the focus confirmation
beep, the self-timer beep, and the alarm
beep.
[]:No beep
[]:Soft beep
[]:Loud beep
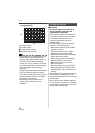
[NO.RESET]
Press [ ] to display the [SETUP] menu
and select the item to set. (P27)
Set this when you want the file number of
the next recording to start from 0001.
(The folder number is updated and the file
number starts from 0001.)
• A folder number between 100 and 999
can be assigned.
When the folder number reaches 999, the
number cannot be reset. We recommend
formatting the card after saving the data
on a PC or elsewhere.
• To reset the folder number to 100, format
the card first (P97) and then use this
function to reset the file number.
A reset screen for the folder number will
then appear. Select [YES] to reset the
folder number.
• Refer to P99 for detailed information about
the file number and the folder number.
[RESET]
Press [ ] to display the [SETUP] menu
and select the item to set. (P27)
The following settings are reset to the initial
settings.
– [REC] mode menu settings
– [SETUP]/[CUSTOM] menu settings
• The following settings are also reset when
you select [RESET].
– [FILM MODE] (P76)
– [CUST. SET MEM.] (P87)
– [WORLD TIME] (P108)
– [FAVORITE] in the [PLAY] mode menu
(P90)
• The folder number and the clock setting
are not changed.
[USB MODE]
Press [ ] to display the [SETUP] menu
and select the item to set. (P27)
Select the USB communication system
after or before connecting the camera to
your PC or your printer with the USB
connection cable (supplied). (P98, 100)
[ SELECT ON CONNECTION]:
Select either [PC] or [PictBridge (PTP)]
if you connected the camera to a PC or
a printer supporting PictBridge.
[PC]:
Set after or before connecting to a PC.
[ PictBridge (PTP)]:
Set after or before connecting to a
printer supporting PictBridge.
• When [PC] is selected, the camera is
connected via the “USB Mass Storage”
communication system.
• When [PictBridge (PTP)] is selected, the
camera is connected via the “PTP (Picture
Transfer Protocol)” communication
system.
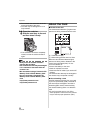
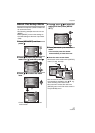
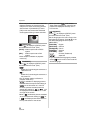
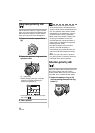
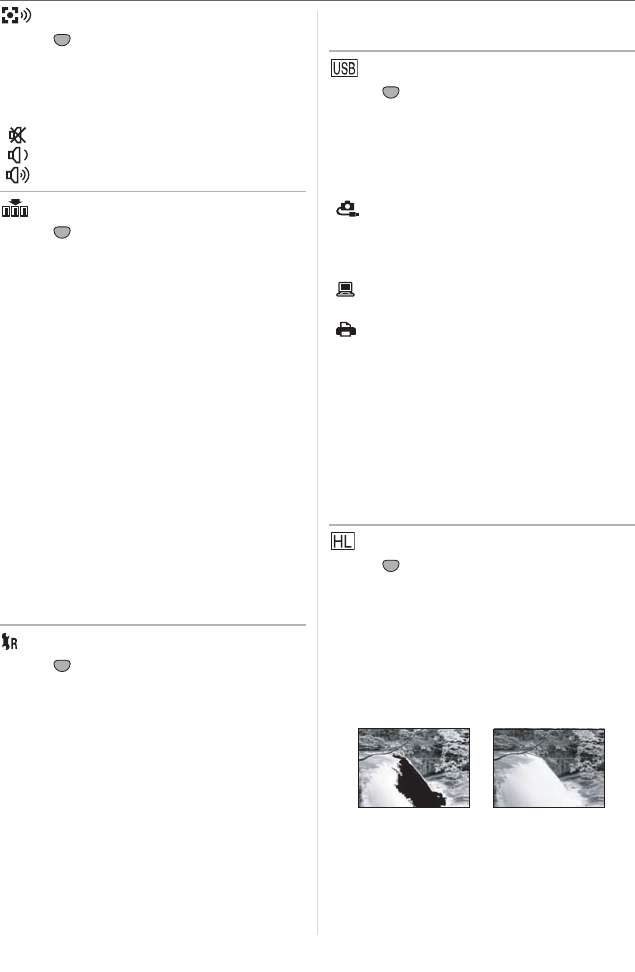
[HIGHLIGHT]
Press [ ] to display the [SETUP] menu
and select the item to set. (P27)
[ON]: When the auto review function is
activated, white saturated areas
appear blinking in black and
white.
[OFF]: No highlight feature.
• If there are any white saturated areas,
compensate the exposure towards
negative (P40) referring to the histogram
(P52) and then take the picture again. It
may result in a better quality picture.
SET
MENU
SET
MENU
SET
MENU
SET
MENU
SET
MENU
[ON]
[OFF]