RealPresence Collaboration Server (RMX) 1500/1800/2000/4000 Administrator’s Guide
Polycom®, Inc. 516
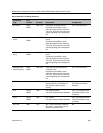
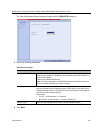
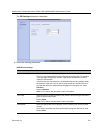
11 Define the following parameters:
12 Click OK.
The new range is added to the Dial-in Phone Numbers table.
13 To define additional dial-in ranges, repeat steps 8 to 10.
14 Enter the MCU CLI (Calling Line Identification).
In a dial-in connections, the MCU CLI indicates the MCU’s number dialed by the participant. In a
dial-out connection, indicates the MCU (CLI) number as seen by the participant
15 Click Save & Continue.
After clicking Save & Continue, you cannot use the Back button to return to previous configuration
dialog boxes.
The ISDN/PSTN Network Service is created and confirmed.
16 Click OK to continue the configuration.
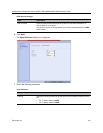
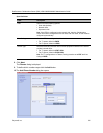
The Spans dialog box opens displaying the following read-only fields:
ID – The connector on the ISDN/PSTN card (PRI1 - PRI12).
Slot – The media card that the ISDN/PSTN card is connected to (1 or 2)
Service – The Network Service to which the span is assigned, or blank if the span is not assigned
to a Network Service
Clock Source – Indicates whether the span acts as a clock source, and if it does, whether it acts
as a Primary or Backup clock source. The first span to synchronize becomes the primary clock
source.
State – The type of alarm: No alarm, yellow alarm or red alarm.
17 Attach spans to existing Network Services, by marking the appropriate check boxes in the Attached
field.
Phones Settings
Field Description
First Number The first number in the phone number range.
Last Number The last number in the phone number range.
• A range must include at least two dial-in numbers.
• A range cannot exceed 1000 numbers.


