


Chapter 3 Shooting 63
Chapter 3 Shooting
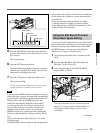
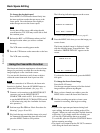
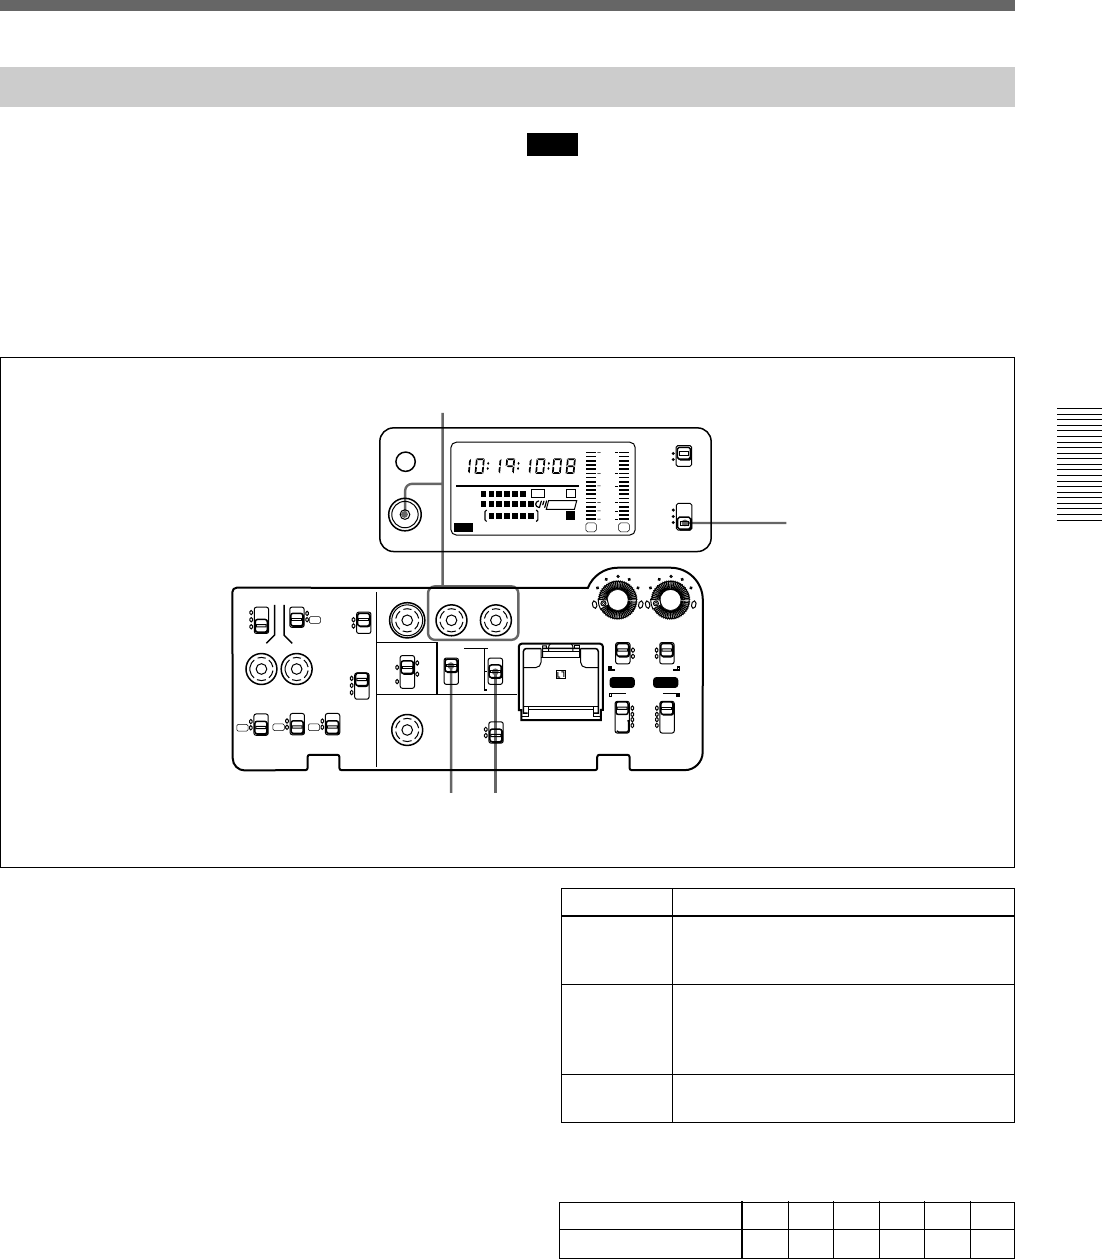
Setting the User Bit Value
Note
Setting the user bit value may be disallowed in some
cases at ClipLink shooting. For details, see step 4 on
page 69 in “ClipLink Shooting”.
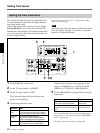
1 Set the DISPLAY switch to U-BIT.
The user bits indication appears.
2 Set the TC mode switch 1 to PRESET.
3 Set the TC mode switch 2 to SET.
This causes the leftmost digit in the user bits
indication to start blinking.
4 Set the user bits.
Hexadecimal digits A to F are displayed as
follows.
5 Perform step 6 in “Setting the Time Code Value”
on page 65.
23
1
4
∞
H MIN SEC FRM
1
dB
2
PB DATE NDF EXT-LK HOLD
CLIP
TAPE
BATT
DIAG
EF
RF SERVO HUMID SLACK
Li
-
-40
-30
-12
0
IP
CL
CONT
OVER OVER
WARNING
RESET
(MENU SET)
LIGHT
DISPLAY
ON
OFF
COUNTER
TC
U-BIT
-20
DVCAM
F
8
32k
F
8
48k
REC TIME SKIN DTL EXT VTR
OUTPUT
VTR
TRIGGER
AUDIO LEVEL
AUDIO SELECT
AUDIO IN
CH-1
LITHIUM BATT
MENU
TTL
DUR
ON
OFF
OFF
TTL RESET
PARALLEL
PRESET
DATE/TIME
F-RUN
REGEN
F-RUN
R-RUN
SET
INT ONLY
EXT ONLY
FRONT
VJ MIC
WRR
REAR
MIX
EXT
VBS
COMPONENT.
MONITOR SELECT
Y/C
SET
ClipLink
CONTINUE
ADVANCE SHIFT
CH-1
CH-2
FRONT MIC
LOW CUT
ON
OFF
MONITOR OUT
CHARACTER
ON
OFF
AUTO
MAN
CH-2
HYPER
GAIN
ON
OFF
SETUP
FILE
STD
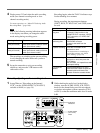
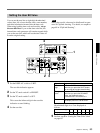
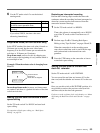
Operation Step
Select a
digit
Press the SHIFT button.
Each time you press the SHIFT button,
the next digit to the right starts blinking.
Change a
value
Press the ADVANCE button.
Each time you press the ADVANCE
button, the displayed value is
incremented to F and returns to 0.
Reset Press the RESET/(MENU SET) button.
The display returns to “00 00 00 00”.
Hexadecimal digit ABCDEF
Display AbCdEF
You can set the user bits as eight-digit hexadecimal
values (base 16) to have the date, time, scene number,
and other information inserted into the time code.
When using both the time code and user bits, set up
the user bits first. If you set the time code first, the
internal time code generator will remain stopped while
you set the user bits, which will set the time value off
from the original setting.