


Chapter 4 Viewfinder Screen Indications and Menus 83
Chapter 4 Viewfinder Screen Indications and Menus
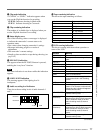
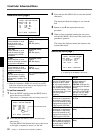
3 Turn the MENU dial until the desired character
appears, and press it.
The character cycles through the following
sequence.
4 Turn the MENU dial to move the text entry arrow.
5 Return to step 3 and repeat the text entry
procedure.
6 After completing text entry, move the text entry
cursor to the parenthesis position.
The display changes as follows.
7 Check your cassette name/number setting, and
press the MENU dial if no more changes are
required. (To make changes or to abort the
procedure for this setting, return to step 2.)
This writes the new cassette name/number to the
cassette memory, after which the display changes
as follows.
Basic menu pages 8 and 9
You can create a title of up to four lines, each of
twelve alphanumeric or punctuation characters, and
then save it. It is then possible to record the title over
the picture while shooting.
Note
You cannot set the skin detail correction while a title is
displayed.
Entering the title (basic menu page 8)
1 Press the MENU switch or turn the MENU dial as
necessary to display basic menu page 8 (title
setting display) in the viewfinder.
If a title is already present, it appears on this
screen.
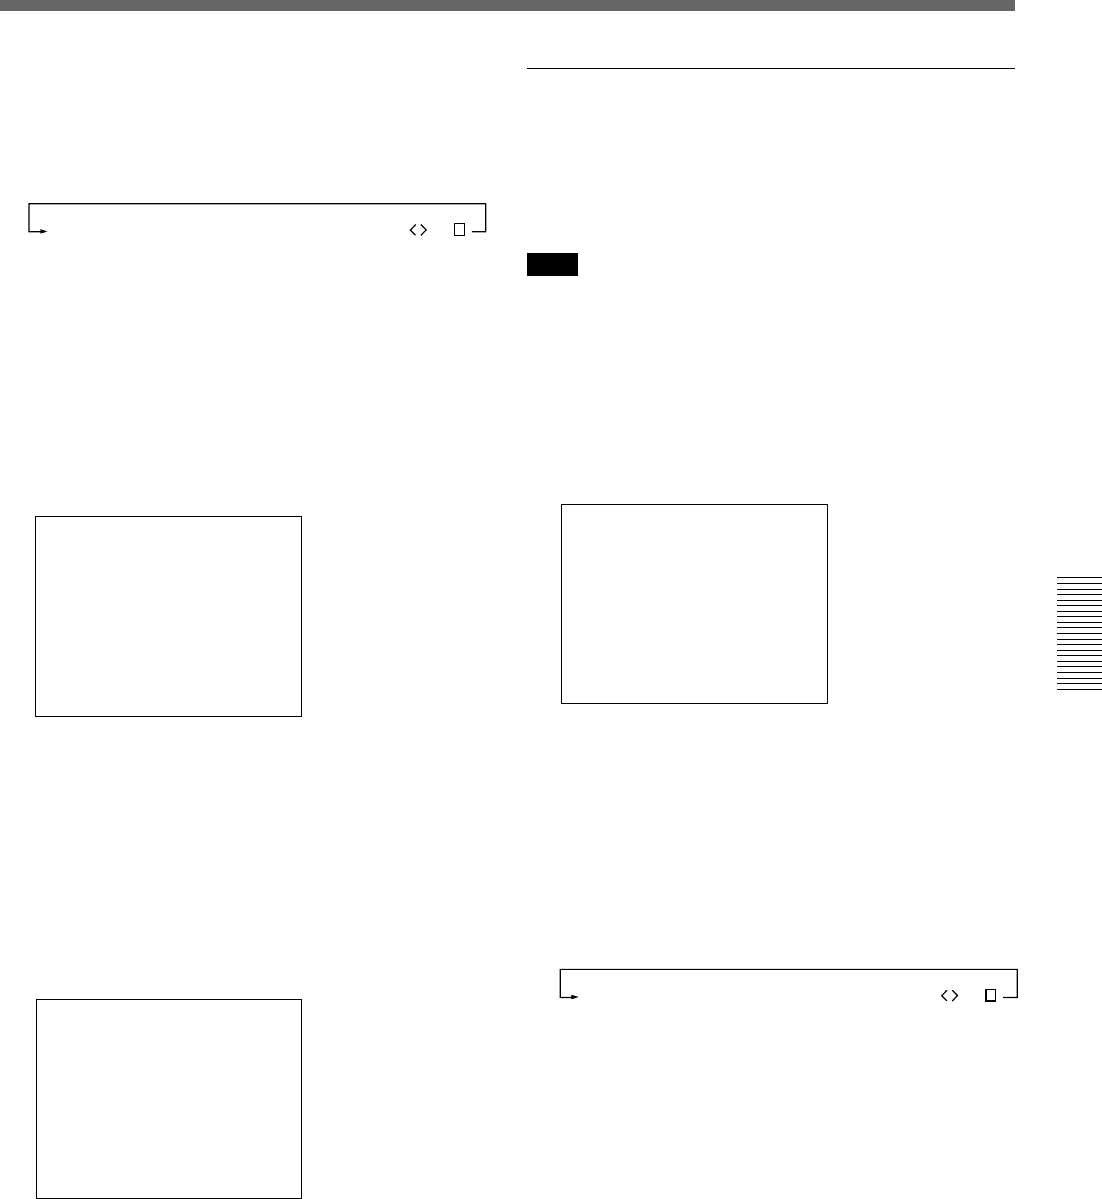
2 Press and turn the MENU dial until the desired
character appears.
The character cycles through the following
sequence.
Press the MENU dial when the desired character
appears.
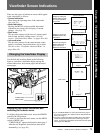
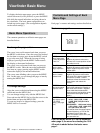
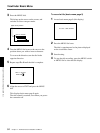
MARK/CUE: MARK
CHG REEL NO.
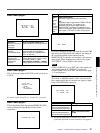
m
WRITE(YES
m
PUSH)
(DEF )
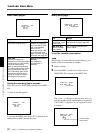
MARK/CUE: MARK
m
CHG REEL NO.
DONE
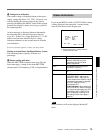
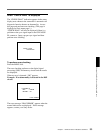
ABCDEFGHIJKLMNOPQRSTUVWXYZ0123456789?;x/: -
.,
(Space)
(Space)
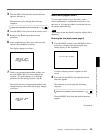
m
TITLE SET(
YES
m
PUSH
)
ABCDEFGHIJKLMNOPQRSTUVWXYZ0123456789?;x/: -
.,
(Continued)