88
Thumbnail Search
Chapter 3 Recording and Playback
5
With OK selected, press the SEL/SET button or
MENU knob.
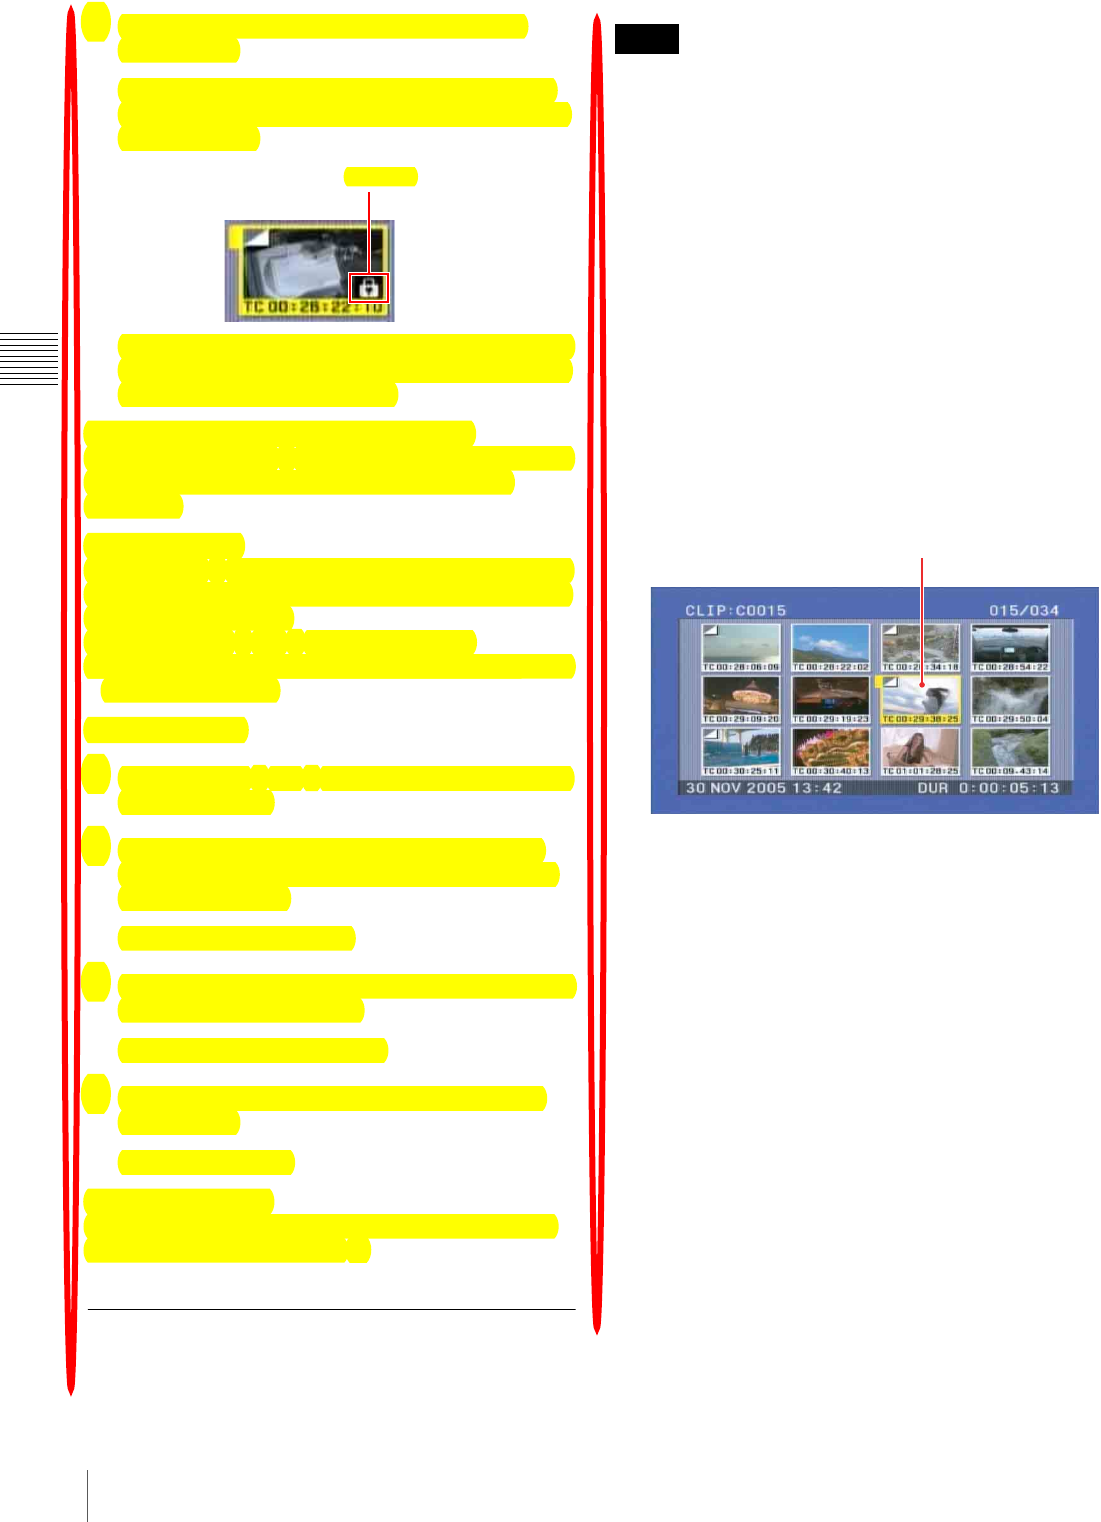
You return to the thumbnail screen, and a lock icon
appears on the thumbnail of the selected clip to show
that it is locked.
You cannot delete locked clips, rename them, set their
thumbnails, and so on. Unlock the clip if you want to
perform any of these operations.
To lock clips with a shortcut operation
After carrying out step 2 in the procedure, press the STOP
button with the SHIFT button held down (shortcut
operation).
To unlock clips
Carry out step 2 of “Locking clips” to select a locked clip
(one with the lock icon displayed on its thumbnail). Then
do one of the following.
• Carry out steps 3 and 4 of “Locking Clips.”
• Press the STOP button with the SHIFT button held down
(shortcut operation).
To lock all clips
1
Carry out steps 1 and 3 of “Locking Clips” to display
the CLIP MENU.
2
Use the SEL/SET button or MENU knob to select
“LOCK OR DELETE ALL CLIPS”, and then press
the button. or knob.
A submenu screen appears.
3
Select “LOCK ALL CLIPS”, and then press the SEL/
SET button or MENU knob.
A confirmation screen appears.
4
With “OK” selected, press the SEL/SET button or
MENU knob.
All clips are locked.
To unlock all clips
Carry out the procedure in “To lock all clips”, selecting
UNLOCK ALL CLIPS in step 2.
Deleting Clips
You can delete clips while checking their contents.
• Clips cannot be deleted when the Write Inhibit tab of the
disc is set to the recording disabled position.
• If the deletion target clip is referenced by clip lists on the
disc, all of those clip lists are deleted as well.
• If the deletion target clip is referenced in the current clip
list, all of the referenced sub clips, and only those sub
clips, are deleted at the same time as the deletion target
clip.
• You can use the DISC MENU to delete the last clip or all
clips. For details, see page 69.
1
With the SUB CLIP indicator off, press the
THUMBNAIL button, turning it on.
The thumbnails of the clips on the disc appear.
2
Select the clip to delete (you can do this with the same
operations as step 2 of “Searching Using Thumbnails”
(page 82).
3
Press the CLIP MENU button with the SHIFT button
held down.
The CLIP menu appears (see page 100).
4
Use the SEL/SET button or MENU knob to select
“DELETE CLIP”, and then press the button. or knob.
A deletion confirmation screen appears and then
thumbnails of four frames (the first frame,
intermediate frame 1, intermediate frame 2, and the
last frame) in the target clip appear. At the same time,
the clip name, title, date and time of creation, and
duration appear.
One of the following messages appears, depending on
whether the target clip is referenced in a clip list.
• When the target clip is not referenced in a clip list:
“DELETE CLIP?”
• When the target clip is referenced in a clip list:
“DELETE CLIP & CLIP LIST?” (All clip lists that
reference the deletion target clip will be deleted as
well).
Lock icon
Notes
Clip to be deleted
