70
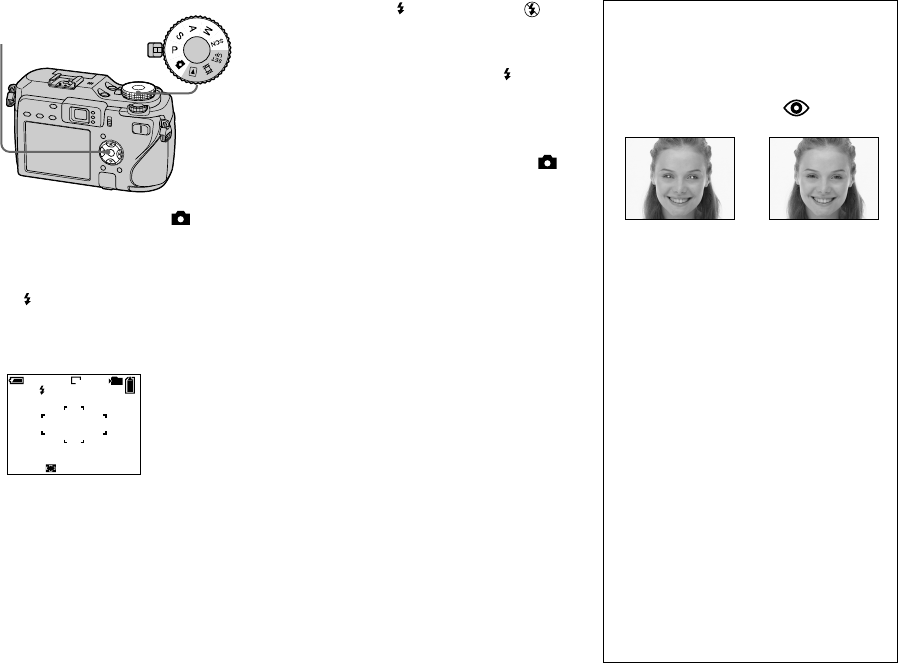
Mode dial
Control button
Set the mode dial to , P, S, A,
M or SCN.
Select the desired mode with
(
).
The selected fl ash mode indicator
appears enlarged on the LCD screen
(page 140).
VGA
60
min
98
SAF
101
F2.0250
P
• If the menu is currently displayed, press
MENU first so that the menu disappears.
• The recommended distance using the fl ash
is about 0.4 m to 3 m (15 3/4 inches to 118
1/8 inches) (W)/0.4 m to 2.5 m (15 3/4 inches
to 98 1/2 inches) (T) (when [ISO] is set to
[Auto]).
• When using the
SL
(Slow synchro) or
(No fl ash) mode, the shutter speed becomes
slower in dark places, so using a tripod is
recommended.
• While charging the fl ash, the CHG/
lamp
fl ashes. After the charging is complete, the
lamp goes out and fl ash mode is ready.
• You can change the brightness of the fl ash
using [Flash Level] in the menu settings (page
71). (Except when the mode dial is set to
.)
• You can mount an external fl ash on this camera
(page 72).
To prevent subjects’ eyes from
appearing red
The flash pre-strobes twice or more before
shooting to reduce the red-eye phenomenon.
Set [Red Eye Reduction] to [On] in the SET
UP settings (page 140). The
indicator
appears on the LCD screen.
Red-eye reduction takes approximately one
second before actually shooting the image,
so hold the camera firmly to avoid shaking.
In addition, be sure to tell the subject to
hold still.
• Red-eye reduction may not produce the
desired effects depending on individual
differences, the distance to the subject,
if the subject does not see the pre-strobe,
or other conditions. In addition, red-eye
reduction is more effective under bright
lighting and when closer to the subject.


