


53
Advanced Recording Operations Uitgebreide opnamefuncties
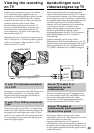
Opnemen met de flitser
De ingebouwde flitser van de camcorder springt
automatisch omhoog. De oorspronkelijke
instelling voor de flitser is automatisch, indien
nodig (zonder aanduiding). Voor het
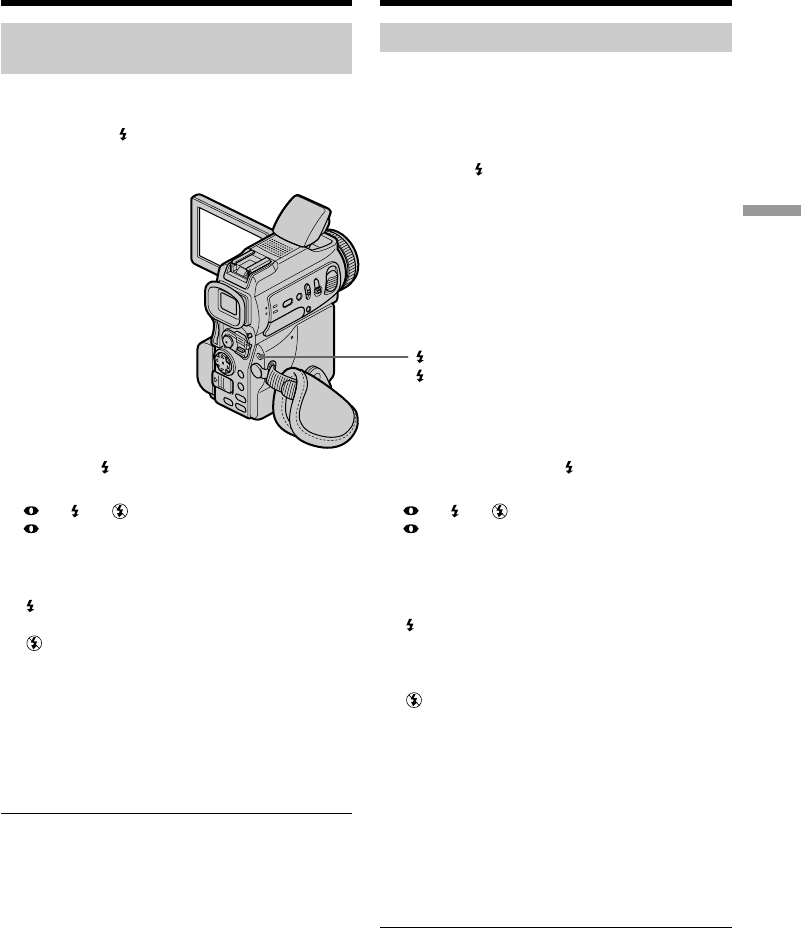
omschakelen van de flitsfunctie drukt u enkele
malen op de flitskeuzetoets zodat de
aanduiding voor de gewenste flitsfunctie op het
scherm verschijnt.
Telkens wanneer u op de flitskeuzetoets drukt,
verandert de flitsfunctie-aanduiding als volgt.
t t t Geen aanduiding
Automatische rode-ogen reductiefunctie:
De flitser geeft voor de feitelijke
opname een voorflits ter
voorkoming van het hinderlijke
rode-ogen effect.
Geforceerd invulflitsen:
De flitser zal nu in alle gevallen
flitsen, ongeacht de helderheid
van de omgeving.
Flits uitgeschakeld:
De flitser zal nu ook in het
donker niet werken.
De vereiste helderheid van het flitslicht wordt
automatisch geregeld via de lichtgevoelige cel
van de flitser. Ook kunt u zelf in het instelmenu
het onderdeel FLASH LVL op de gewenste
waarde instellen (zie blz. 132). Het is aanbevolen
voor een juiste FLASH LVL instelling eerst een
aantal proefopnamen te maken.
Opmerkingen
•Het gebruik van de (bijgeleverde) zonnekap of
een (los verkrijgbare) voorzetlens kan het
flitslicht wel eens belemmeren of kan een
schaduw van de lensrand in beeld te zien
geven.
•U kunt geen externe flitser (los verkrijgbaar)
tegelijk met de ingebouwde flitser gebruiken.
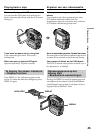
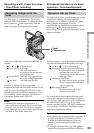
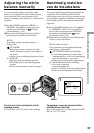
Recording images with the
flash
The flash pops up automatically. The default
setting is auto (no indicator). To change the flash
mode, press the (flash) repeatedly until the
flash mode indicator appears on the screen.
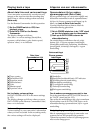
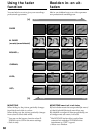
Each press of (flash) changes the indicator as
follows:
t t t No indicator
Auto red-eye reduction:
The flash fires before
recording to reduce the red-
eye phenomenon.
Forced flash: The flash fires regardless of
the surrounding brightness.
No flash: The flash does not fire.
The flash is adjusted to the appropriate
brightness through the photocell window for the
flash. You can also change FLASH LVL to the
desired brightness in the menu settings (p. 132).
Try recording various images to find the most
appropriate setting for FLASH LVL.
Notes
•Attaching the lens hood (supplied) or a
conversion lens (optional) may block the light
from the flash or cause lens shadow to appear.
•You cannot use an external flash (optional) and
the built-in flash at the same time.
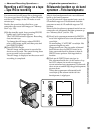
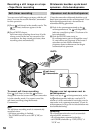
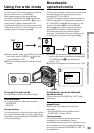
Stilstaande beelden op de band
opnemen – Foto-bandopname
Recording a still image on a tape
– Tape Photo recording
(flash)/
flitskeuzetoets