25
Installation
External PSII
04/21/2009 ZebraNet PrintServer II User Guide 45537L-005
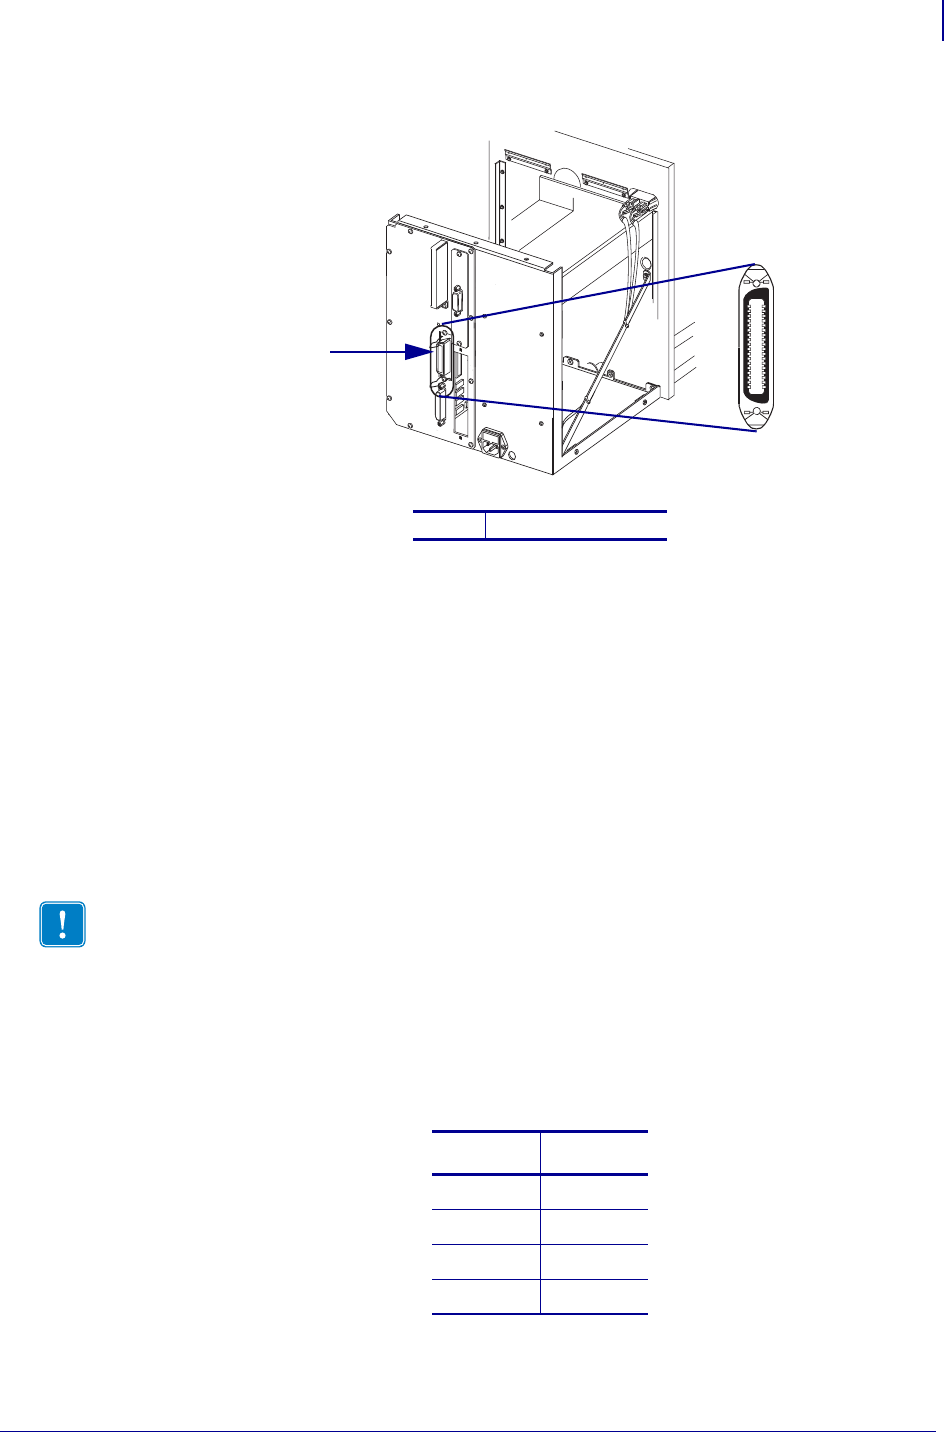
Figure 2 • Parallel Port
3. Secure the wire locks.
4. On the back of the PSII, insert a live 10BASE-T cable into the Ethernet connector.
5. Turn on the printer.
A red status indicator blinks during the Power On Self Test (POST) and changes to green
when the initialization is finished.
The
Test button is a small hole on the PSII device. To press it, you need to insert
something small into the hole, like a paperclip.
6. Press the Test button located on the bottom of the PSII. This prints out a PSII
configuration label.
This table shows you how to determine the minimum label width needed to print a
PSII
configuration label for printers with firmware version 7 or lower:
1
Parallel connector
Important • Label length, DPI and your firmware version:
• For all printers, the minimum label length is 4 in. (10.16 cm).
• For printers with firmware version 7.01 and higher, regardless of the dpi, a
2-inch (5 cm) label prints
• For printers with firmware version 7 and lower, see the table that follows.
DPI Inches
600 1.25
300 2.50
200 3.69
150 5.0


