


35
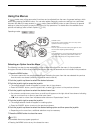
Preparing the Camcorder
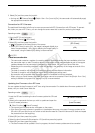
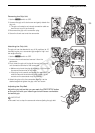
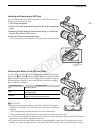
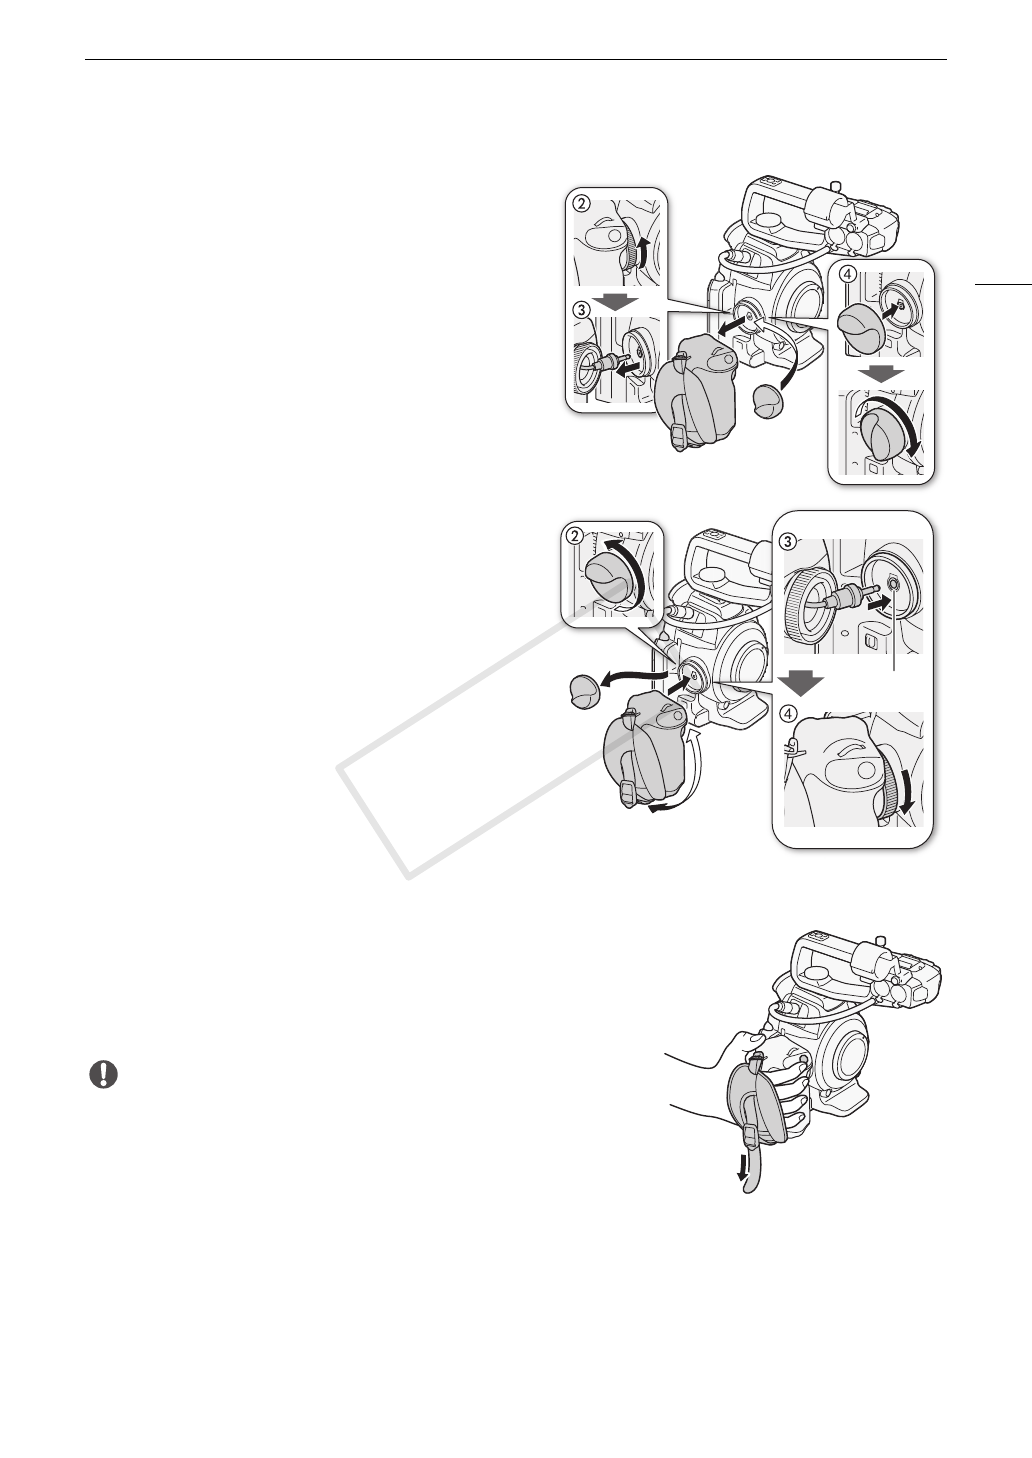
Removing the Grip Unit
1 Set the Q switch to OFF.
2 Unscrew the grip unit’s lock screw and gently detach the
grip unit.
• The grip unit contains an internal connection cable so
be sure not to pull it too forcefully.
3 Disconnect the grip unit’s connection plug.
4 Screw the thumb rest onto the camcorder.
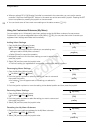
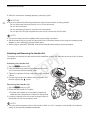
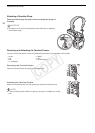
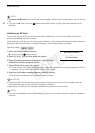
Attaching the Grip Unit
The grip unit can be attached in any of 24 positions (at 15º
intervals) to give you a convenient grip angle for high- and
low-angle shooting.
1 Set the Q switch to OFF.
2 Unscrew the thumb rest and remove it from the
camcorder.
3 Firmly insert the grip unit’s plug all the way into the grip
unit connection terminal on the camcorder.
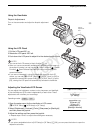
• Make sure to insert the plug all the way in, until the white
line around the terminal is not visible.
• If the plug is not correctly connected (for example, if the
white line around the terminal is partly visible), all the
controls on the camcorder may be disabled.
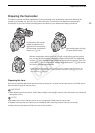
4 Attach the grip unit to the camcorder aligning it at the
desired angle and tighten the grip unit’s lock screw.
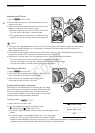
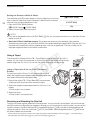
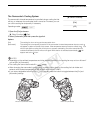
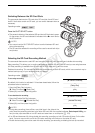
Adjusting the Grip Belt
Adjust the grip belt so that you can reach the START/STOP button
on the grip unit with your index finger but still have a comfortable
but secure grip.
IMPORTANT
• Be careful not to drop the camcorder when adjusting the grip belt.
White line
COPY