


79
Recording Audio
Adjusting the Microphone’s Sensitivity
You can adjust the microphone’s sensitivity if the XLR terminal switch is set to MIC or MIC+48V.
1 Open the desired XLR terminal’s sensitivity submenu.
[¡ Audio Setup] > [Audio Input] > [XLR1 Mic Trimming] or [XLR2 Mic Trimming]
2 Select the desired level and then press the joystick.
Available Sensitivity Levels
Activating the Microphone’s Attenuator
You can activate the microphone’s attenuator (20 dB) if the XLR terminal
switch is set to MIC or MIC+48V.
1 Open the desired XLR terminal’s microphone attenuator submenu.
[¡ Audio Setup] > [Audio Input] > [XLR1 Mic Att.] or [XLR2 Mic
Att.]
2 Select [On] and then press the joystick.
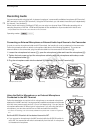
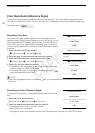
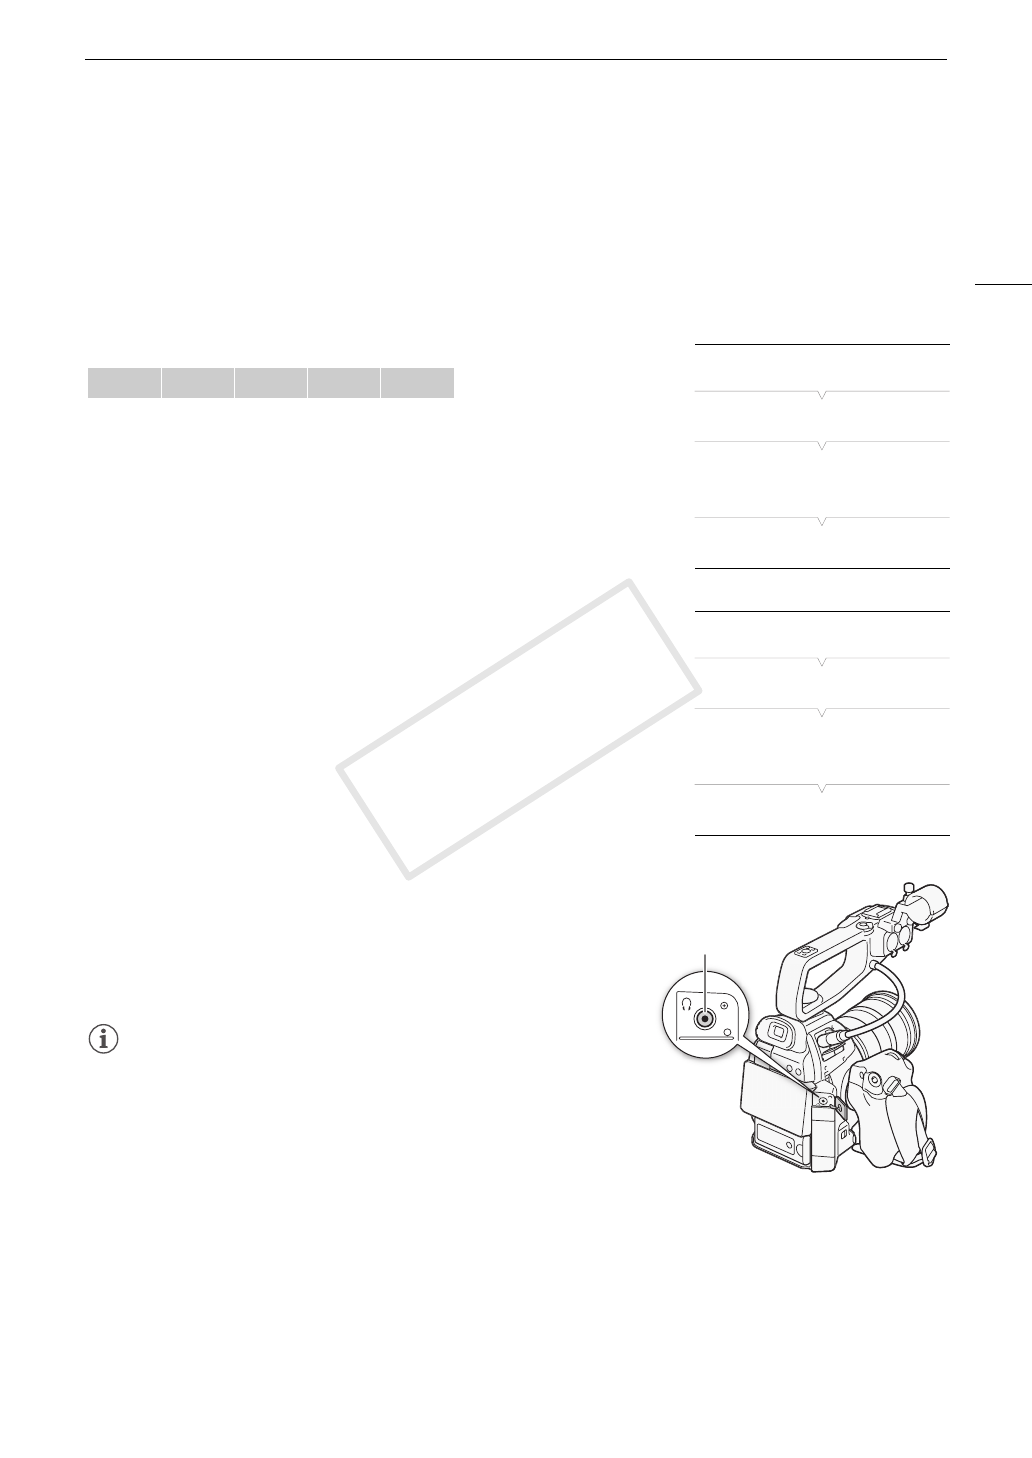
Monitoring the Audio with Headphones
Connect headphones* to the × (headphone) terminal to monitor the
recorded audio. You can adjust the headphone volume with the
[¡ Audio Setup] > [Audio Output] > [Headphone Volume] setting.
* For 50.00 Hz recordings, use commercially available headphones with a cable no
longer than 3 m.
NOTES
• If you set an assignable button to [Headphone +] or [Headphone -]
(A 89), you can press the button to adjust the headphone volume
without using the menu.
• When you are monitoring the audio, you can choose to synchronize the
audio signal with the video signal or monitor the audio in real time. Use
the [¡ Audio Setup] > [Audio Output] > [Monitor Delay] setting to
select the method. Note that there will be a slight delay when you monitor in real time. Regardless of the
setting, however, the audio and video signals recorded will be synchronized.
+12 dB +6 dB 0 dB -6 dB -12 dB
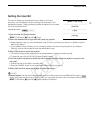
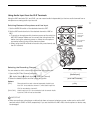
[¡ Audio Setup]
[Audio Input]
[XLR1 Mic Trimming]
[XLR2 Mic Trimming]
[0 dB]
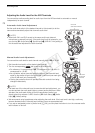
[¡ Audio Setup]
[Audio Input]
[XLR1 Mic Att.]
[XLR2 Mic Att.]
[Off]
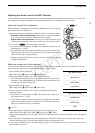
× (headphone)
terminal
COPY