


Onscreen Markers and Zebra Patterns
68
Onscreen Markers and Zebra Patterns
Using onscreen markers allows you to make sure your subject is correctly framed and is within the appropriate
safe area. The zebra patterns help you identify areas that are overexposed. The onscreen markers and zebra
pattern will not affect your recordings.
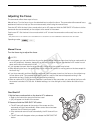
Displaying Onscreen Markers
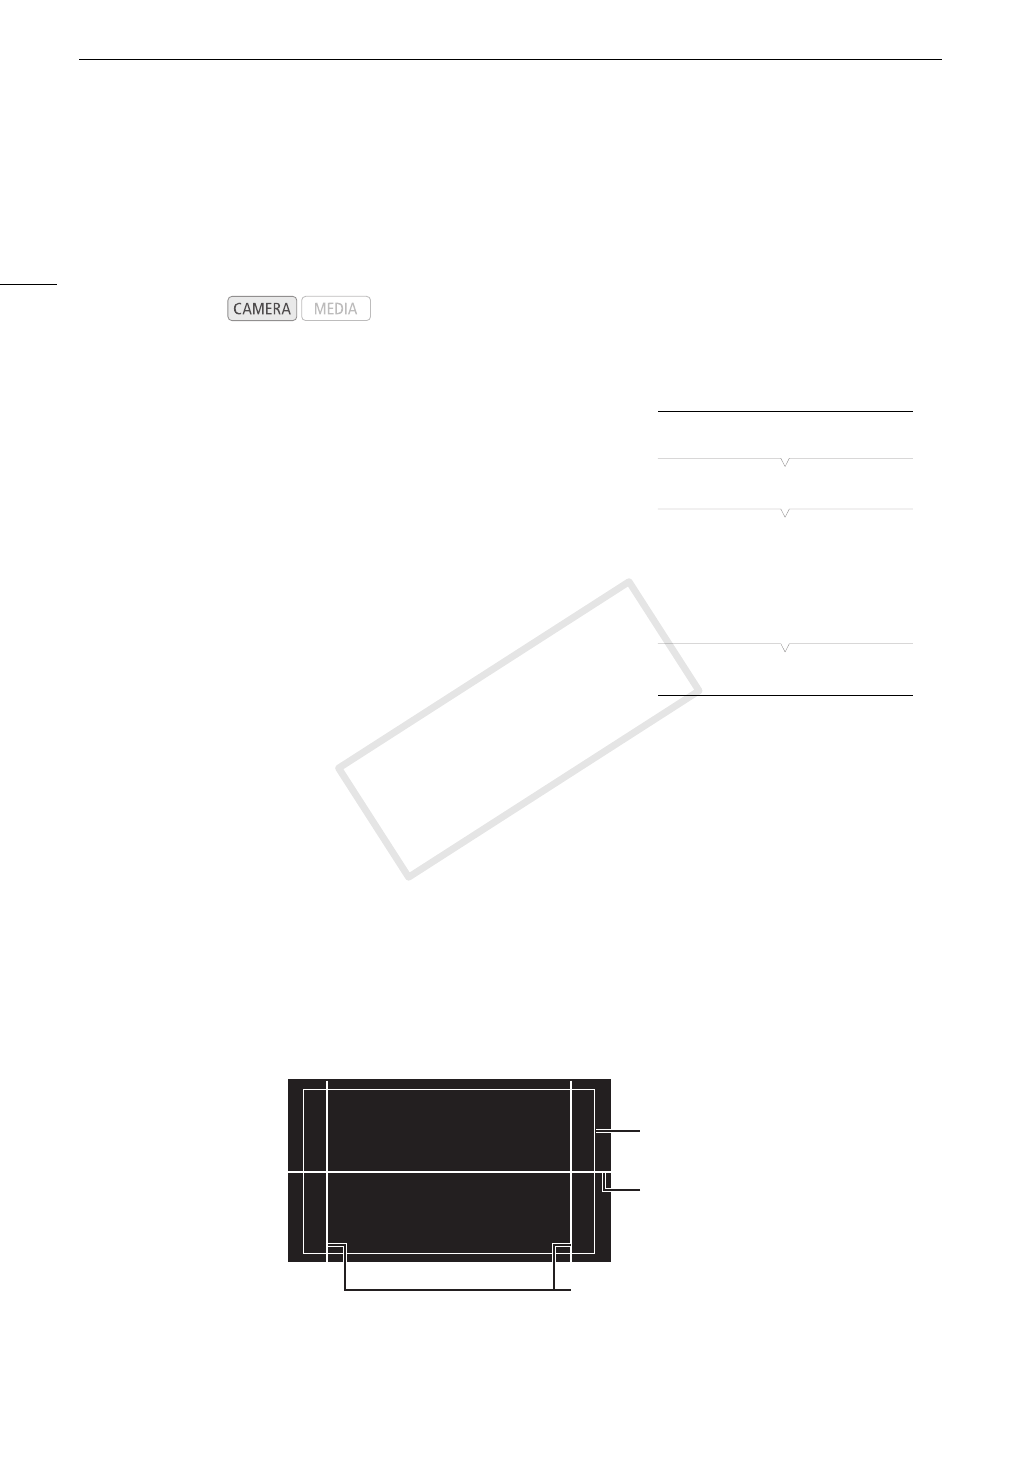
The camcorder offers 5 types of onscreen markers. You can display
multiple onscreen markers simultaneously.
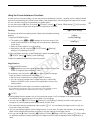
1 Open the [Markers] submenu.
[£ LCD/VF Setup] > [Markers]
2 Select a marker you wish to display, select [White] or [Gray] and
then press the joystick.
• Select [Off] to turn off the selected marker.
• You can display multiple markers simultaneously. Repeat this step as
necessary.
• If you selected [Safety Zone] or [Aspect Marker], continue to step 3.
Otherwise, you can skip to step 4.
3 Select [Safety Zone Area] or [Aspect Ratio], select the desired option and then press the joystick.
4 Select [Enable], select [On] and then press the joystick to enable the onscreen markers.
• All of the selected onscreen markers will be displayed.
• Select [Off] to turn off all onscreen markers.
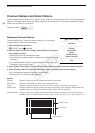
Options
Operating modes:
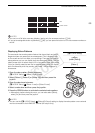
[Center]: Displays a small marker that indicates the center of the screen.
[Horizontal]: Displays a horizontal line to help you compose level shots.
[Grid]: Displays a grid that allows you to frame your shots correctly (horizontally and vertically).
[Safety Zone]: Displays indicators that show various safe areas, such as the action safe area and text safe area.
Available options for [Safety Zone Area] are [80%], [90%], [92.5%] and [95%].
[Aspect Marker]: Displays markers that indicate various aspect ratios to help you keep your shot within that area.
Available options for [Aspect Ratio] are [4:3], [13:9], [14:9], [1.66:1], [1.75:1], [1.85:1] and [2.35:1].
[£ LCD/VF Setup]
[Markers]
[Center]
[Horizontal]
[Grid]
[Safety Zone]
[Aspect Marker]
[Off]
Aspect guide 4:3
Level marker
Safety zone 80%
COPY