


1
2
3
4
5
6
7
8
9
10
11
Cover
Preliminary Notes
and Legal Information
Contents: Basic
Operations
Advanced Guide
Camera Basics
Using GPS
Function
Auto Mode/
Hybrid Auto Mode
Other Shooting
Modes
Tv, Av, and M
Mode
Playback Mode
Wi-Fi Functions
Setting Menu
Accessories
Appendix
Index
Basic Guide
P Mode
137
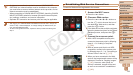
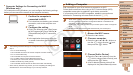
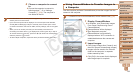
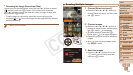
Connecting to Access Points in the List
1 View the listed access points.
View the listed networks (access points)
as described in steps 1 – 3 of “Adding a
Computer” (=
135).
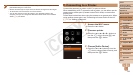
2 Choose an access point.
Press the <o><p> buttons or turn the
<5> dial to choose a network (access
point), and then press the <m> button.
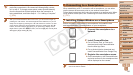
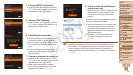
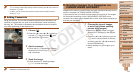
3 Entertheaccesspoint’s
encryption key.
Press the <m> button to access the
keyboard, and then enter the encryption
key (=
134).
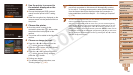
Press the <o><p> buttons or turn the
<5> dial to choose [Next], and then
press the <m> button.
4 Choose [Auto].
Press the <o><p> buttons or turn the
<5> dial to choose [Auto], and then
press the <m> button.
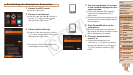
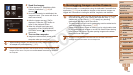
A list of other devices connected to the
access point will appear in the [Select a
Device] screen.
• You can connect to computers that you have already connected to by choosing
them on the [Select a Device] screen in step 3.
• If you chose [PIN Method] in step 5, a PIN code will be displayed on the
screen. Be sure to set this code in the access point. Choose a device in the
[Select a Device] screen. For further details, refer to the user guide included
with your access point.
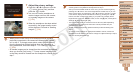
• To add multiple computers, repeat the above procedures starting from step 1.
• To disconnect from the camera, turn off the camera.
• When accessing the Wi-Fi menu from the second time by pressing the <o>
button,themostrecentlyconnecteddevicewillbedisplayedrst,allowing
you to easily select it for connection. To add a new device, display the device
selection screen by pressing the <q><r>buttons,andthencongurethe
setting.
C OPY