


1
2
3
4
5
6
7
8
9
10
11
Cover
Preliminary Notes
and Legal Information
Contents: Basic
Operations
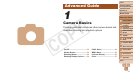
Advanced Guide
Camera Basics
Using GPS
Function
Auto Mode/
Hybrid Auto Mode
Other Shooting
Modes
Tv, Av, and M
Mode
Playback Mode
Wi-Fi Functions
Setting Menu
Accessories
Appendix
Index
Basic Guide
P Mode
28
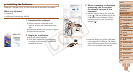
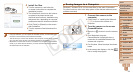
4 Installtheles.
Turn the camera on, and follow the
on-screen instructions to complete the
installation process.
The software will connect to the Internet
to update to the latest version and
download new functions. Installation may
take some time, depending on computer
performance and the Internet connection.
Click [Finish] or [Restart] on the screen
after installation.
Turn the camera off and disconnect the
cable.
• Using the software, you can update to the latest version, and download new
functions via the Internet (some software excluded).
• Thersttimeyouconnectthecameratothecomputer,driverswillbeinstalled,
so it may take a few minutes until camera images are accessible.
• Because the content and functions of software vary according to the camera
model, if you have several cameras, you must use each camera to update to
its latest version of the software.
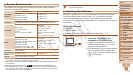
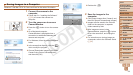
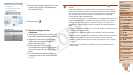
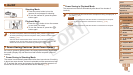
Saving Images to a Computer
Windows 7 and Mac OS X 10.6 are used here for the sake of illustration.
For other functions, refer to the help system of the relevant software (some
software excluded).
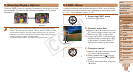
1 Connect the camera to the
computer.
Follow step 3 in “Installing the Software”
(=
27) to connect the camera to a
computer.
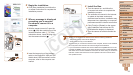
2 Turn the camera on to access
CameraWindow.
Press the <1> button to turn the camera
on.
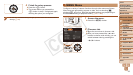
On a Macintosh computer,
CameraWindow is displayed when a
connection is established between the
camera and computer.
For Windows, follow the steps introduced
below.
In the screen that displays, click the [ ]
link to modify the program.
C OPY