


61
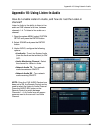
Appendix 9: System Setup Tips
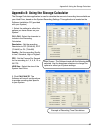
Camera Setup
Each camera should be assigned a name
that corresponds to its use (i.e. Dock1,
BackDoor, Cash3, etc.). This name is
displayed onscreen, and helps to identify
the camera location easily.
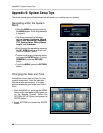
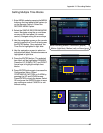
1. Enter MENU mode by pressing the MENU
button on the front panel of the system (or
on the Remote Control). Select the
SYSTEM SETUP Option.
2. Select the CAMERA menu from the MAIN
menu. Navigate using the up and down
arrows on the front panel (or remote
control). Highlight the selection in Green,
and press the ENTER button to enter the
CAMERA Menu.
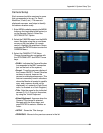
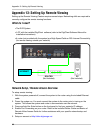
3. Select the CAMERA TITLE Menu.
Change the settings by navigating with
the UP/DOWN/LEFT and RIGHT arrow
keys.
• CAM # - Indicates the Camera Number
(corresponds to the BNC connection
port on the back of the system).
• Covert - Turns the onscreen display of
the Camera ON/OFF. Covert Cameras
continue to record, however the
camera is not displayed onscreen. This
feature is commonly used in situations
where the Monitor is located in a public
area, and a camera should not be
displayed (i.e. Located in a Cash Count
room, or directed at a Cash Register).
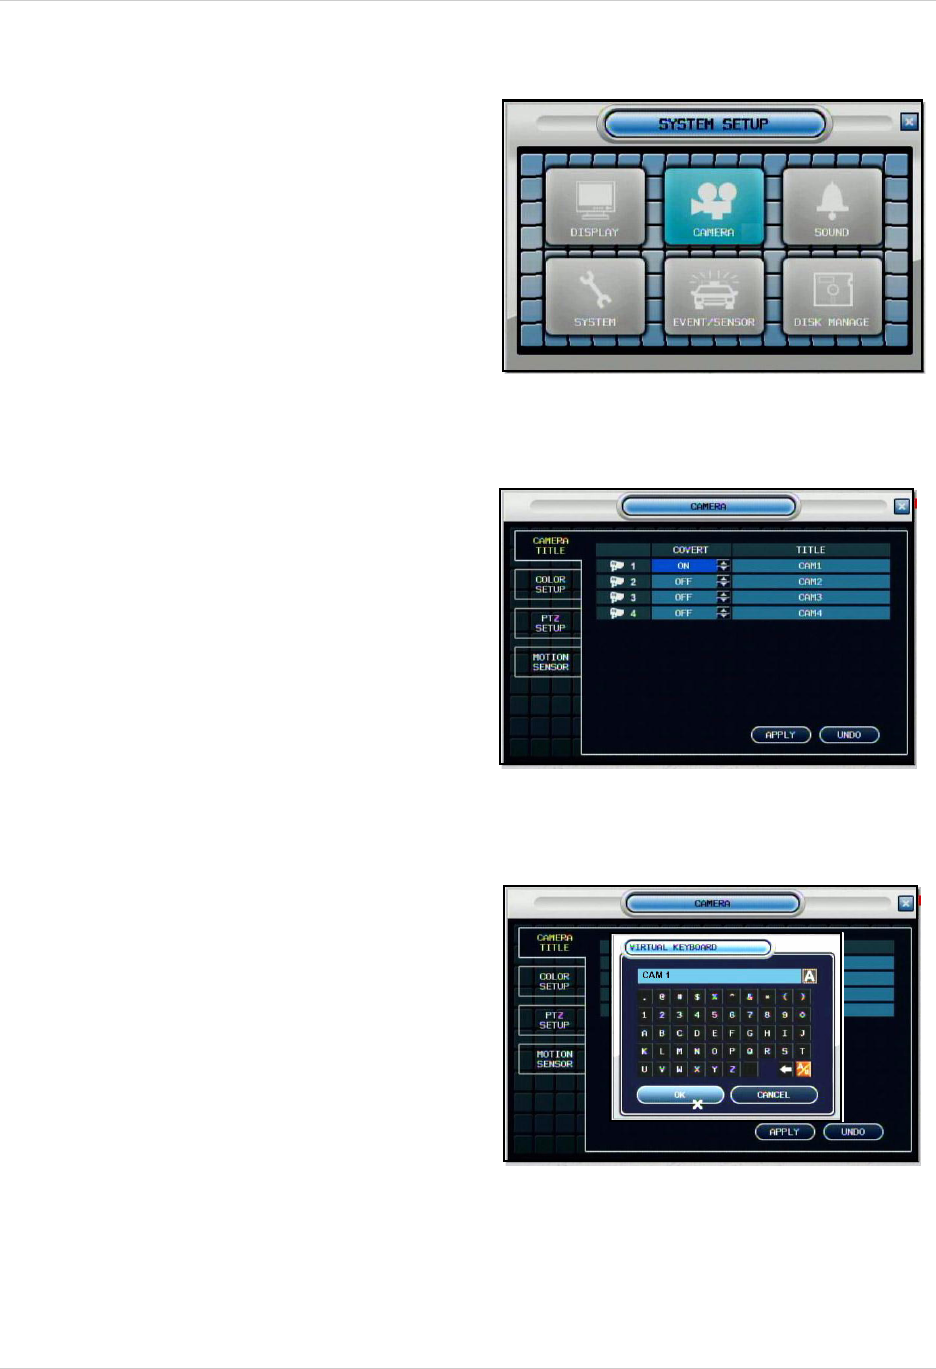
• Title - Sets the name for the individual
camera (0~9, A~Z) up to # characters,
by using the Virtual Keyboard:
• Virtual Keyboard - Appears when the
Camera Title change is selected.
Navigate with the arrow keys, and
press ENTER to select a Number or
Letter.
• APPLY - Saves the Title change.
• PREVIOUS - Moves to the previous camera in the list