66
Appendix 12: Recording Modes
Appendix 12: Recording Modes
The system is set to automatically start recording when powered on. You may wish to change
these settings to better suit your security needs. These settings can be changed for an individual
camera on one time block, or can be set for multiple cameras for multiple time blocks.
Setting An Individual Time Block
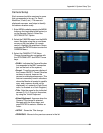
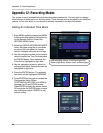
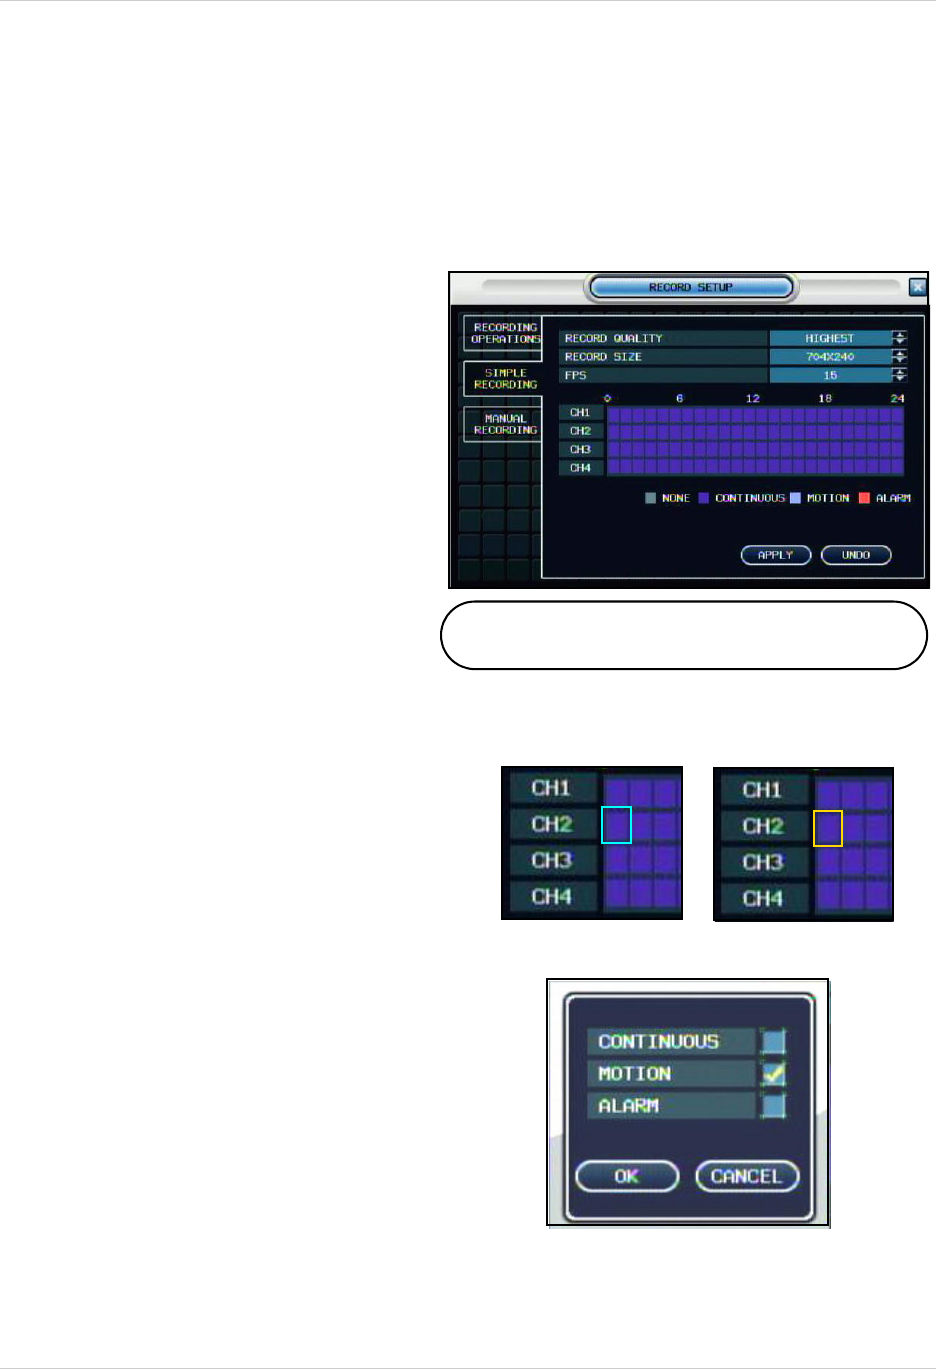
Add recording events: Continuous (purple),
Motion (light blue), Motion (red), or None (grey).
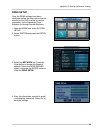
1. Enter MENU mode by pressing the MENU
button on the front panel of the system (or
on the Remote Control). Select the
RECORD MENU Option.
2. Select the SIMPLE RECORDING MODE
menu. Navigate using the up and down
arrows on the front panel (or remote
control). Navigate using the arrow keys
3. Use the navigation arrows on the remote
control to select the Time Grid and press
the ENTER button. Once selected, the
Time Grid is highlighted in light blue.
4. Use the navigation arrows to select an
individual time block. Selected arrows are
highlighted in light blue.
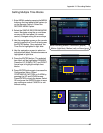
5. Press the ENTER button. The selected
time block will be highlighted ORANGE.
6. Press ENTER button again to access the
Configuration Menu. Select
CONTINUOUS, MOTION or ALARM by
pressing the UP and DOWN arrows.
Press ENTER to check the boxes. Select
OK and press the ENTER button to save
your settings or select CANCEL to exit
without saving.


