108
Editing
z To remove the skip setting
Repeat the same procedure. The skip
setting will be removed and the
icon will disappear.
Normally, the first image of the
recorded scene is displayed as a
thumbnail. However, you can choose
another image of the scene for the
thumbnail. If you set a memorable
image for the thumbnail, you can
know what you recorded from a
glance at the Disc Navigation screen.
4
Press the confirmation button if no
change is needed.
After the skip setting, the “Set
Skip” screen will be restored.
• You can change the scene(s) to
be skipped before pressing the
confirmation button.
• Repeat this step to set the skip
setting for other scenes.
• If you press MENU before
pressing the confirmation
button, the Submenu appears
(p.103).
5
Press
C
to end the procedure.
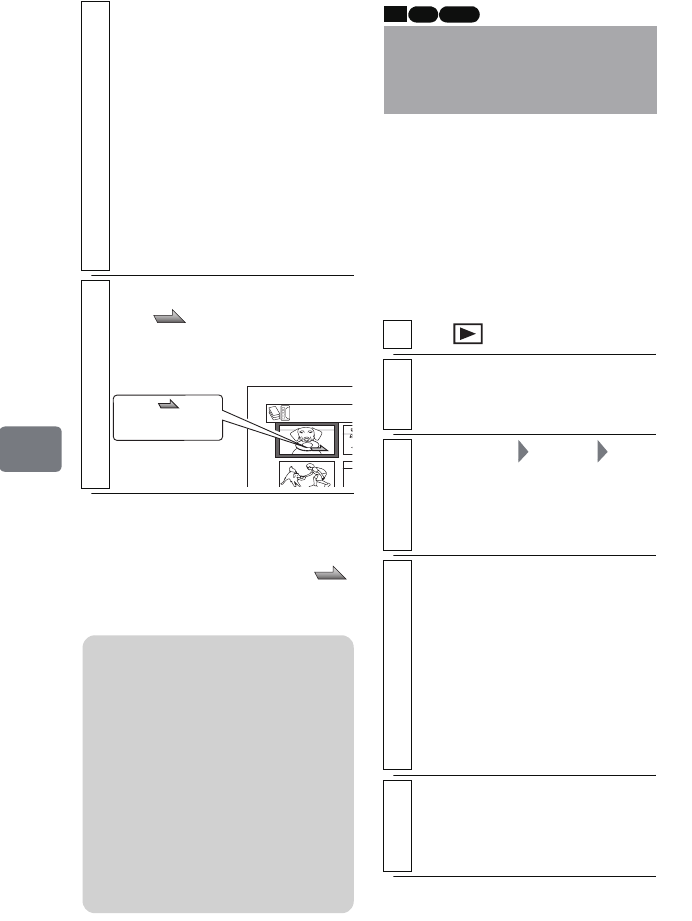
The “ ” icon indicates the skip
setting and appears on the scenes
to be skipped.
All Pr
Skip icon
Notes
• If a DVD containing scenes with
the skip setting set on this
camcorder is played on another
DVD recorder/player, or such
scenes are captured on a PC, the
skip setting will not be reflected
("Note" (p.89)).
• When dubbing on a DVD-RW
(VF mode)/DVD-R/+RW disc,
the skip setting will not be
reflected (p.81).
Changing Thumbnail
Image
(Effect – Thumbnail)
1
Press .
2
Move the cursor to the scene of the
thumbnail you wish to change, then
press
MENU
.
3
Select “Scene” “Effect”
“Thumbnail”, then press the
confirmation button.
The “Change Thumbnail” screen
appears.
4
Press the confirmation button if no
change is needed.
Playback of the selected scene
begins.
• You can reselect the scene
before pressing the confirmation
button.
• If you press MENU before
pressing PHOTO/SELECT, the
Submenu appears (p.103).
5
When the image you wish to use as the
thumbnail of the scene appears, press
PHOTO/SELECT
.
The confirmation screen appears.
HDD RAM
-RW (VR)
DZ-HS903-803-US-Ea_IM_v01d05n02.p.book Page 108 Friday, September 12, 2008 8:22 PM
