


137
Connecting to Your PC
3
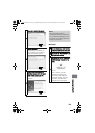
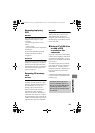
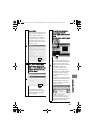
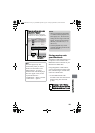
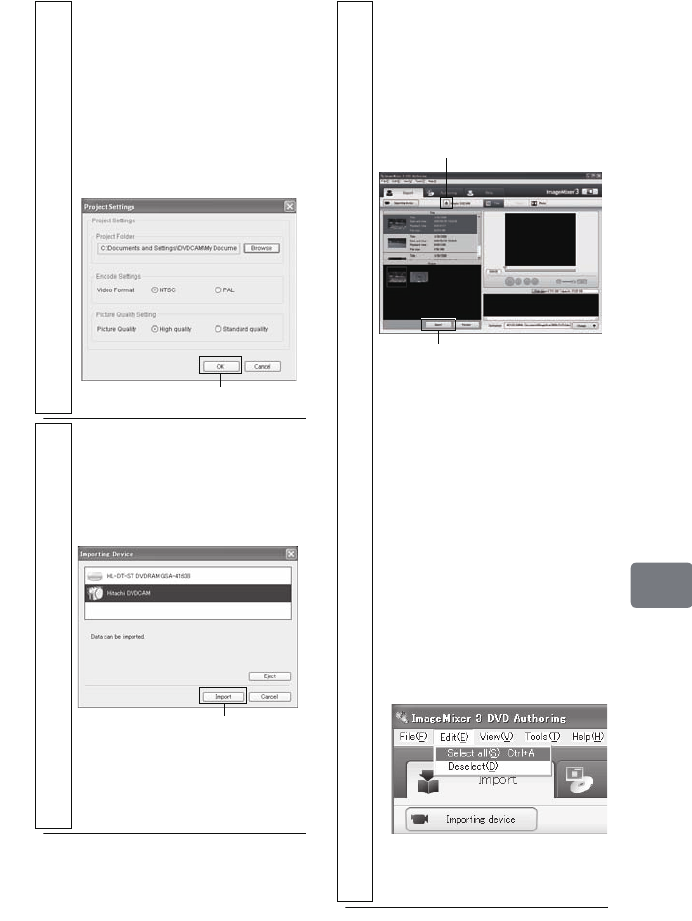
Set up a project.
Check the project settings screen
where you can specify file save
location, video format, and
picture quality, and change the
settings if necessary. Note that
you need to select “NTSC” as a
video format for use in the USA.
Then click “OK”.
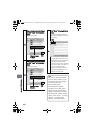
4
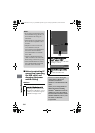
Select “Hitachi DVDCAM (HDD)”
when the power switch is set to
“HDD”, or “Hitachi DVDCAM” when
the power switch is set to “DVD”,
then click “Import”.
The “ImageMixer 3 DVD
Authoring” screen showing the
images recorded on the HDD/
DVD will appear.
Click
Click
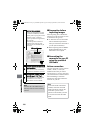
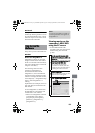
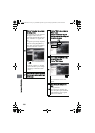
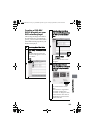
5
Click on a title and then select a
chapter to import to the PC.
Click the “Import” button to start the
transfer.
Repeat this step as needed to import
other chapters.
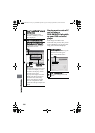
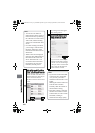
• To import images on another
disc, click the Eject button and
replace the disc. After a few
moments, the images on the disc
will appear. Repeat the
procedure to import more
images. (When images on a
DVD-RW (VF mode)/DVD-R/
+RW disc are imported, the
recording date/time will not
appear.)
• To import all chapters in a title
at one time, click “Select all” in
the editing menu at the top of
the screen, and then click the
“Import” button.
• To import multiple chapters,
click the desired chapters while
holding down the Ctrl key.
Click
Eject button
DZ-HS903-803-US-Ea_IM_v01d05n02.p.book Page 137 Friday, September 12, 2008 8:22 PM