


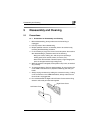

Disassembly and Cleaning
5
61
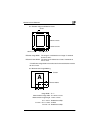
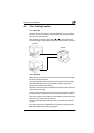
5.3 Maintenance and Inspection
5.3.1 Preventive Maintenance Schedule List
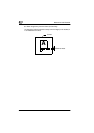
5.3.2 Details of readjustments needed when parts are replaced
Replacement of the following parts calls for rechecking, readjustments, or
resetting of certain items.
Follow the corresponding procedure given below whenever they have
been replaced.
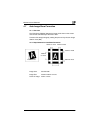
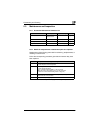
Parts Cleaning Cycle Replacement Cycle Refer to
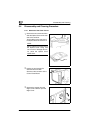
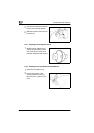
Reader and Scan Path Mirrors When image
trouble occurs
------- page 67
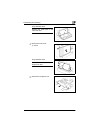
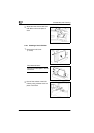
Friction Plate ------- 300,000 scans page 73
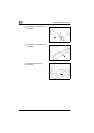
Bushing ------- 300,000 scans page 73
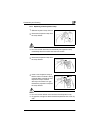
Projection Lamp ------- When “L2” displays page 65
*Replacement cycle is the number of times of scan.
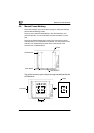
Name Readjustments /Resetting/Rechecking
PWB-A 1. Shading Correction “b6”
2. Auto Exposure Coarse Adjustment
PWB-BB
1.
Shading Correction “b6”
2. Scan Speed Adjustment
Turn off all DIP switches (DSW1) on the new board.
Make the function mode setting (S,y,o) on the new board.
(“About the Function Mode Setting Label” on page 82)
PWB-SS Make the same SCSI ID setting for Rotary Switch (RSW1) on the new
board as those of the old board.
PU2 Projection Lamp Voltage Adjustment “F7”
Refer to “Function Mode and Adjustment” on page 77 for the adjustment procedure.