


5
Disassembly and Cleaning
70
3
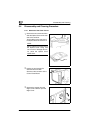
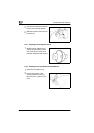
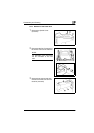
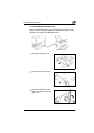
Remove the CCD Assy Lower
Plate.
(2 screws)
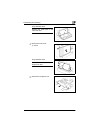
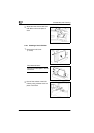
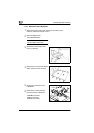
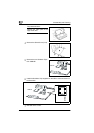
4
Remove the CCD Assy.
(two shoulder screws, Three
connectors)
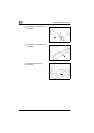
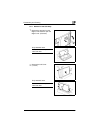
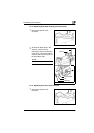
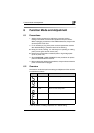
5
Unplug connector from the CCD
Assy.
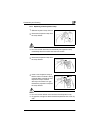
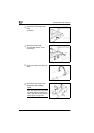
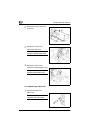
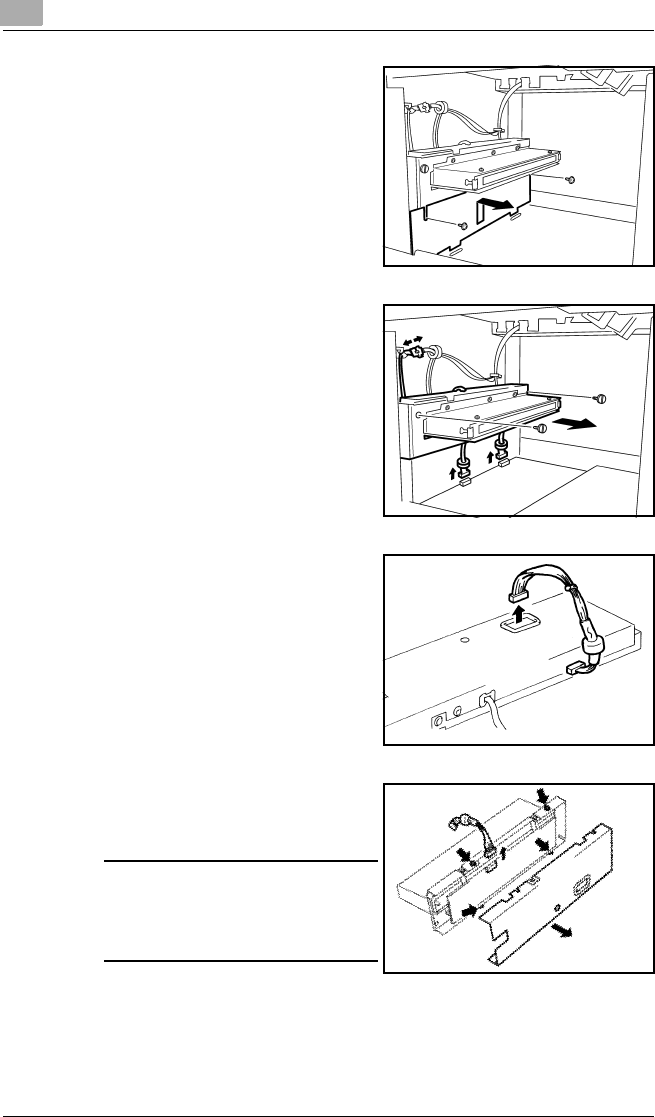
6
Remove the CCD Assy Cover.
(loosen the four screws)
NOTE:
After the CCD Assy has been
mounted, make the shading cor-
rection (b6) by following the pro-
cedure given on page 104.