


Setting the fax footer
1
From the home screen, navigate to:
> Fax Setup > Ringing and Answering > Fax Footer
2 Touch ON > Accept.
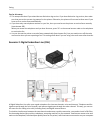
Configuring the fax settings
You can configure the fax settings through the printer control panel or the computer through the Printer Setup Utility.
If you configure the fax settings through the printer control panel, then the Printer Setup Utility imports those settings.
The changes appear the next time you launch the Printer Setup Utility. The printer also saves the settings that you
select in the utility, unless you set the printer to block changes made from the computer.
Configuring fax settings using the printer control panel
1 From the printer control panel, navigate to:
> Fax Setup
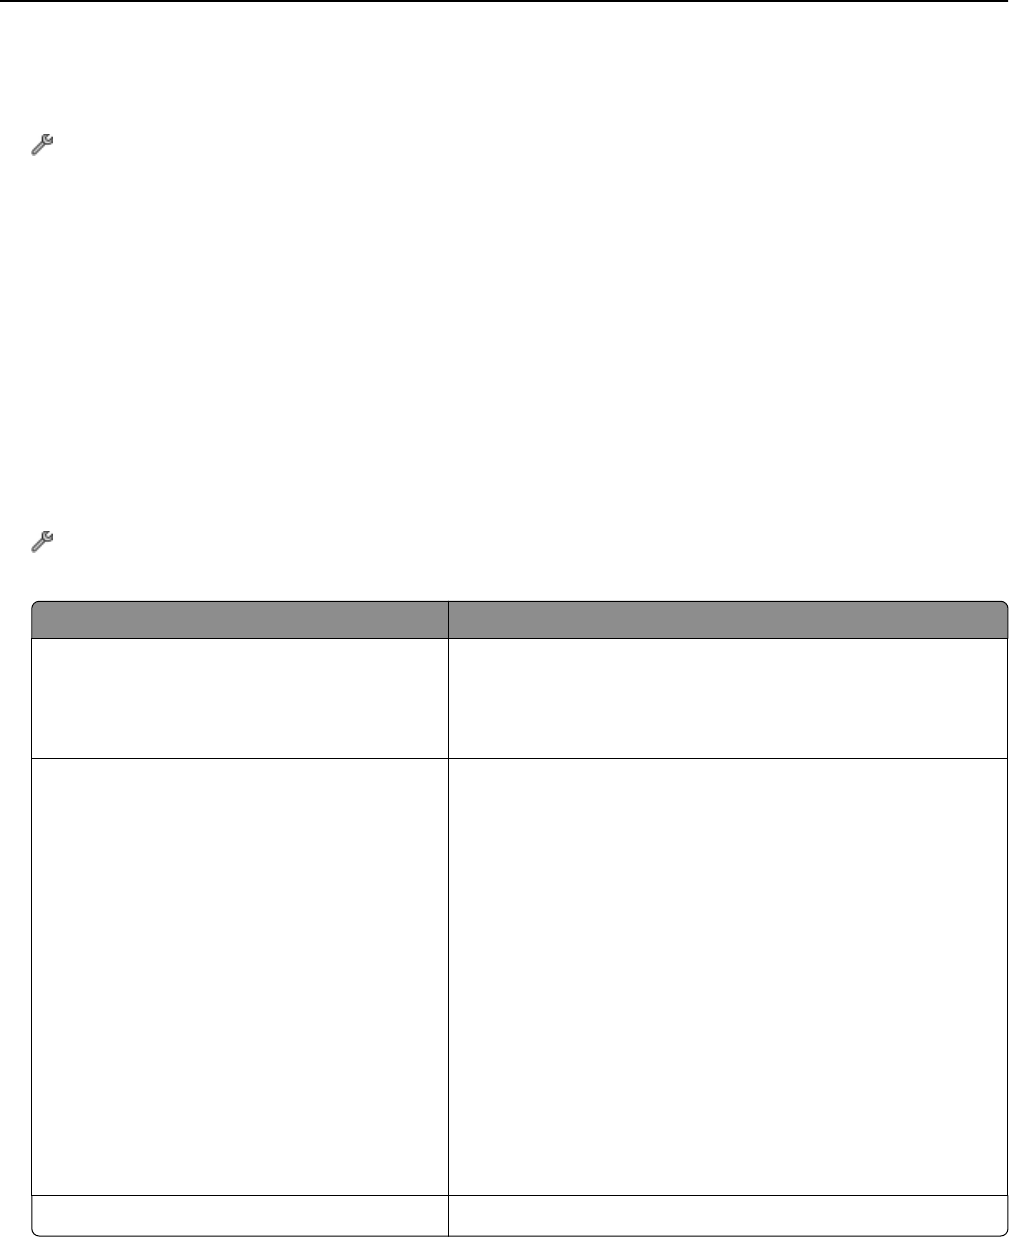
2 Configure the fax settings using the selections in the menu:
From here You can
Fax Reports
• Print activity logs. Activity logs let you view the sent and received
fax history of your printer.
• Print confirmation pages or transmission reports. These reports
let you know if the faxes that you send are sent successfully.
Ringing and Answering
• Set the printer to receive faxes automatically or manually. Turn
Auto Answer to On or Off.
• Adjust the ringing volume.
• Set the number of rings. This is important if you choose to receive
faxes automatically (Auto Answer On).
• Set the distinctive ring. If you subscribe to the distinctive ring
feature on your telephone line, then set the correct pattern for
the printer in this menu.
• Enable fax forwarding.
• Set a manual answer code. This is the code you press to receive
faxes manually.
• Set the Caller ID pattern that you want. Some countries or
regions have multiple patterns.
• Set the printer to fit incoming faxes into a page when printing.
• Set the fax footer.
2‑Sided Faxes
• Set the printer to print incoming faxes on both sides of the paper.
Faxing 85