62
Adjustments and Settings for Recording
: Selecting Audio Input Signals and Adjusting Recording Levels
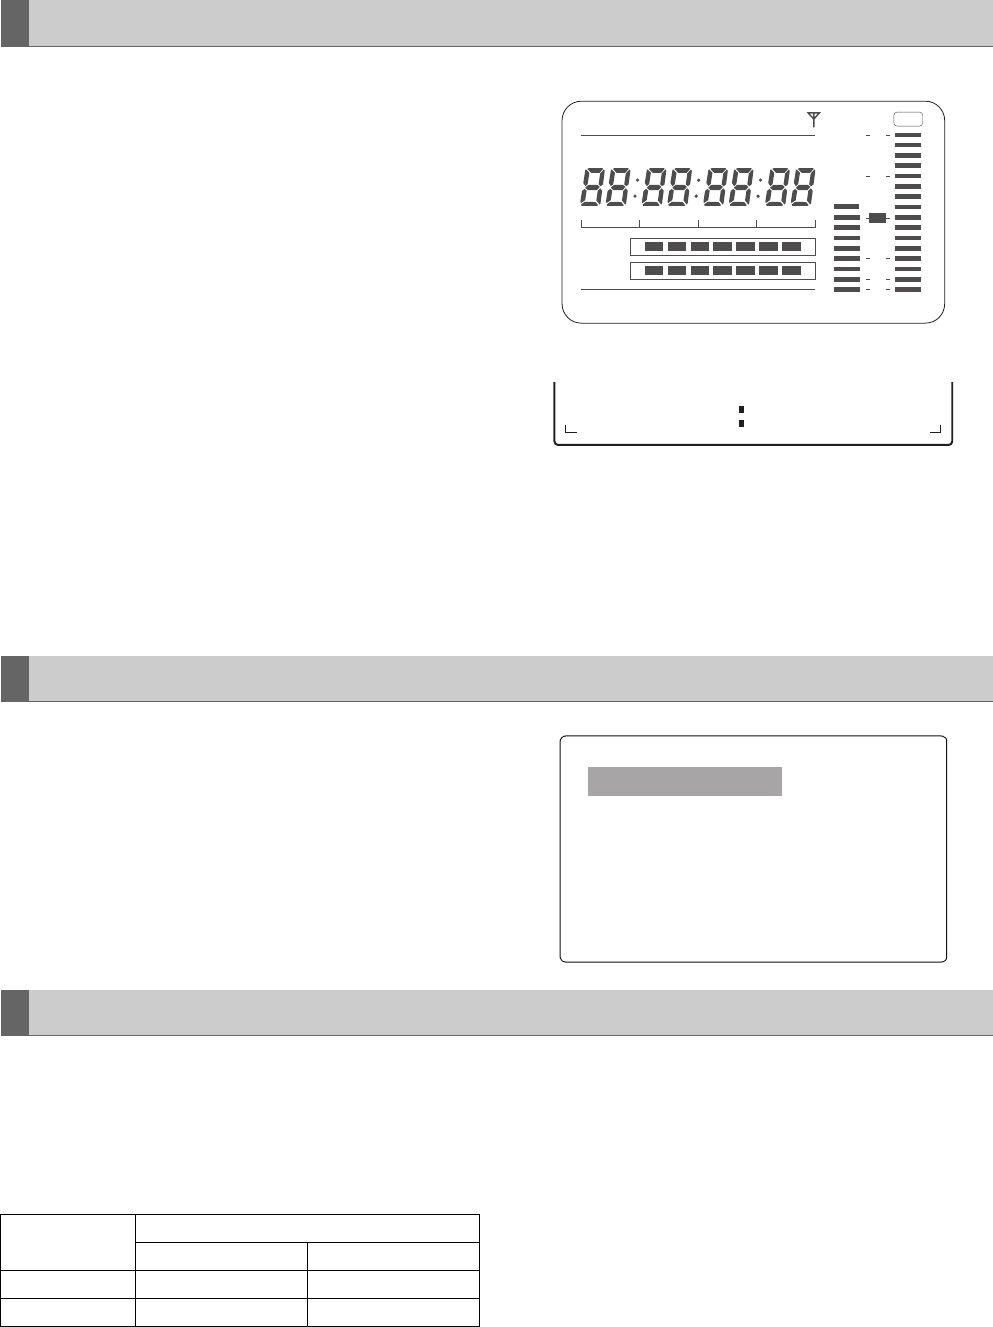
To adjust the recording levels for audio channels 1 and 2,
follow the steps below.
1 Position the MONITOR SELECT CH1/2 / CH3/4-
selector switch at [CH1/2] so that the audio level meter
on the display window will provide CH1 and CH2
indications. Ensure that the channel indications
displayed in the window are “1” and “2”.
Whether to enable or disable the FRONT AUDIO
LEVEL control must be preset through menu options
FRONT VR CH1 and FRONT VR CH2. Note that this
control is factory-disabled.
The menu options are found in the <MIC/AUDIO1>
screen on the MAIN OPERATION page.
2 Position the AUDIO SELECT CH1/CH2 switch at [MAN].
3 While checking the audio channel level meter in the
display window or the audio level meter in the
viewfinder, adjust the AUDIO LEVEL CH1/CH2 control.
Note that if the level exceeds the top bar (0 dB), the
word “OVER” illuminates to show that the input level is
excessive. The adjustment made in such a way that the
maximum level will not reach the 0 dB bar.
Audio level meter on the display window
Audio level meter in the viewfinder
When operating the unit without a sound recordist, it is
recommended that the FRONT AUDIO LEVEL control
should be used to adjust the audio level.
Preset the channel to be adjusted, and use the FRONT
AUDIO LEVEL control to adjust the audio level while
checking the audio level meter in the viewfinder to ensure
that the level does not become excessive.
This function enables the recording level to be adjusted
using the FRONT AUDIO LEVEL control.
To select this function, perform menu operations to open the
<MIC/AUDIO1> screen from the MAIN OPERATION page,
and set whether to enable or disable the FRONT AUDIO
LEVEL controls for the system selected as the input signals
using the FRONT VR CH1 and FRONT VR CH2 items.
The following table shows the effects on the recording level
for audio channels 3 and 4 that depend on the settings and
input levels specified through the menu options AUTO
LEVEL CH3 and AUTO LEVEL CH4. Note that the recording
level cannot be adjusted manually.
These options are found in the <MIC/AUDIO1> screen on
the MAIN OPERATION page.
Adjusting Recording Levels
h
EF
Y minM
s
frm
12
0
D
SLAVE HOLD GPS
BATT
EF
OVER
10
OO
40
-dB
30
20
LOOP
MEDIA
HD
OP-SLOT
VTCG
TIMEDATE
P-iREC
CTL
NDF
F:1----
R:2---- ---+
Selecting Function for the FRONT AUDIO LEVEL Control
CH3 and CH4 Recording Levels
AUTO LEVEL
CH3/CH4
Input level
LINE MIC
ON AGC ON AGC ON
OFF AGC/LIMITER OFF LIMITER ON
AJ-HPX3700G-VQT1V68_eng.book 62 ページ 2008年10月15日 水曜日 午後6時38分


