


PG-FP5 V2.13 PROGRAMMING GUI USAGE
R20UT2924EJ0200 Rev.2.00 Page 5 of 71
Mar 02, 2015
1. PROGRAMMING GUI USAGE
This chapter explains functional details on windows and dialog boxes of the programming GUI.
1.1. Introduction
Make sure that the programming GUI, USB driver, and the FP5 parameter file (PR5 file) for the target device are
installed. For the installation method, refer to Common 3 SOFTWARE INSTALLATION.
1.2. Startup of Programming GUI
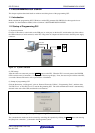
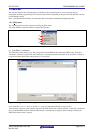
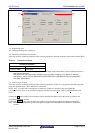
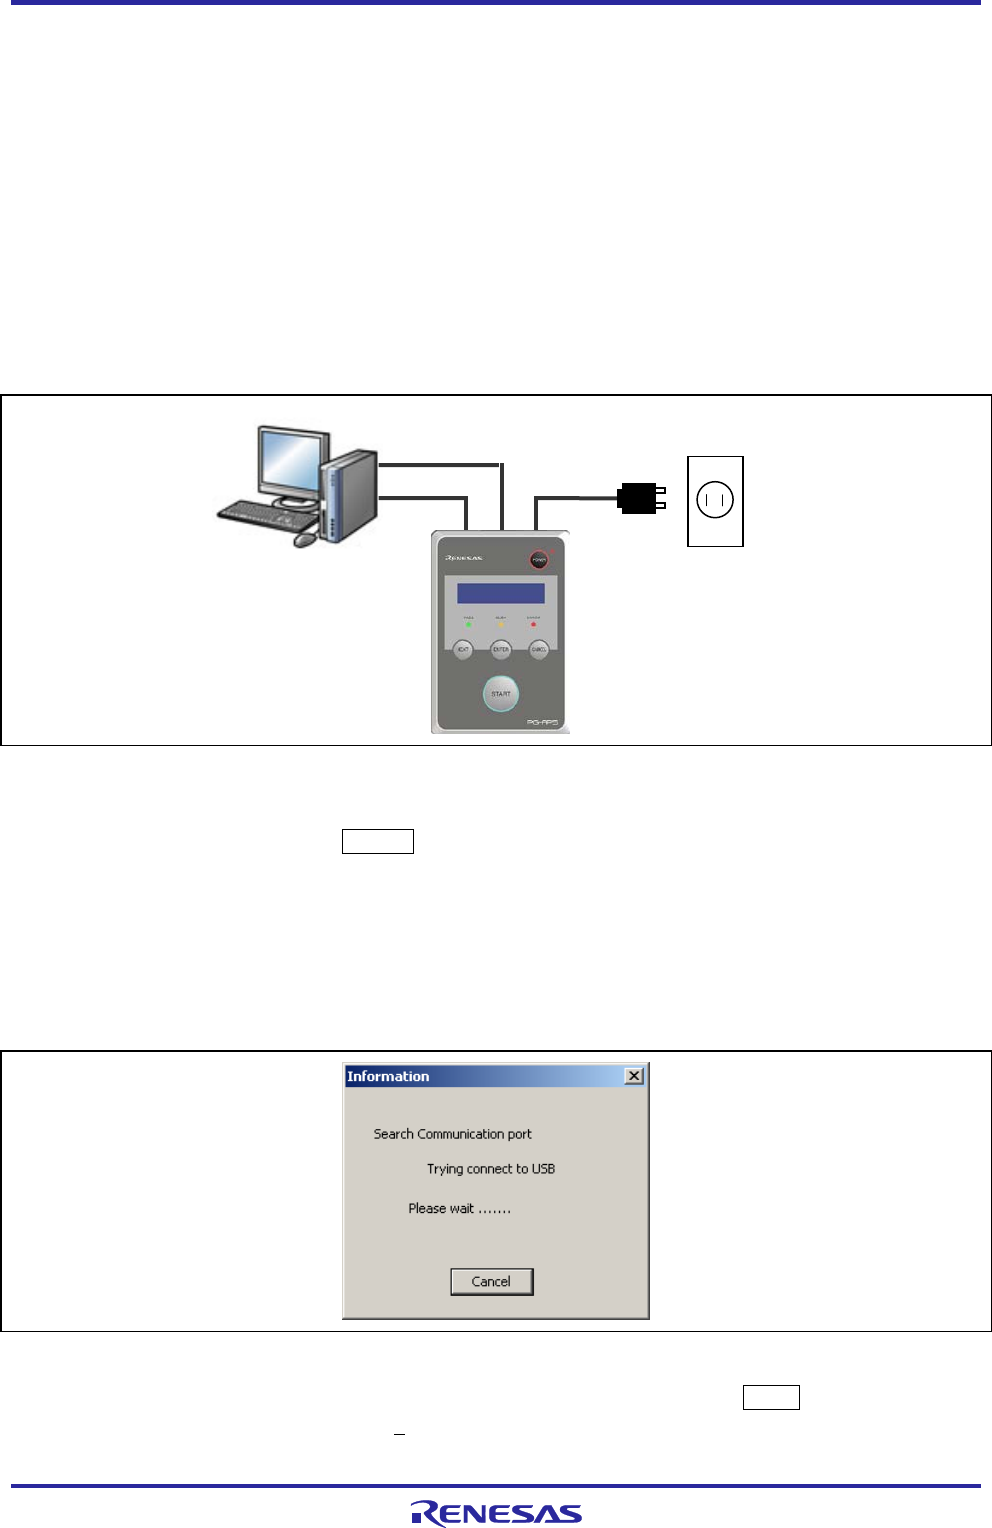
(1) System connection
Connect a USB cable (or serial cable) to the USB port (or serial port) on the host PC, and the other side of the cable to
the USB connector (or serial connector) on the FP5. Plug in the AC adaptor and then connect to the FP5 power supply
connector.
Figure 1.1 System Connection
(2) FP5 startup
After the cables are connected, press the POWER button on the FP5. When the FP5 is correctly started, the POWER
LED is turned on and “Commands >” is displayed in the message display. If not, the cause may be a defect in the FP5,
so consult a Renesas Electronics sales representative or distributor.
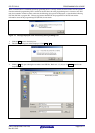
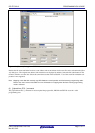
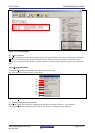
(3) Startup of programming GUI
Click the Start menu, “All Programs”, point to “Renesas Electronics Utilities”, “Programming Tools”, and then select
“PG-FP5 Vx.xx” of “PG-FP5 Vx.xx” to start the Programming GUI. The valid communication mode is automatically
detected in the order of the USB, and then the serial interface.
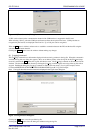
Figure 1.2 Port Scanning at Startup of Programming GUI
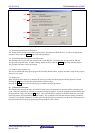
The communication mode can also be selected by cancelling this operation by clicking the Cancel button and selecting
the [Setup host connection...] command in the [Programmer] menu.
Serial cable
AC adapter
USB cable
Host PC
FP5
or
Outlet