


27
GB
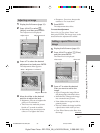
Printing using the printer‘s LCD display (LCD mode)
Digital Photo Printer -DPP-FP50_GB_UC2/CED/CEK/AU_ 2-599-949-11(1)
Printing using the printer‘s LCD display (LCD mode)
Printing selected
images
You can use the printer‘s LCD display to
specify the image number and print the
image.
To specify Image numbers
To find the image numbers, make an index
print. Or display the image list on a TV
monitor or check the image numbers with
your digital camera.
Before you begin
You need preparations 1 through 6
(pages 10 to 17), and the following:
• “Inserting a memory card” (page 18) or
“Connecting a camera or other external
device” (page 20)
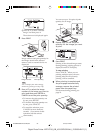
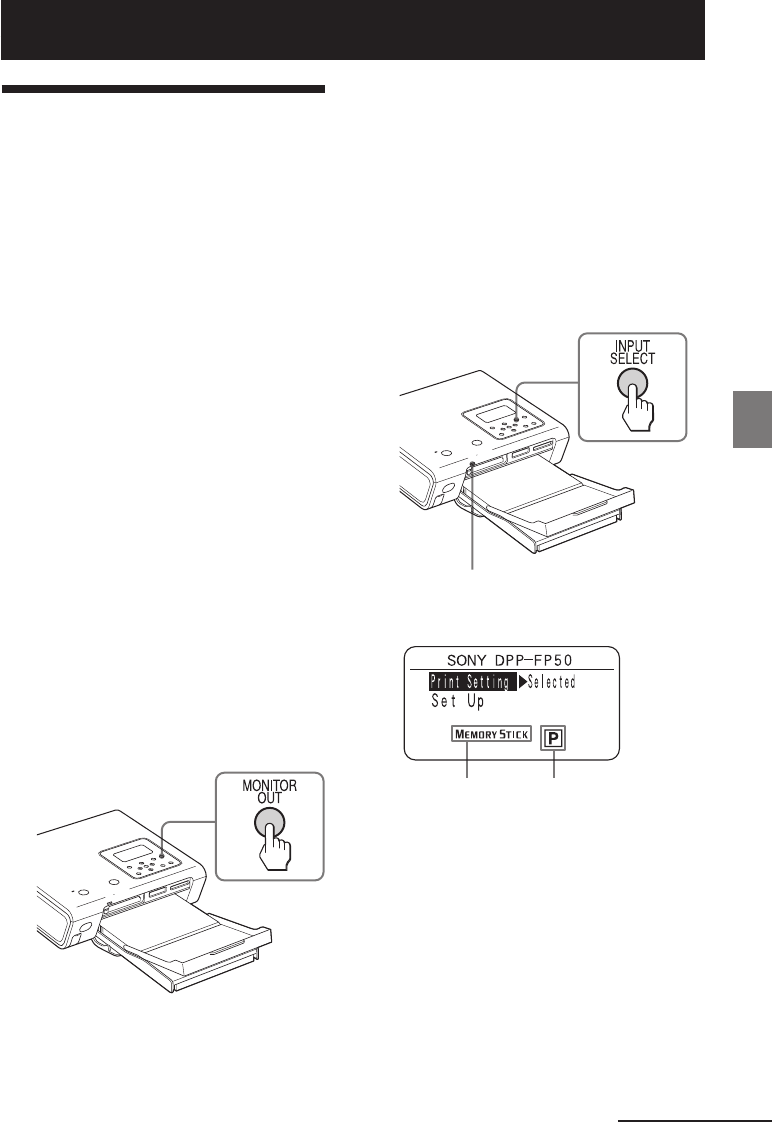
1
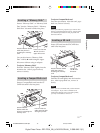
Press ON/STANDBY to turn on the
printer (page 17).
The ON/STANDBY indicator of the
printer lights in green.
If “MONITOR OUT mode is selected”
is displayed on the LCD display
Press MONITOR OUT to display the
main menu on LCD display (LCD
mode).
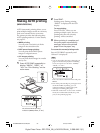
2
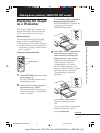
Press INPUT SELECT repeatedly to
select the memory card or an
external device containing the
images that you want to print.
Each time you press the button,
“Memory Stick”, “SD”, “CF” or
“External Device” will be displayed
on the LCD display. (When no
external device is connected,
“External Device” will not be
displayed.)
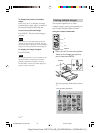
Access indicator flashes while the printer
is accessing the memory card.
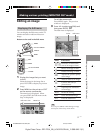
The main menu appears.
Selected input
media (Memory
card or external
device)
Print cartridge
type (P: Postcard/L:
3.5 x 5 inch)
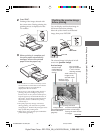
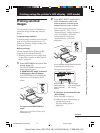
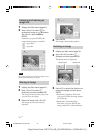
If “Selected” is not selected for the
“Print Setting”
Select “Selected” as follows:
1 Make sure that “Print Setting” is
selected and press G.
The print setting screen is
displayed.
Continued
To return to the MONITOR OUT
mode
Return to the main menu and then press
MONITOR OUT.
001GBFP5006LCD-UC/CED.p65 3/11/05, 4:22 PM27