33
GB
Making various printing (MONITOR OUT mode)
Digital Photo Printer -DPP-FP50_GB_UC2/CED/CEK/AU_ 2-599-949-11(1)
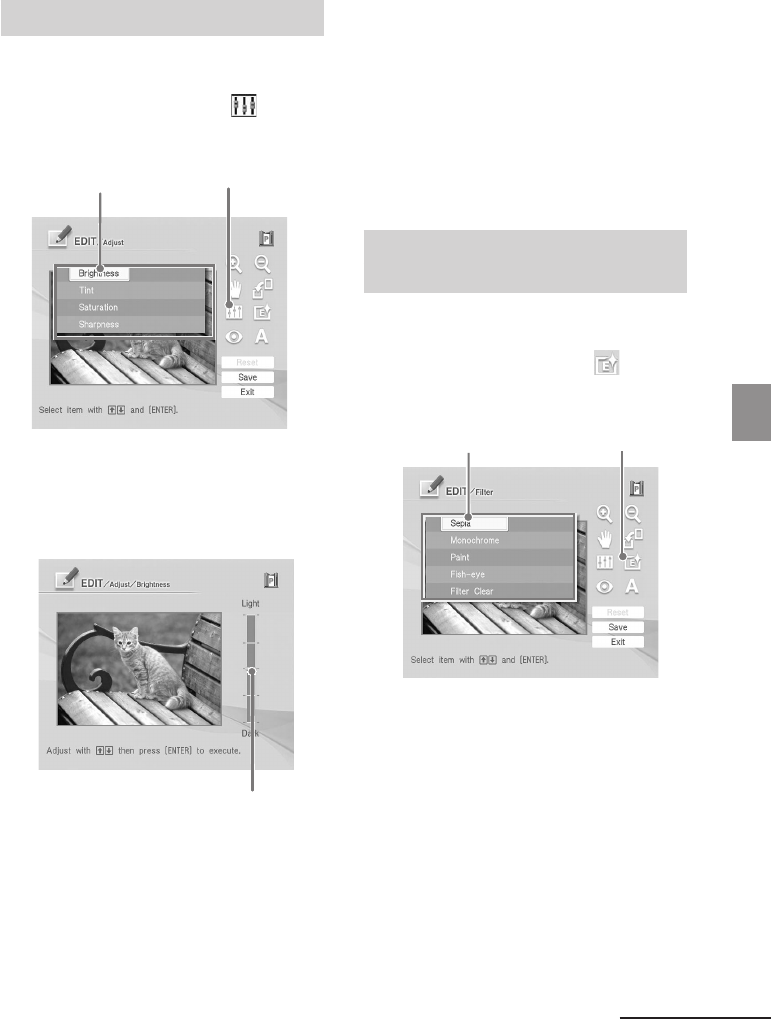
Adjusting an image
1
Display the Edit menu (page 31).
2
Press g/G/f/F to select
(Adjust) and then press ENTER.
The Adjust menu is displayed.
Adjust menu Adjustment tool
3
Press f/F to select the desired
adjustment tool and press ENTER.
The adjustment slider appears.
When “Brightness” is selected.
Adjustment slider
4
Move the slider to the desired
position to adjust the level.
• Brightness: Press f to brighten the
picture or F to darken it.
• Tint: Press f to make the picture
bluish or F to make it reddish.
• Saturation: Press f to deepen the
colors or F to lighten the colors.
• Sharpness: Press f to sharpen the
outlines or F to reset them.
5
Press ENTER.
The adjustment takes effect.
To reset the adjustment
Press g/G/f/F to select “Reset” and
then press ENTER. The image resets to the
status before the adjustment is added.
Adding a special filter to an
image
1
Display the Edit menu (page 31).
2
Press g/G/f/F to select (Filter)
and then press ENTER.
The Filter menu is displayed.
Filter menu Filter tool
3
Press f/F to select the desired
filter you want to add to the
image.
• Sepia: Changes the image like an
old photograph with faded colors.
• Monochrome: Changes the image
into a monochrome picture.
• Paint: Makes the image look like a
painted picture.
• Fish-eye: Makes the image look like
a photo taken with a fish-eye lens.
• Clear Filter: Removes the filter from
the image.
Continued
001GBFP5007TV2-UC/CED.p65 3/11/05, 4:22 PM33


