


30
GB
Digital Photo Printer -DPP-FP50_GB_UC2/CED/CEK/AU_ 2-599-949-11(1)
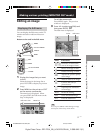
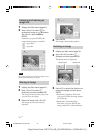
Changing the print
settings
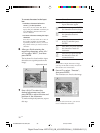
You can display part of the SET UP and
OPTION menus on the LCD display and
change the print settings.
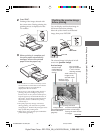
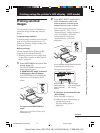
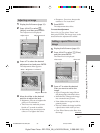
1
Press f/F to select “Set Up” on
the main menu.
2
Press G.
The Set Up screen is displayed.
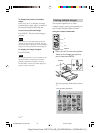
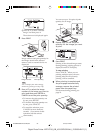
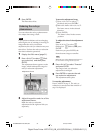
3
Press f/F to select the desired
setting item and press G.
The setting screen of the selected item
is displayed.
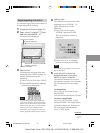
4
Press f/F to select the option and
press g.
The Set Up screen is displayed again.
The selected option is displayed.
5
Repeat steps 3 and 4 to set the
remaining items.
To return to the main menu
Press g.
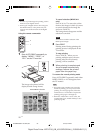
Auto Fine Print 3 You can select or
disable automatic
picture adjustment for
printing.
(Photo*/Vivid/Off)
Exif Print You can turn on or off
the automatic
adjustments of the
images shot by an Exif
Print (Exif 2.21)-
compliant digital
camera to its optimum
picture quality. (On*/
Off)
Borders You can select border
or borderless prints.
(Yes/No*)
Date Print You can select whether
or not you print the
shot date with an
image.
(On/Off*)
Color Setting You can adjust the
colors (R/G/B) and
sharpness of a printed
image (page 50).
(R: 0/G:0/B:0/
Sharpness:0)
Language You can select the
language of menu or
messages. (English*/
French/Spanish/
German)
* Factory settings
For the details on each setting, see pages
49, 50, and 56).
001GBFP5006LCD-UC/CED.p65 3/11/05, 4:22 PM30