


34
GB
Digital Photo Printer -DPP-FP50_GB_UC2/CED/CEK/AU_ 2-599-949-11(1)
4
Press ENTER.
The filter takes effect.
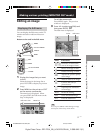
Reducing the red-eye
phenomenon
You can reduce the red-eye phenomenon
of a subject shot using a flash.
Note
If you perform editions such as enlarging,
reducing the size of, rotating or moving an
image after the red-eye reduction
adjustment, the red-eye reduction may not
take effect. Perform the red-eye reduction
after these editorial operations.
1
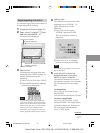
Display the Edit menu (page 31).
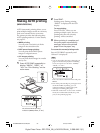
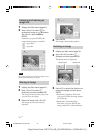
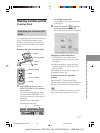
2
Press g/G/f/F to select (Red-
eye reduction) and then press
ENTER.
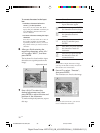
The adjustment frame appears on the
image, which indicates the range for
red-eye reduction adjustment.
Adjustment frame
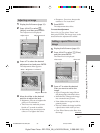
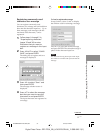
3
Adjust the position and size of the
adjustment frame.
Make the red-eye reduction
adjustment for the right and left eyes
separately.
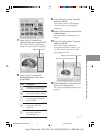
To move the adjustment frame
1 Press g/G/f/F to select
(Position) and press ENTER.
2 Move the frame with g/G/f/F.
The frame moves in the selected
direction.
3 Press ENTER.
The frame is fixed in the current
position.
To adjust the size of the adjustment
frame
Press g/G/f/F to select
(Enlarge) or (Reduce) and press
ENTER.
Each time you press ENTER, the
frame becomes larger or smaller.
Tip
Make the size of the adjustment frame two
to seven times as large as the eye size.
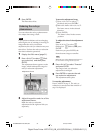
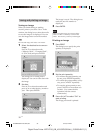
4
Press g/G/f/F to select “Execute”
and press ENTER.
The range of red-eye reduction
adjustment is enlarged.
5
Press ENTER to execute the red-
eye reduction adjustment.
The adjustment takes place.
To reset the adjustment
Press CANCEL in step 5. The red-eye
reduction is canceled and the window of
step 2 is displayed.
001GBFP5007TV2-UC/CED.p65 3/11/05, 4:22 PM34