


69
GB
Printing from a PC (PC mode)
Digital Photo Printer -DPP-FP50_GB_UC2/CED/CEK/AU_ 2-599-949-11(1)
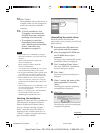
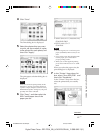
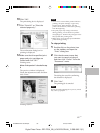
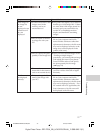
10Click “OK”.
The print dialog box is displayed.
11Click “Print All” or “Print the
selected page only”.
The confirmation dialog box for
printing is displayed.
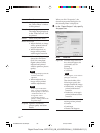
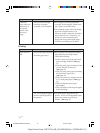
12Make sure that the specified print
paper and print cartridge are
loaded and click “OK”.
Printing starts.
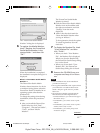
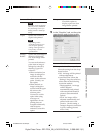
When
“Print preview” is checked in step
8
The preview window is displayed.
Check the adjustment results and then
click “Print”.
Printing resumes.
Notes
• Never move or turn off the printer while it is
printing; the print cartridge or paper may
become stuck. If this happens, turn the
printer off and then on, and resume printing
from the beginning.
• The print paper may emerge a few times
during printing. Do not touch nor pull the
emerged paper. Wait for the print paper to be
fully ejected after printing ends.
• Make sure to spare enough space behind the
printer during printing.
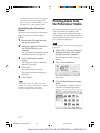
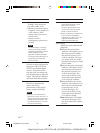
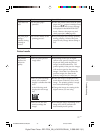
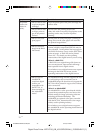
To stop printing
1 Double-click on the printer icon
on the taskbar, and open the
“Print” dialog box.
2 Click the document name that
you want to cancel printing of
and then click “Cancel” from the
“Document” menu.
The dialog box used for confirming
the deletion is displayed.
3 Click “Yes”.
The printing job is canceled.
Note
Do not cancel the printing job on process, which
may cause a paper jam.
001GBFP5011PC-UC/CED.p65 3/11/05, 4:23 PM69