64
GB
Digital Photo Printer -DPP-FP50_GB_UC2/CED/CEK/AU_ 2-599-949-11(1)
To delete the above limitations and upgrade
the software to the version supplied with
VAIO computer or CLIE handheld, execute
the “Setup.exe” in the “pgs.add” folder.
Uninstalling the PictureGear
Studio
When the software becomes unnecessary,
remove it from your PC hard disk as
follows:
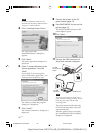
1 Remove the USB cable between
the printer and the PC.
2 Insert the supplied CD-ROM into
the CD-ROM drive of your
computer.
The setup starts automatically and the
installation window is displayed.
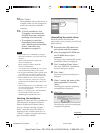
3 Click “Installing PictureGear
Studio”.
The dialog box used for confirming
deletion is displayed.
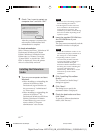
4 Click “Yes”.
The relevant files are deleted.
The deletion complete dialog box is
displayed.
5 Click “Finish”.
Tips
You can also remove the software from the
Control Panel. Select “Add/Remove Programs”
from the “Control Panel.” Then select
PictureGear Studio and click “Remove”.
Printing photos from
the PictureGear Studio
PictureGear Studio allows you to carry out a
series of procedures for handling a still
image—capturing, managing, processing,
and outputting. You can use the software to
print an image from your PC in the post card
or 3.5 x 5 inch size print paper.
Note
In some regions, 3.5 x 5 inch size print paper
is not sold.
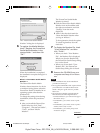
1
Select “Start” from the Windows
desktop, and then “PictureGear
Studio” from the “Programs”.
The PictureGear Studio window is
started.
2
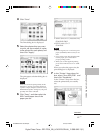
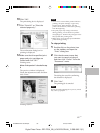
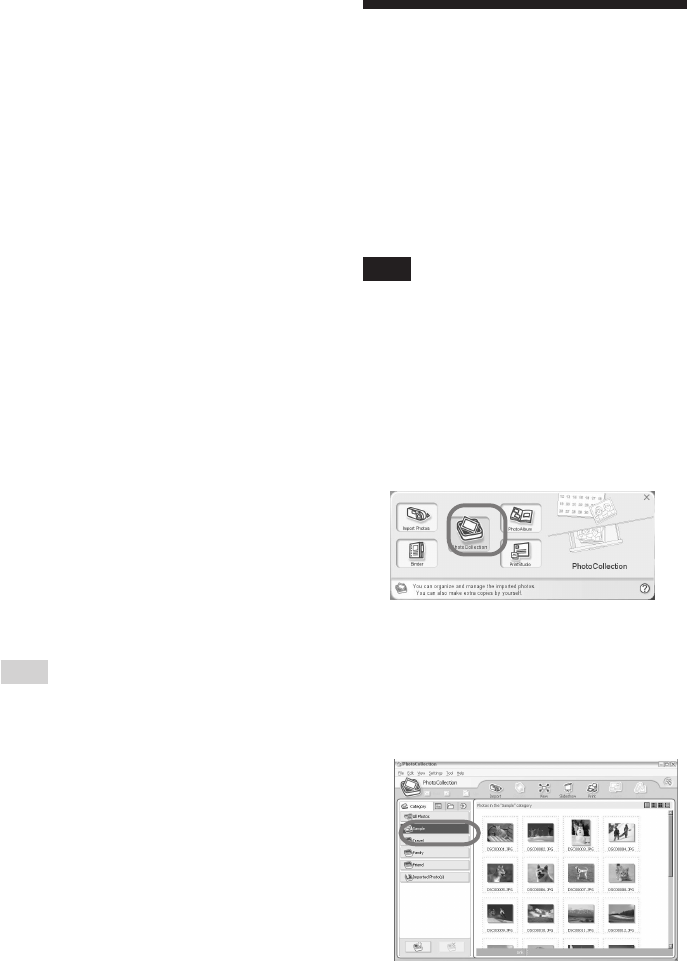
Click “Photo Collection”.
The “Photo Collection” window is
displayed.
3 Click the desired photo category
folder.
For explanations, “Sample” folder is
selected in the following example.
001GBFP5011PC-UC/CED.p65 3/11/05, 4:23 PM64


