


AXIS 2100 User’s Guide Choosing Your Application
13
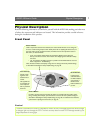
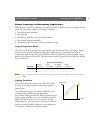
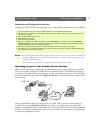
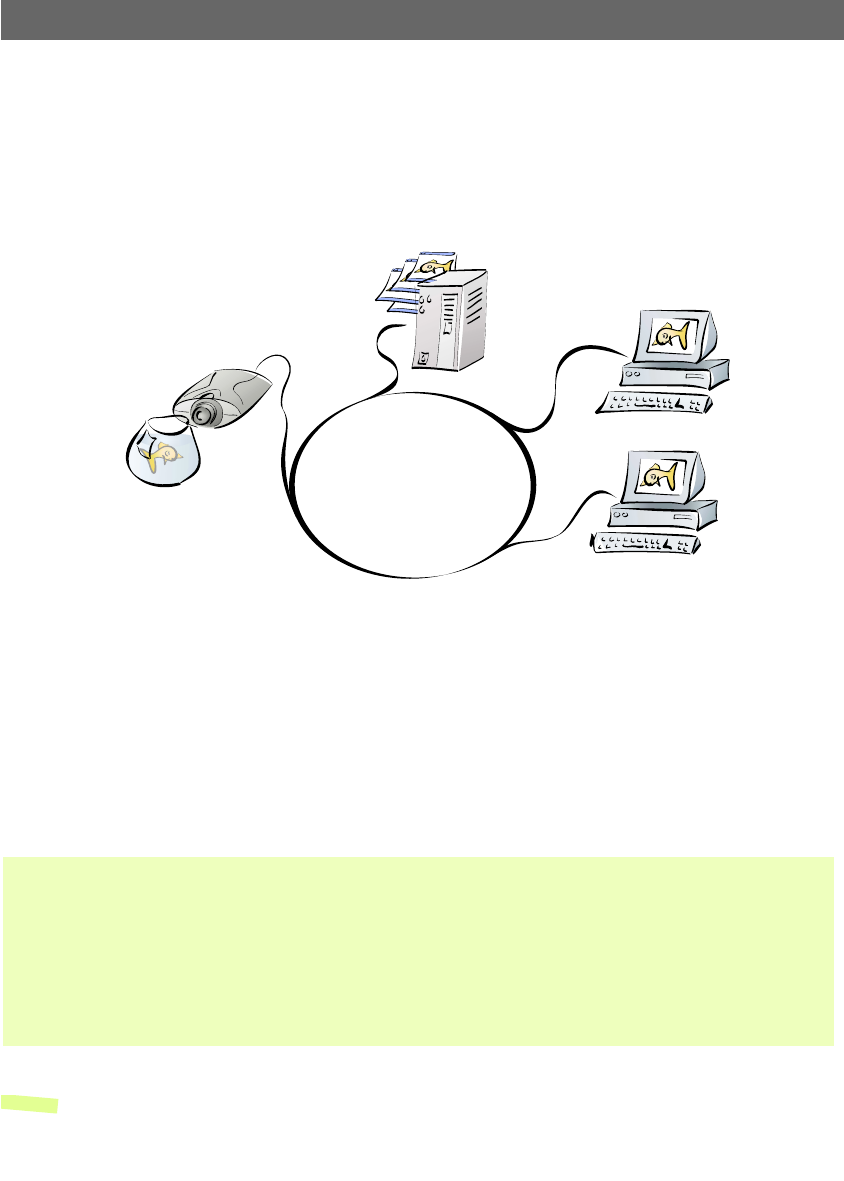
Sequentially Uploading Images to a Remote FTP Server
Ideal for busy Web sites on both large corporate networks, and SOHO (Small-Office
Home-Office) applications where a small network is installed and maintained; this application
uploads images to a designated FTP server on your network, and is perfect for applications where a
large audience is expected.
Simply install the AXIS 2100 directly on your local Ethernet network and complete the
Installation and Application Wizards to develop an active application that will upload images to a
designated FTP server - as a sequential stream that is unlimited or restricted to specified time
periods. You can organize the times and the frequency at which images are taken and uploaded to
the target FTP server. You can also decide to send images sequentially via e-mail messages.
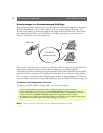
Installation and Configuration Overview
Configure the AXIS 2100 to actively upload images to an FTP server as follows:
Note: You can refine your application using the Web-based Administration Tools.
1. Connect the AXIS 2100 to your local network. Refer to Installing Your Camera on a Network, on page 20.
2. Open the Home Page in your browser and start the Installation Wizard. Complete the Wizard to establish the
standard Security, Date and Time, Image General Layout and TCP/IP Network settings - selecting network as your chosen
method of connection in the Modem or Network dialog. Refer to Configuring Your Camera, on page 35.
3. Continue the configuration of your product using the Application Wizard to define the target FTP server and your
preferred mode of operation - choosing Sequential mode to create your active application.
4. Having completed the Wizard, you should now verify the configuration by accessing the images stored on the FTP sever
from your browser.
AXIS 2100
LAN/WAN
Intranet Network
Web Browser
Web Browser