


AXIS 2100 User’s Guide Choosing Your Application
19
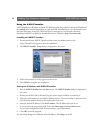
Installation and Configuration Overview
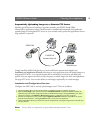
Configure the AXIS 2100 to upload images to an Internet Service Provider in Alarm Mode as
follows:
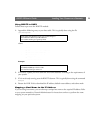
Notes: •By configuring the AXIS 2100 to accept incoming calls, you can at any time refine or amend the
product configuration remotely via a Dial-up connection - or locally, either from the Ethernet
network or via a computer connected via the supplied Null Modem Cable.
•You can refine your application using Web-based Administration Tools.
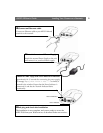
1. Connect the AXIS 2100 to the network if available. Otherwise, use the supplied Null Modem Cable.
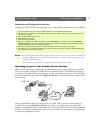
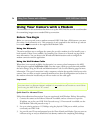
2. Install the camera as a modem. For this and general information on the Dial-up connection, refer to Using Your Camera
with a Modem, on page 26.
3. Refine the Dial-up parameters.
4. Initiate the Dial-up connection.
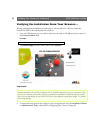
5. Referring to Configuring Your Camera, on page 35, open the Home Page in your browser and start the Installation
Wizard. Complete the Wizard to establish the standard Security, Date and Time, Image General Layout and Modem settings
- selecting modem as your chosen method of connection.
6. Continue the configuration using the Application Wizard to define your preferred ISP and mode of operation -
choosing Alarm Mode to upload single images, or pre/post alarm image sequences, when a defined alarm or time based
event occurs.
7. Disconnect the camera from the network or Null Modem Cable and connect it directly to your modem.
8. Your application is now complete. You should now verify the configuration by triggering the defined alarm event and then
viewing the resultant images uploaded to your ISP.