


Before Use
Basic Guide
Advanced Guide
Camera Basics
Auto Mode / Hybrid
Auto Mode
Other Shooting
Modes
P Mode
Tv, Av, and M Mode
Playback Mode
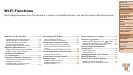
Wi-Fi Functions
Setting Menu
Accessories
Appendix
Index
108
Before Use
Basic Guide
Advanced Guide
Camera Basics
Auto Mode / Hybrid
Auto Mode
Other Shooting
Modes
P Mode
Tv, Av, and M Mode
Playback Mode
Wi-Fi Functions
Setting Menu
Accessories
Appendix
Index
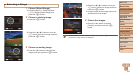
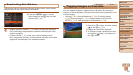
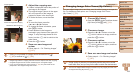
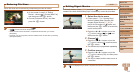
3 Adjustthecroppingarea.
A frame is displayed around the portion of
the image to be cropped.
The original image is shown in the upper
left, and a preview of the image as
cropped is shown in the lower right.
To resize the frame, move the zoom
lever.
To move the frame, press the
<o><p><q><r> buttons.
To change the frame orientation, press
the <l> button.
Faces detected in the image are
enclosed in gray frames in the upper-left
image. To crop the image based on this
frame, turn the <5> dial to switch to the
other frame.
Press the <m> button.
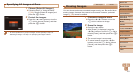
4 Saveasanewimageand
review.
Follow steps 4 – 5 in “Resizing Images”
(=
107).
•Editing is not possible for images shot at a resolution of [ ]
(=
46) or resized to [ ] (=
106).
• Images supported for cropping will have the same aspect ratio after cropping.
• Cropped images will have a lower resolution than uncropped images.
• If you crop still images shot using Face ID (=
40), only the names of the
people left in the cropped image will remain.
Resolution After Cropping
Preview of Image After Cropping
Cropping Area
Still Images
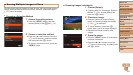
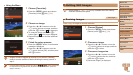
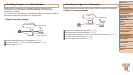
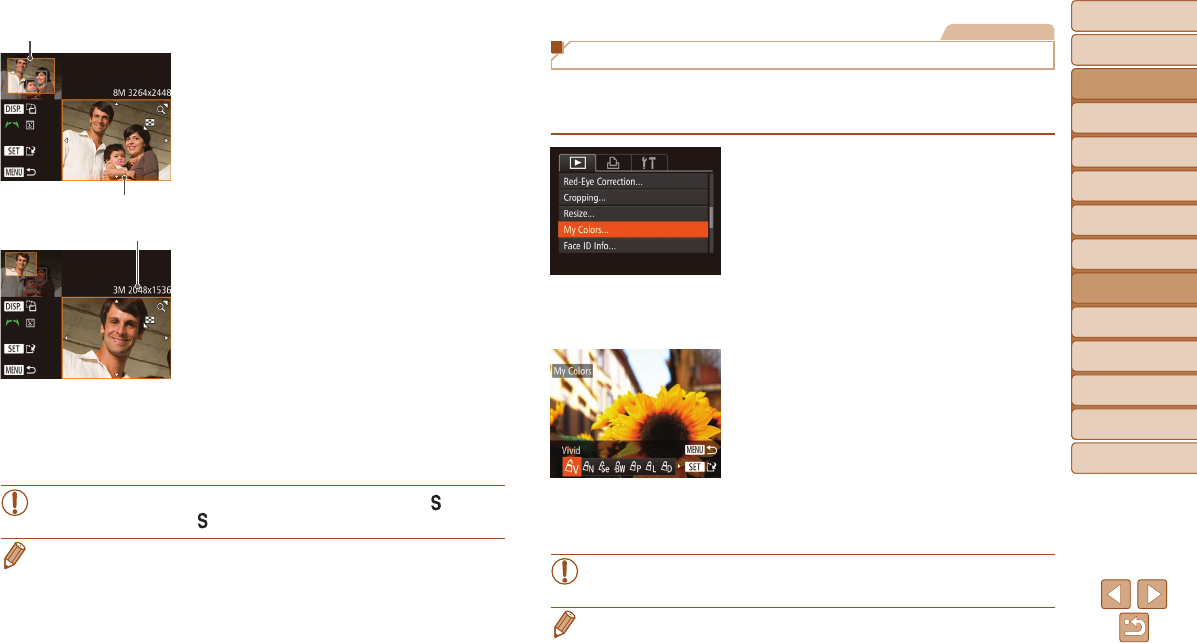
Changing Image Color Tones (My Colors)
You can adjust image colors and then save the edited image as a separate
le. For details on each option, see “Changing Image Color Tones
(My Colors)” (=
73).
1 Choose[MyColors].
Press the <n> button, and then choose
[My Colors] on the
[1]
tab
(=
24).
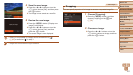
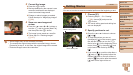
2 Chooseanimage.
Press the <q><r> buttons or turn the
<5> dial to choose an image, and then
press the <m> button.
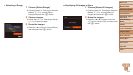
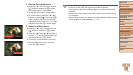
3 Chooseanoption.
Press the <q><r> buttons or turn the
<5> dial to choose an option, and then
press the <m> button.
4 Saveasanewimageandreview.
Follow steps 4 – 5 in “Resizing Images”
(=
107).
•Image quality of pictures you repeatedly edit this way will be a little
lower each time, and you may not be able to obtain the desired color.
• The color of images edited using this function may vary slightly from the color
of images shot using My Colors (=
73).