


Before Use
Basic Guide
Advanced Guide
Camera Basics
Auto Mode / Hybrid
Auto Mode
Other Shooting
Modes
P Mode
Tv, Av, and M Mode
Playback Mode
Wi-Fi Functions
Setting Menu
Accessories
Appendix
Index
138
Before Use
Basic Guide
Advanced Guide
Camera Basics
Auto Mode / Hybrid
Auto Mode
Other Shooting
Modes
P Mode
Tv, Av, and M Mode
Playback Mode
Wi-Fi Functions
Setting Menu
Accessories
Appendix
Index
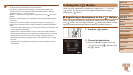
Registering Image Sync to the < > Button
By registering Image Sync to the < > button, you can simply press the
< > button to send any unsent images on the memory card to a computer
via CANON iMAGE GATEWAY. For details on Image Sync, see “Sending
Images Automatically (Image Sync)” (=
139).
1 Prepare the camera.
Register [ ] as the destination
(=
117 – 119).
Install the software on the destination
computer, and congure the camera
settings (=
121).
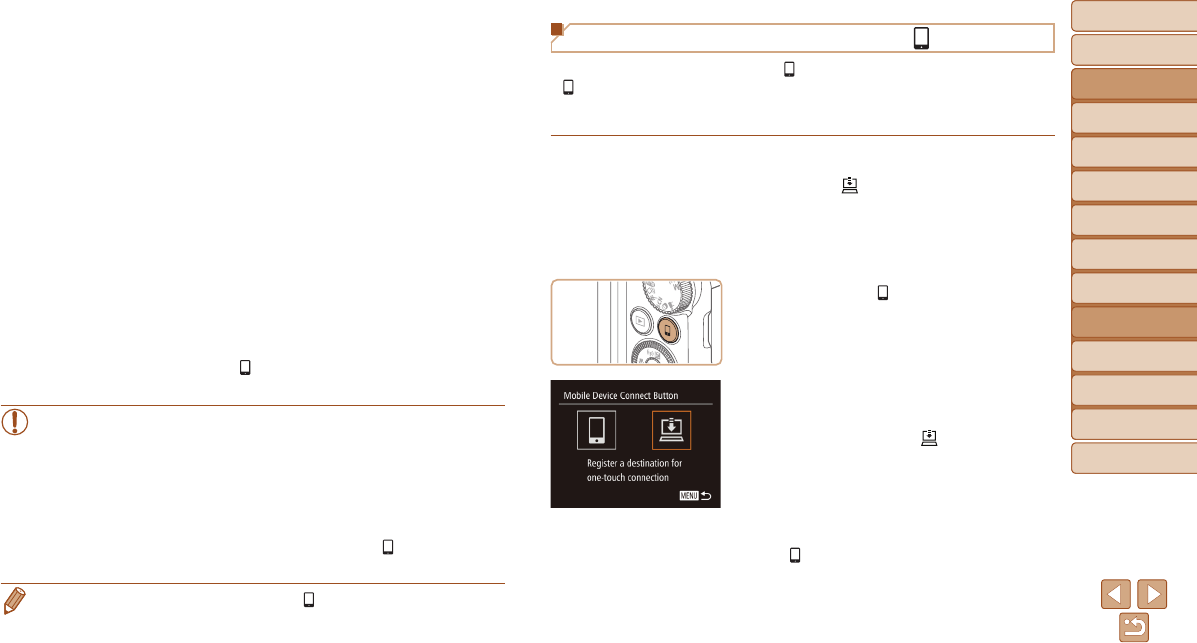
2 Press the < > button.
3 Choose the destination.
Press the <q><r> buttons or turn the
<5> dial to choose [
], and then press
the <m> button.
The camera will automatically reconnect
to any previous access points and send
the images. (=
139)
From now on, you can simply press the
<
> button to send images.
3 Establish the connection.
Connect to the smartphone as described
in steps 5 – 9 in “Connecting to WPS-
Compatible Access Points” (=
125 –
127) or steps 4 – 6 in “Connecting
without an Access Point” (=
130).
After a connection is established with the
smartphone, the smartphone nickname
is displayed on the camera. (This screen
will close in about one minute.)
You can now use the smartphone to
import images from the camera. (The
camera cannot be used to send images
to the smartphone.)
Use the smartphone to end the
connection; the camera will automatically
turn off.
From now on, you can simply press the
< > button to connect to the registered
smartphone.
•When you are in the vicinity of an access point that you have
previously connected to, the camera will automatically connect
to it in step 2. To change access points, select [Switch Network]
from the screen that will be displayed when the connection is
being established, and follow steps 5 – 9 in “Connecting to WPS-
Compatible Access Points” (=
125 – 127).
•All images in the camera can be viewed from the connected
smartphone. Note that if you have assigned the < > button,
[View Settings] (=
143) is not available.
• One smartphone can be registered to the < > button. If you wish to register
a different smartphone, clear the one currently registered (=
139) rst.