


Before Use
Basic Guide
Advanced Guide
Camera Basics
Auto Mode / Hybrid
Auto Mode
Other Shooting
Modes
P Mode
Tv, Av, and M Mode
Playback Mode
Wi-Fi Functions
Setting Menu
Accessories
Appendix
Index
110
Before Use
Basic Guide
Advanced Guide
Camera Basics
Auto Mode / Hybrid
Auto Mode
Other Shooting
Modes
P Mode
Tv, Av, and M Mode
Playback Mode
Wi-Fi Functions
Setting Menu
Accessories
Appendix
Index
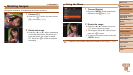
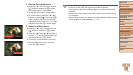
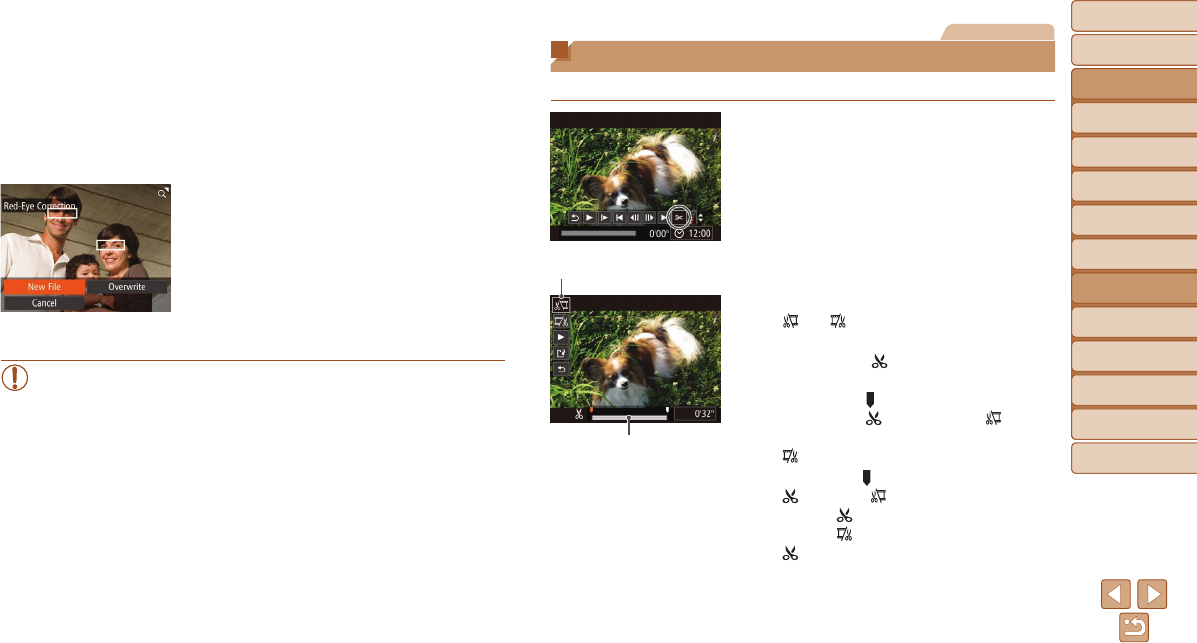
3 Correcttheimage.
Press the <m> button.
Red-eye detected by the camera is now
corrected, and frames are displayed
around corrected image areas.
Enlarge or reduce images as needed.
Follow the steps in “Magnifying Images”
(=
96).
4 Saveasanewimageand
review.
Press the <o><p><q><r> buttons or
turn the <5> dial to choose [New File],
and then press the <m> button.
The image is now saved as a new le.
Follow step 5 in “Resizing Images”
(=
107).
•Some images may not be corrected accurately.
•To overwrite the original image with the corrected image, choose
[Overwrite] in step 4. In this case, the original image will be erased.
•Protected images cannot be overwritten.
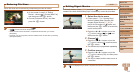
Movies
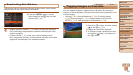
Editing Movies
You can cut movies to remove unneeded portions at the beginning or end.
1 Choose[*].
Following steps 1 – 5 in “Viewing”
(=
89), choose [*] and press the
<m> button.
The movie editing panel and editing bar
are now displayed.
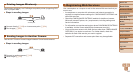
2 Specifyportionstocut.
Press the <o><p> buttons to choose
[
] or [ ].
To view the portions you can cut
(identied by [
] on the screen), press
the <q><r> buttons or turn the <5>
dial to move [
]. Cut the beginning of the
movie (from [
]) by choosing [ ], and
cut the end of the movie by choosing
[
].
If you move [ ] to a position other than a
[
] mark, in [ ] the portion before the
nearest [
] mark on the left will be cut,
while in [
] the portion after the nearest
[
] mark on the right will be cut.
Movie Editing Panel
Movie Editing Bar