19
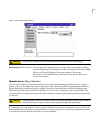
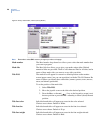
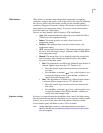
Camera menu
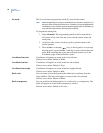
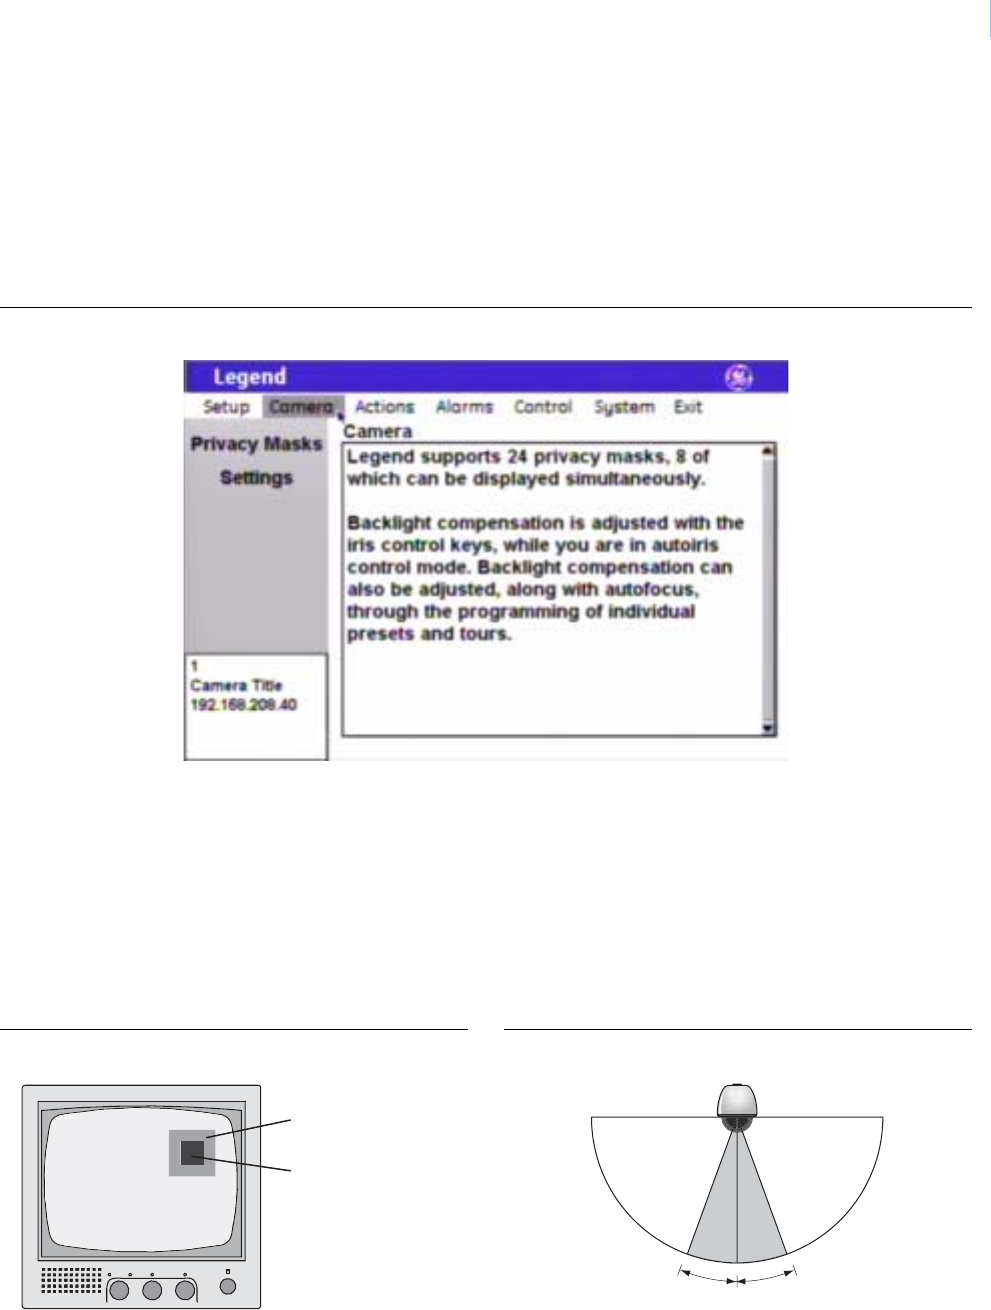
The dome is ready to operate with its default settings. The defaults are optimized for general applications. You can
customize the dome’s performance for challenging applications by changing the dome’s camera features in the
Camera menu. One camera feature, however, is adjusted with the keys on your keypad. Backlight compensation is
adjusted with the iris control key, while you are in auto exposure mode. Backlight compensation can also be
adjusted through the programming of individual presets and tours.
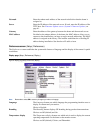
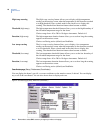
Figure 24. Camera menu
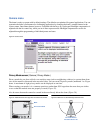
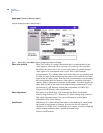
Privacy Masks screen ( Camera | Privacy Masks )
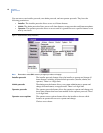
Privacy masks let you place a block over sensitive areas (such as neighboring windows) to protect them from
view on the monitor screen and in the recorded video. You can create 24 privacy masks (numbered 1 to 24) per
dome. A maximum of eight privacy masks can be displayed at one time.
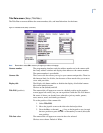
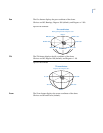
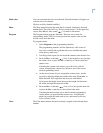
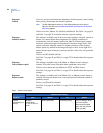
When creating your masks, it is a common practice to make them 50% larger than the areas that you wish to
cover so that the masked areas are properly covered (Figure 25).
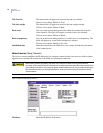
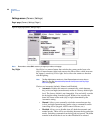
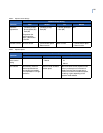
Also be aware that masks cannot be created in the area directly below the dome (Figure 26).
Figure 25. Masks should be 50% larger than the areas to be covered Figure 26. Masks are not allowed directly below the dome
Area to be masked
Mask
No masks allowed
20° either side of 0° tilt


