. . . . . . . . . . . . . . . . . . . . . . . . . . . . .
Accessing Camera Images 6-17
Color balance choices are contained in two separate features — the
lighting menu and the click-balance tool — both of which are described
below. Lighting can be set with either. However, lighting choices are
mutually exclusive; you cannot apply one type of lighting and then refine
it with another. Instead, each time you apply any color balancing, your
previous choice is lost, and only the current lighting setting is applied.
Click-balance is always the preferred method of applying color balance to
images.
Applying Color Balance to a Single Image
1. If you are not in the driver image window, return there now.
2. Click the image to be color balanced.
3. Choose P
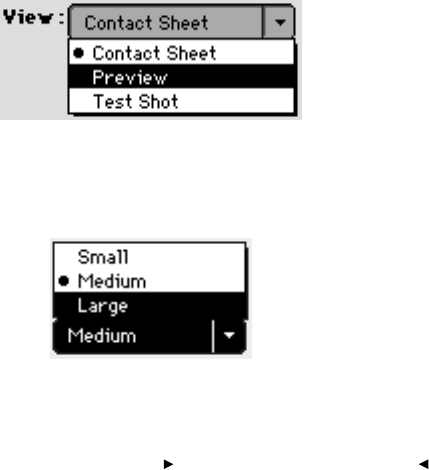
REVIEW from the VIEW menu; you see a single large version of
the image. (Color balancing in P
REVIEW instead of CONTACT SHEET is
preferred because the effect of color balance adjustments will be more
readily evident.)
4. (Optional) Choose a larger image size from the Thumbnail/Preview
size menu in the lower right corner of the window. This allows you to
work with a blowup of the image.
