


9
Basic Setup
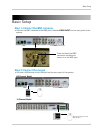
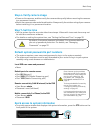
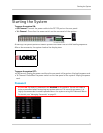
Step 6: Verify camera image
• Power on the cameras, and then verify the camera video quality before mounting the cameras
to a permanent location.
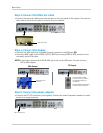
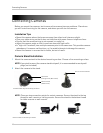
• Mount the cameras under a sheltered location. Always verify the outdoor rating of your camera
before installing it in a permanent location.
Step 7: Set the time
• Set the system time for accurate video time stamps. Videos with inaccurate times may not
be valid as surveillance evidence.
• For details on setting the system time, see “Setting the Date and Time” on page 20.
Default system password & port numbers
• The system requires a user name and password to log in to the system remotely.
• The system port numbers must be port forwarded to your router to log in to your system
remotely using a web browser or mobile device.
Local DVR user name and password
• None
Default ports for remote access
• Port 80
(Web port)
• Port 9000 (RTSP Media Streaming port)
• Port 1025 (Mobile Connectivity port)
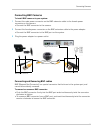
Remote connectivity (LAN & Internet) to the DVR
• User Name: ad
min
• Password: none (left blank)
Mobile connectivity (i.e iPhone) to the DVR
• User Name: admin
• Password: 0000
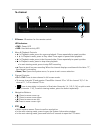
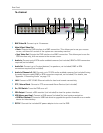
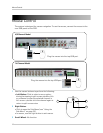
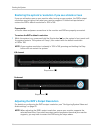
Quick access to system information
• To quickly open a window that displays vital system information, press the PTZ button on the
front panel of the system.
By default, the system password is disabled. It is recommended that
you set up password protection. For details, see “Managing
Passwords” on page 29.
PTZ button
Some internet service providers
block web port 80. If your provider
blocks this port, select a different
port for your system (e.g. 90).
For details, see “Changing the
DVR’s Media and Web Port” on
page 37.
To change the Mobile Connectivity
port on your system, see
“Configuring mobile connectivity
settings” on page 45.
It is important that these ports are
also forwarded in your router and
that you include it as the suffix to
your web address (e.g :90).