Selecting the settings for a selected remote camera
Manually adjusting the white balance
1 As with the automatic adjustment, fill the
screen with a white subject.
2 Connect a waveform monitor or color monitor
to the video output connector on the currently
selected remote camera.
3 Set the MENU button to ON.
Press the MENU button to light its indicator.
4 Set the PRESET MEMORY/MENU 2 button (R/B
GAIN) to ON.
When the button is pressed and its indicator lights, the
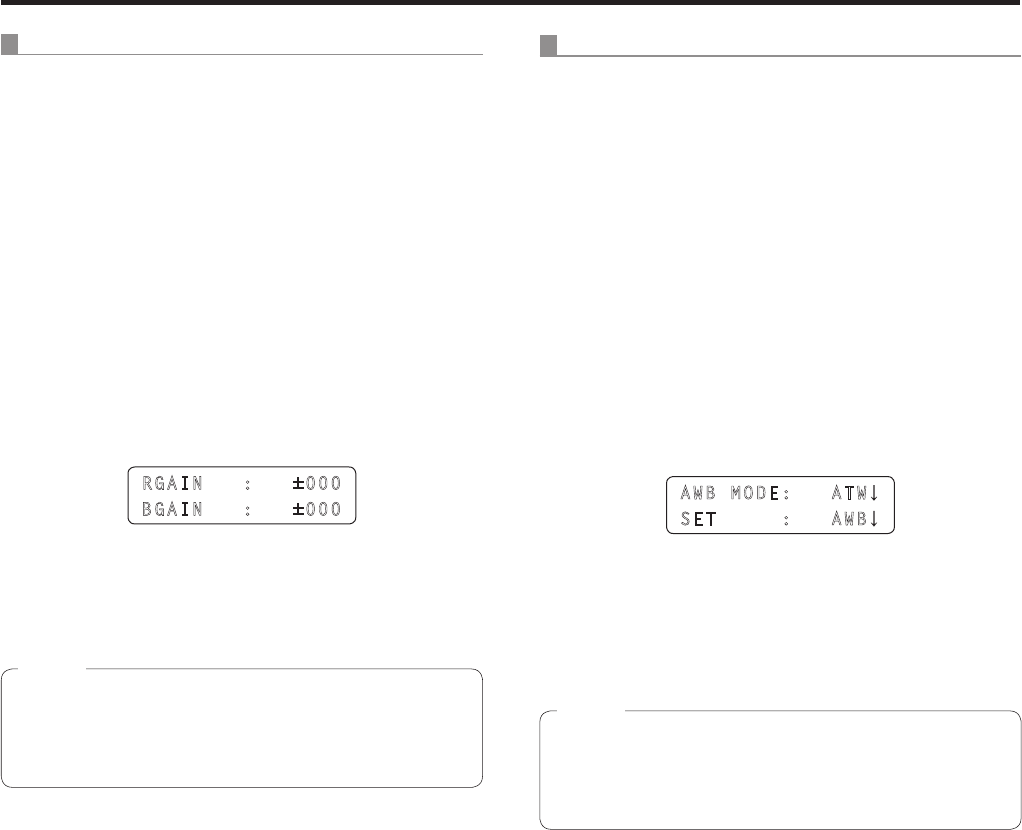
[R/B GAIN] menu is displayed on the LCD panel.
RGAIN : ±000
BGAIN : ±000
5 Turn the F1 dial to select the R gain setting;
similarly, turn the F2 dial to select the B gain
setting.
The R and B gain settings will differ depending on the
remote camera connected.
For further details, check the operating instructions of the
model concerned.
Note
Automatic color temperature tracking (ATW)
This function provides compensation automatically so that
the white balance is adjusted even when the light source or
color temperature changes during shooting, so that images
that appear the least odd (that is, the most natural looking)
are produced.
1 Set the MENU button to ON.
Press the MENU button to light its indicator.
2 Set the PRESET MEMORY/MENU 4 button
(AWB/ABB) to ON.
When the button is pressed and its indicator lights, the
[AWB/ABB] menu is displayed on the LCD panel.
3 Turn the F1 dial to select ATW.
AWB MODE: ATW
SET : AWB
p If there is no white on the screen, it may not be possible
to compensate the white balance properly.
Similarly, under certain light source and color temperature
conditions, it may not be possible to compensate the
white balance properly.
The setting will differ depending on the remote camera
connected.
For further details, check the operating instructions of the
model concerned.
Note
