


44
Using Expansion CompactFlash Cards
Chapter 4 Advanced Settings
3
Insert the memory card or USB memory containing
the promotional images into the slot on the unit.
For details on copying, see “Copying User Created Data”
on page 43.
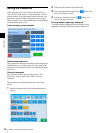
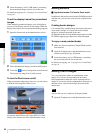
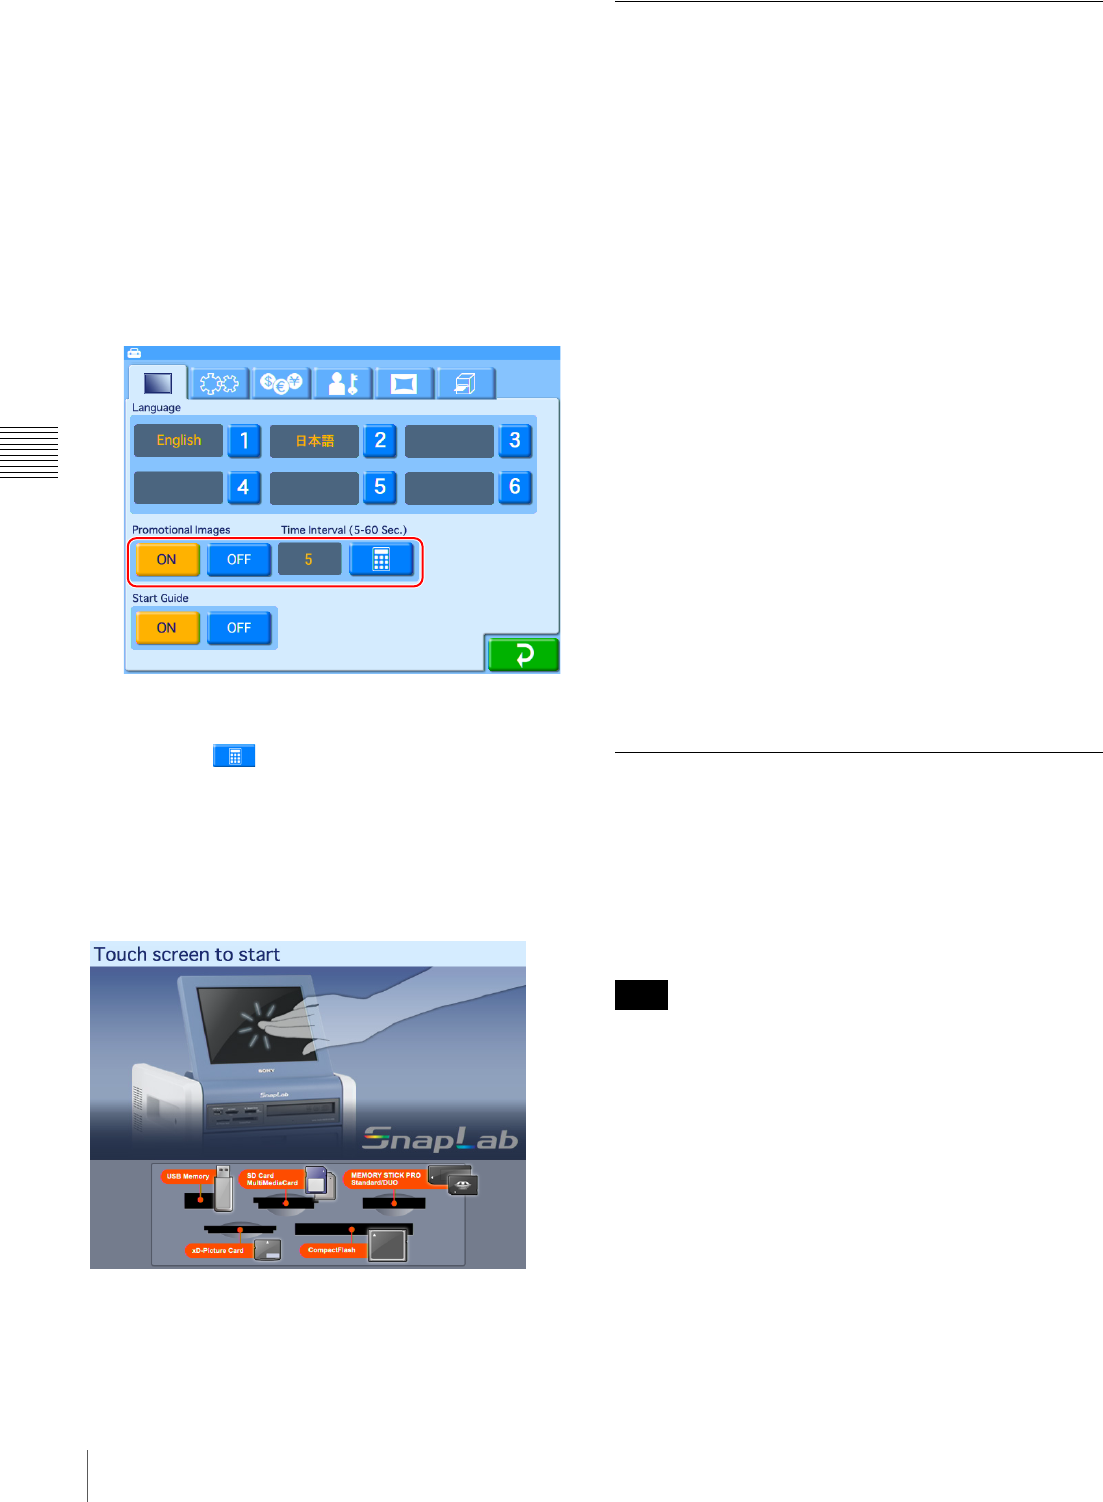
To set the display interval for promotional
images
When multiple promotional images are to be displayed,
you can set the display interval of each image. When the
display time elapses, the next promotional image appears.
1
Open the Screens tab on the administration screen.
2
Under [Promotional Images], touch the [ON] button.
3
Touch the button, and input the desired interval.
The interval can range from 5 to 60 seconds.
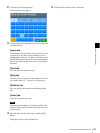
To turn the Start screen on/off
When promotional images have been set, you can choose
to hide the following Start Guide screen.
To hide the Start Guide screen, select [OFF] for [Start
Guide] in the Screens tab of the administration screen.
Adding Borders
J Applicable modes: Full mode, Event mode
In addition to the borders stored on the CD-ROM provided
with the unit, you can also create and use original border
designs.
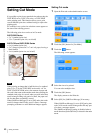
Creating border designs
Use commercially available image processing software to
create border designs. You must convert the created
designs to a format supported by the unit.
For the details on how to create border designs, please visit the
UP-CR20L support page at http://www.sony.net/snaplab.
To copy a newly created border
1
Make sure that an expansion CompactFlash card has
been inserted.
2
Open the Template tab on the administration screen
and then touch the [Copy All] button.
3
Insert the memory card or USB memory containing
the new border into the slot on the unit.
For details on copying, see “Copying User Created Data”
on page 43.
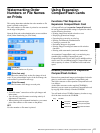
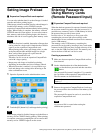
Adding Text to Images
You can create prints with text superimposed on the
images. Text can also be superimposed on borders.
Only alphanumeric characters can be superimposed on
images. If you want to add non-alphanumeric characters or
decorative text, create border designs that include the
desired text.
Any text that you set is added to all images printed.
1
Open the Template tab on the administration screen.
Note