


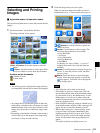

67
Image Editing
Chapter 6 Operation
positioning are automatically adjusted to fit the text
entirely within the image.
• Text that is positioned flush with the edge of the image
may be cut off when the image is printed.
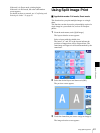
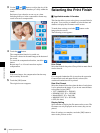
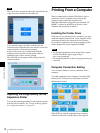
Adjusting the Image Quality
To adjust the image quality, touch [Color Adjustment] on
the editing menu.
The following items can be adjusted.
•Brightness
•Tint
• Saturation
• Sharpness
Use the [b] [B] buttons to adjust each item.
Each item can be adjusted ±8 steps.
Once adjustment is complete, touch the [OK] button.
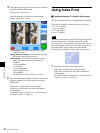
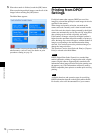
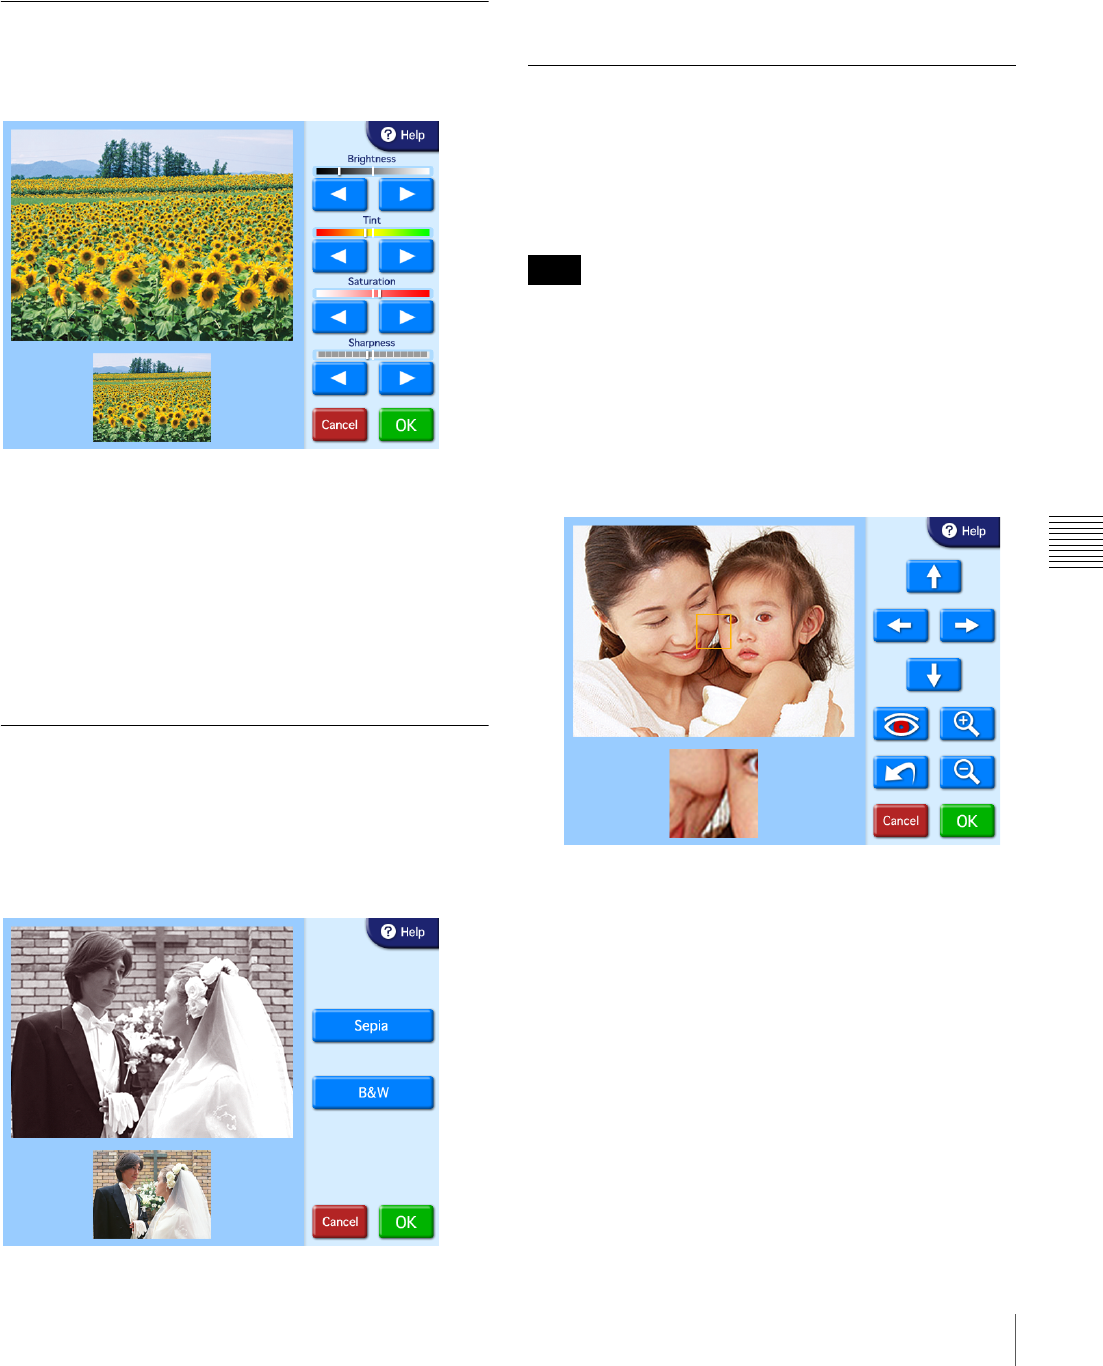
Printing in Sepia or Black and White
You can set the image color to sepia or black and white for
printing.
To set the image color to sepia or black and white, touch
the [Sepia/B&W] button on the editing screen.
[Sepia] button
Use this button to change the image to sepia for printing.
[B&W] button
Use this button to print the image in black and white.
After selecting one of the buttons, touch the [OK] button.
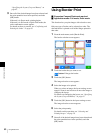
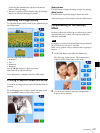
Compensating for the Red Eye
Effect
On photos taken with a flash, the so-called red eye effect
can sometimes be a problem. This function makes the
effect less noticeable.
If cropping or rotation is performed after red eye reduction,
the corrections for red eye are canceled.
Make sure to perform red eye reduction after cropping or
rotation.
1
On the Edit Menu, touch [Red Eye Reduction].
The following screen appears. The compensation
frame is located in the center of the image.
2
Use the arrow buttons to move the compensation
frame to the eye position.
Note