59
Selecting and Printing Images
Chapter 6 Operation
Selecting and Printing
Images
J Applicable modes: All operation modes
This procedure explains how to select and print the desired
images.
1
On the main menu, touch [Select & Print].
The image selection screen appears.
[Select All] button: Touch this button to select all
images.
button: Touch this button to set the print finish
and to set whether or not to show the file names.
Symbols on the thumbnails
: Number of prints
: Edited image
• The following icon is displayed for images that are
not compatible with this unit or which are damaged.
• Any image that is less than 480 pixels in either the
horizontal or vertical direction will appear as a small
thumbnail image. Due to their poor resolution, such
images may not produce a satisfactory image when
printed.
• Depending on the number of images in the memory
card and the type of the memory card, images may
load slowly or may not load correctly.
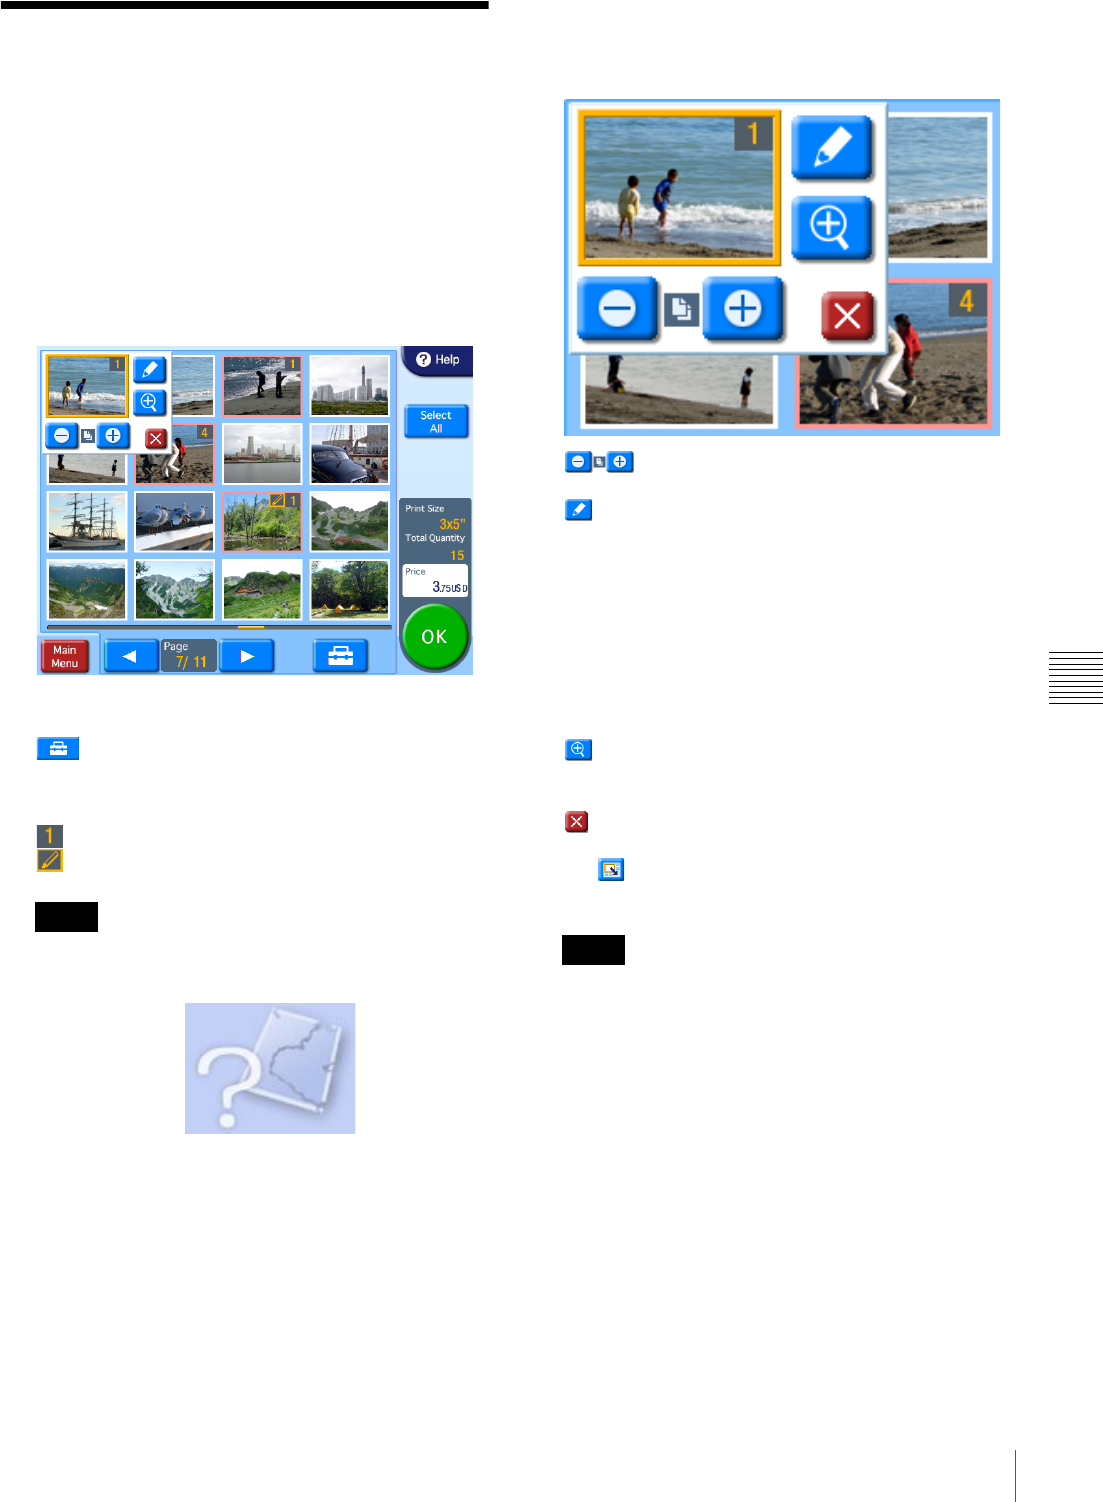
2
Touch the images that you want to print.
When you touch an image, the number of prints is
automatically set to “1” and a button menu pops up.
buttons: Use these buttons to specify the
number of prints.
button: Use this button to edit an image. The
following editing functions are available.
• Crop and Rotate
• Text Input
• Color Adjustment
• Red Eye Reduction
•Sepia/B&W
For details, see “Image Editing” on page 65.
In Quick Print mode, only crop and rotate are
available.
button: Touch this button to display the preview
screen. To close the preview screen, touch the
preview screen.
button: Touch this button to close the popup
display. When the popup display is closed, the
icon appears. Touch this icon to display the
popup display again.
• Up to 99 prints can be made of one image.
• The number of prints in a single order cannot be
increased beyond the limit on the maximum number
of prints that was set by the administrator. To add
further prints, it is necessary to either reduce the
number of prints already specified, or else divide the
order into multiple orders.
• If the [Odd/Even Message] setting is enabled in Cut
mode and the number of prints is odd, a message will
appear. Be sure to check the number of prints.
• When using border print, a layout settings screen
(crop and rotate) will appear immediately after
touching an image that you want to print. Touch
[OK] or [Cancel] to return to the image selection
screen, and the button menu popup display will
appear.
For details on the layout settings screen, see
Notes
Notes


