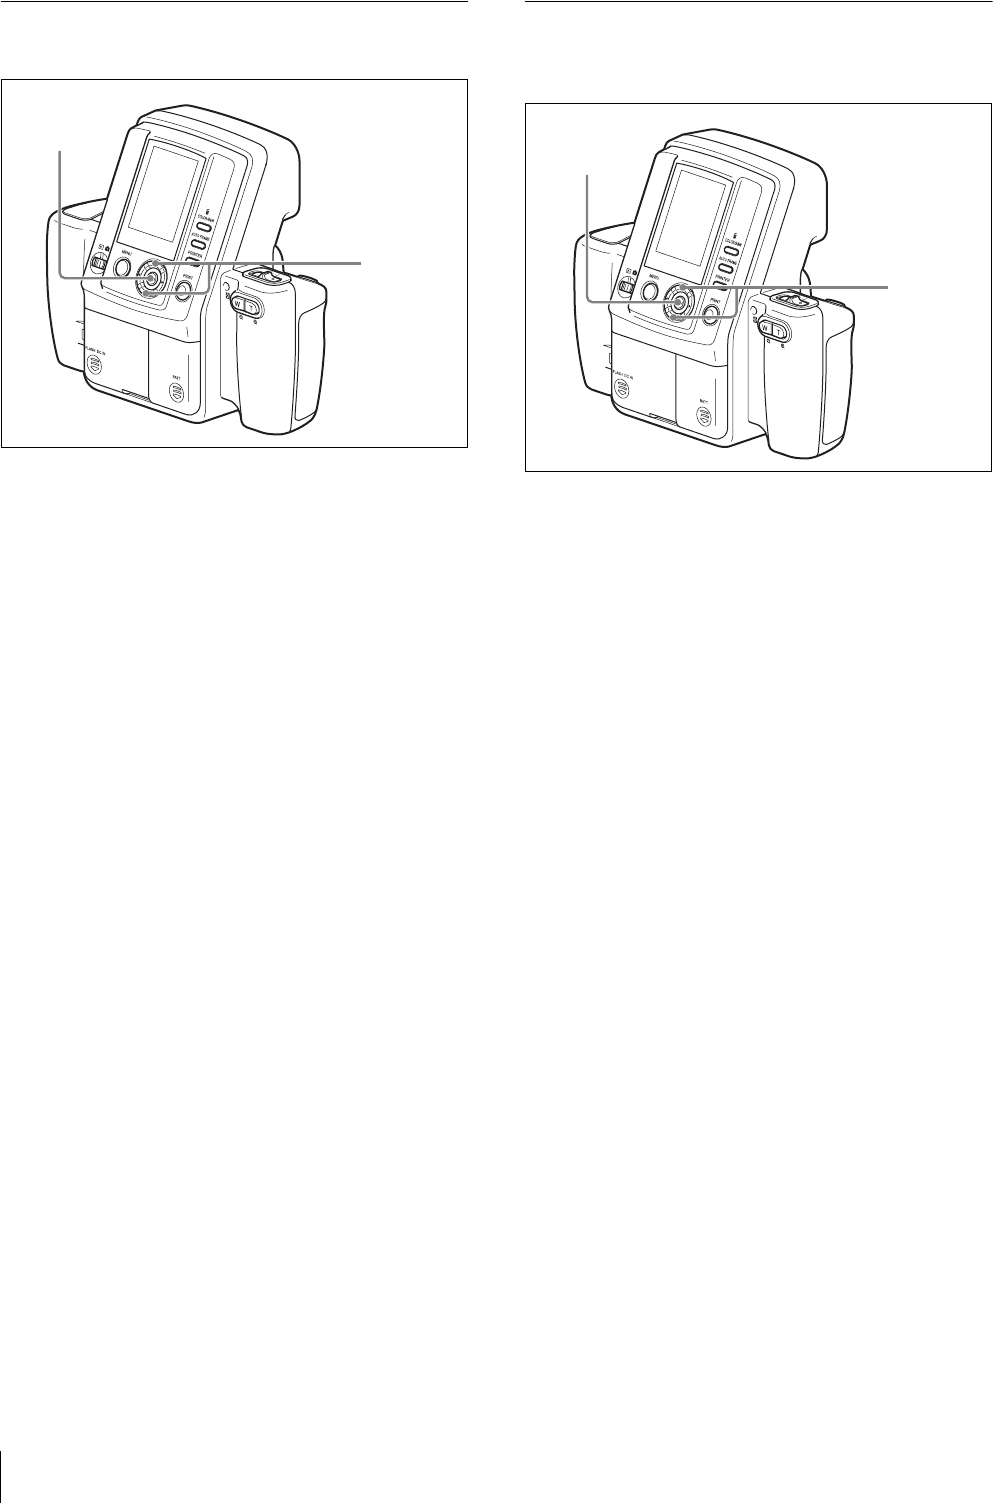
Menu
32
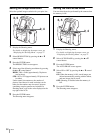
Setting the Image Resolution
Select the optimal image resolution for your print size.
1
Display the Shooting menu.
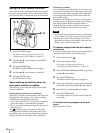
For details on displaying the menu screen, see
“Displaying the Shooting Menu” on page 27.
2
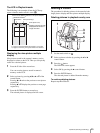
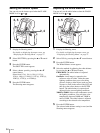
Select RESOLUTION by pressing the v or V
control button.
3
Press the ENTER button.
The RESOLUTION screen appears.
4
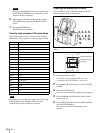
Select one of the following resolutions by pressing
the v or V control button.
HIGH: 3264 × 2448 (approximately 30 pictures
can be taken)
STD: 1632 × 1224 (approximately 120 pictures can
be taken)
Under normal circumstances, the number of
pictures listed above for each resolution can be
taken, but the number may decrease if pictures
containing complex patterns are included. In
Shooting mode, refer to the value displayed at the
top right of the LCD.
5
Press the ENTER button.
The Shooting menu reappears.
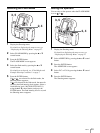
Setting the Auto Erase Mode
You can select the action performed by the camera when
the memory is full.
1
Display the Shooting menu.
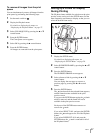
For details on displaying the menu screen, see
“Displaying the Shooting Menu” on page 27.
2
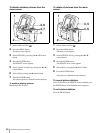
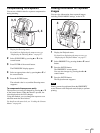
Select AUTO ERASE by pressing the v or V
control button.
3
Press the ENTER button.
The AUTO ERASE screen appears.
4
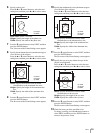
Select ON or OFF by pressing the v or V control
button.
ON: When the memory is full, stored images are
deleted automatically starting with the oldest,
and new image data is stored.
OFF: Shooting is disabled when the memory is
full.
5
Press the ENTER button.
The Shooting menu reappears.
3, 5
2, 4
3, 5
2, 4


