Setting the Bluetooth Functions
58
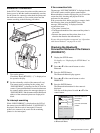
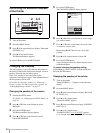
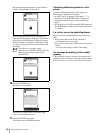
During the authentication process of the selected
printer, clock animation is displayed.
After the authentication process is finished, the
name of the added printer is displayed. At the center
of the display, an RSSI (Received Signal Strength
Indicator) symbol is displayed, which may be used
as a guide for adjusting locations of the camera and
the printer.
: The radio wave strength is good.
: The radio wave strength is a little weak, and
data transmission may require a long
period of time.
10
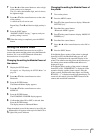
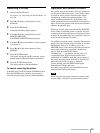
Press the ENTER button.
The Printer List reappears.
If there are any other printers you want to add,
return to the Found Printer List.
11
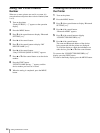
Press the ENTER button again.
The display returns to Bluetooth Menu.
Canceling addition/registration of the
printer
To cancel addition/registration of the printer, the
following two methods are available:
•In Step 7, while “Searching New Printers . . .” is
displayed, Press the ENTER button. Searching is
interrupted, and the display returns to Bluetooth
Menu.
•In Step 9, select CANCEL instead of ADD, then Press
the ENTER button. Addition/registration of the printer
is canceled.
If a printer cannot be added/registered
Printers cannot be added/registered in the following
cases:
• Three printers have been already connected.
t Delete an unnecessary printer.
• The passkey of the printer is different from that of the
camera.
t Set the same passkey as that of the camera.
If a message prompting printer update
appears
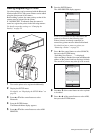
While using this system, a message prompting you to
update the printer’s firmware may appear on the camera
LCD. In such a case, contact your nearest Sony dealer.
Bluetooth
Adding Printer
Sony
UP-DX100
ADDRESS
00:A0:96:12:24:E1
Bluetooth
ENTER
OK
Printer Added
1. Sony
UP-DX100
ADDRESS
00:A0:96:12:24:E1
Bluetooth
ADDRESS
--
:
--
:
--
:
--
:
--
:
--
2. . . . . . . . . .
ADDRESS
00:A0:96:12:24:E1
1. Sony
UP-DX100
ADDRESS
--
:
--
:
--
:
--
:
--
:
--
3. . . . . . . . . .
ENTER
OK
Printer List is


