Adjusting the Print Quality
44
Locking the Camera Menus
You can keep menu screens from displaying even when
the MENU button is pressed during Shooting or
Playback. This can prevent accidental changes to menu
settings.
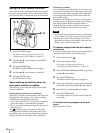
To lock the menus
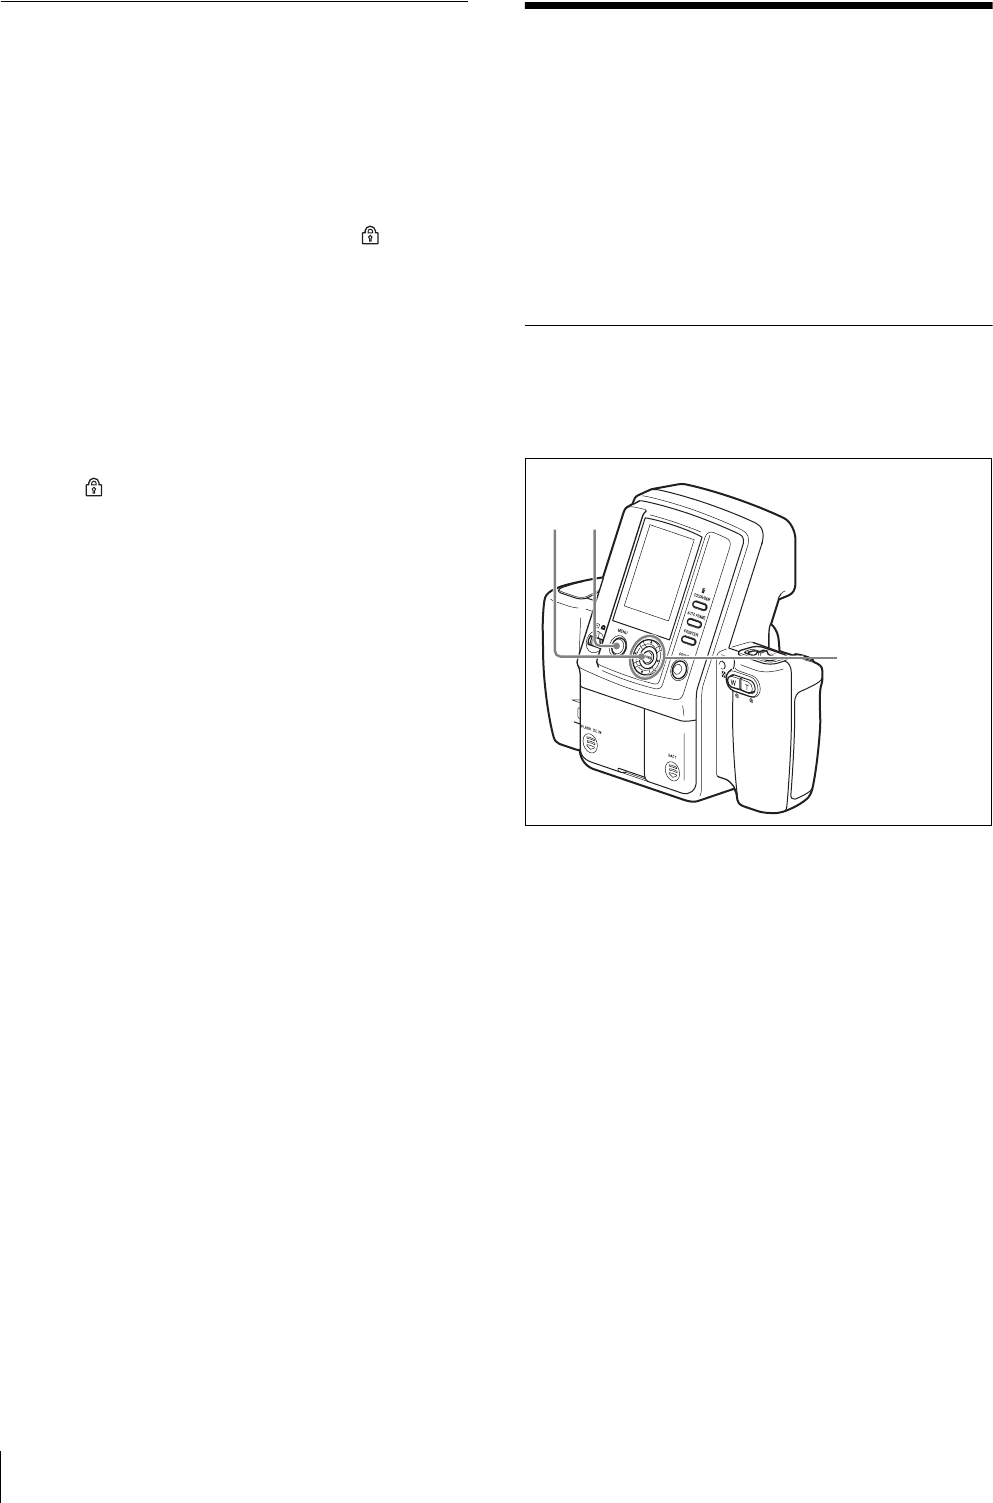
Press the MENU button for at least five seconds. The
menu screen disappears, and the lock icon appears.
This icon indicates that the menus are now locked and
pressing the MENU button will not display the menu
screen.
The menus remain locked even when you switch
between Shooting and Playback modes or restart the
camera.
To release the menu lock
Press the MENU button for at least five seconds. The
lock icon disappears, and the menu screen appears.
Adjusting the Print
Quality
You can use the MENU function of the camera to adjust
the picture quality. The guide print function of the
camera enables you to check the adjustment results.
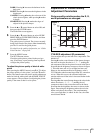
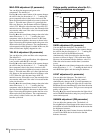
For details on the meanings of the values in the CYN-
RED, MAG-GRN, and YEL-BLU displays, see
“Explanation of Picture Quality Adjustment
Parameters” on page 45.
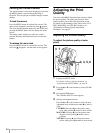
Adjusting the Picture Quality
To adjust the picture quality of color
prints
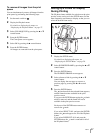
1
Display the SETUP menu.
For details on how to display the menu, see
“Displaying the SETUP Menu” on page 28.
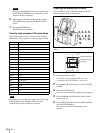
2
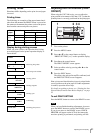
Press the v or V control button to select COLOR
ADJUST.
3
Press the ENTER button.
The COLOR ADJUST screen appears.
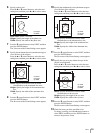
4
Specify each adjustment item.
Press the v or V control button to select the next
adjustment item, and then press b or B to select a
value.
CYN-RED: Pressing b gives the picture more
cyan, while pressing B makes it more reddish.
MAG-GRN: Pressing b gives the picture more
magenta, while pressing B makes it more
greenish.
YEL-BLU: Pressing b gives the picture more
yellow, while pressing B makes it more bluish.
2, 4, 5, 6
37


