


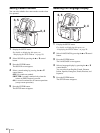
Menu
38
Note
Select at least one ID photo frame. You cannot close
the ID PHOTO FRAME screen when the of all
ID photo frames are deleted.
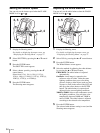
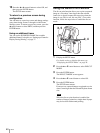
6
When you have finished configuring the settings,
select RETURN by pressing the v or V control
button.
7
Press the ENTER button.
The SETUP menu reappears.
Country code example of ID photo frame
The ID photo frame of this camera uses the following
ISO country codes, regardless of the language selected.
Note
Depending on your country and region selection during
initial configurations, ID photo frames for some
countries may not be available for selection.
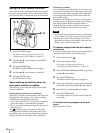
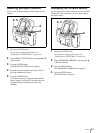
Creating an Additional Frame
You can define up to five ID photo frames of any size
and then register them on this camera.
When creating an additional frame, define the following
frame.
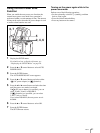
1
Display the SETUP menu.
For details on how to display this menu, see
“Displaying the SETUP Menu” on page 28.
2
Press the v or V control button to select CUSTOM
FRAME.
3
Press the ENTER button.
The 1st screen of the Frame Setting screen appears.
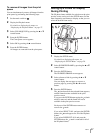
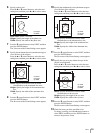
4
Press the b or B control button to select a frame
number (1 to 5).
5
Press the V control button to select NEXT, and then
press the ENTER button.
The 2nd screen of the Frame Setting screen
appears.
Code Country
AUS Australia
AUT Austria
BRA Brazil
CAN Canada
COL Columbia
DEU Germany
ESP Spain
EU EU
FRA France
GBR United Kingdom
ITA Italy
JPN Japan
MEX Mexico
NLD Netherland
NZL New Zealand
PRT Portugal
RUS Russia
TUR Turkey
USA USA
VEN Venezuela
2, 3, 4, 5,
6, 7, 8, 9,
10
,
11
,
12
,
14
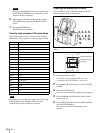
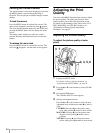
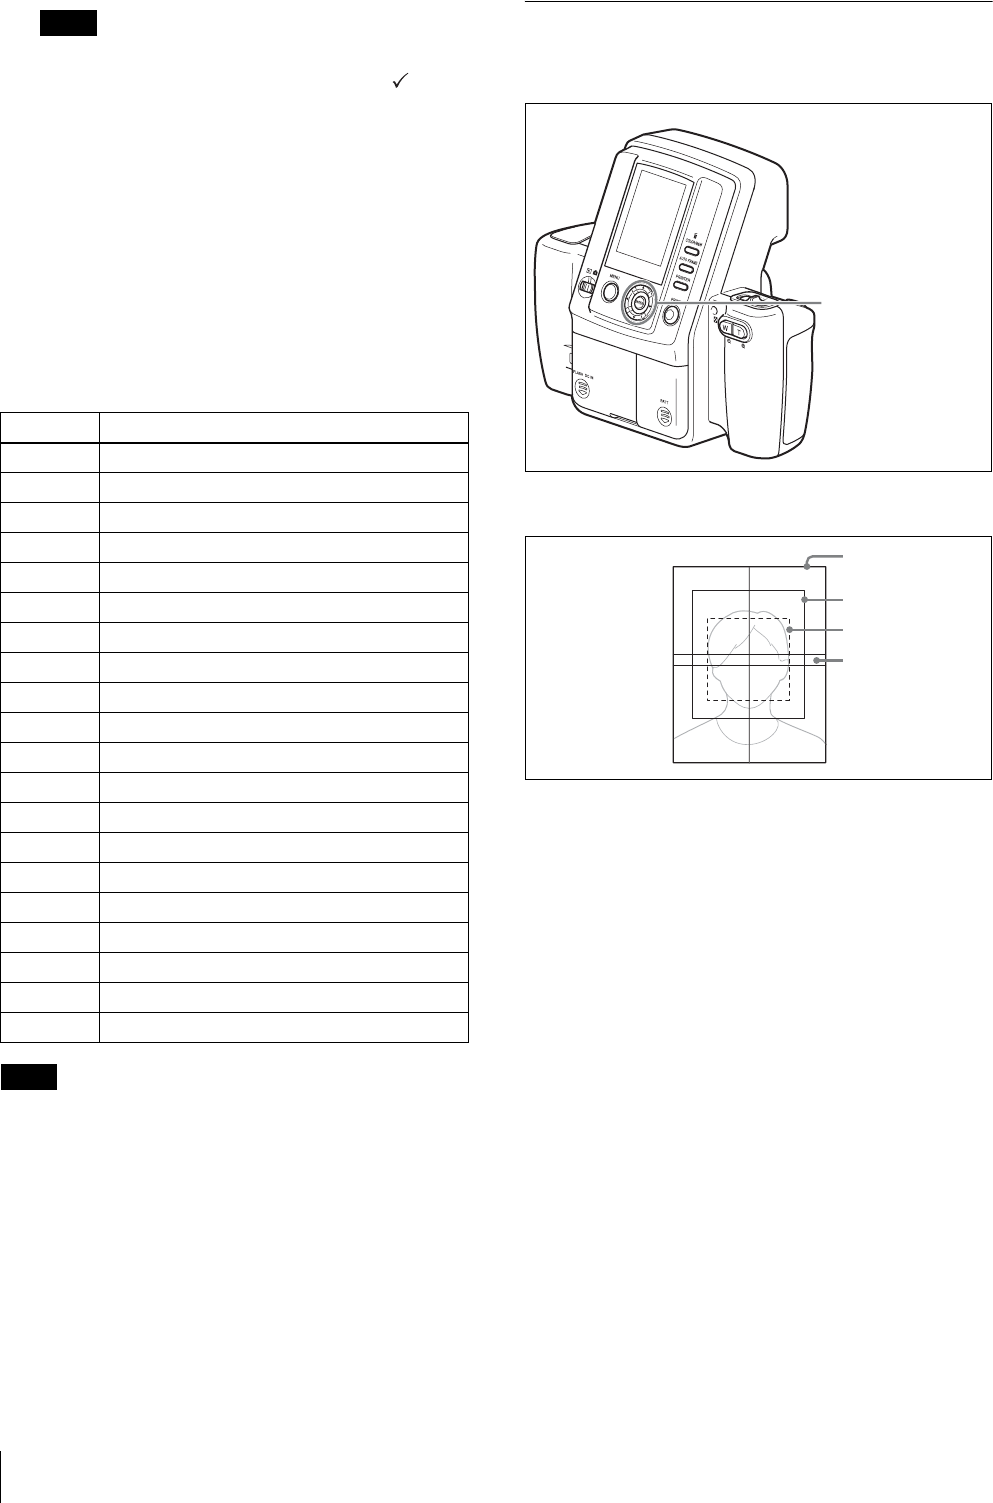
Photo size
Maximum face size
Minimum face size
Eye area